
Downloading and installing the plugin / macOS

2.1 Go to the Products → Ps, LrC, C1, APh plugin.
2.2 Select the desired plugin.
2.3 Select macOS as your operating system on the product page.
2.4 Hit Download button. Your download will start automatically.
3. Unzip the downloaded zip file, if your system didn’t do it automatically:
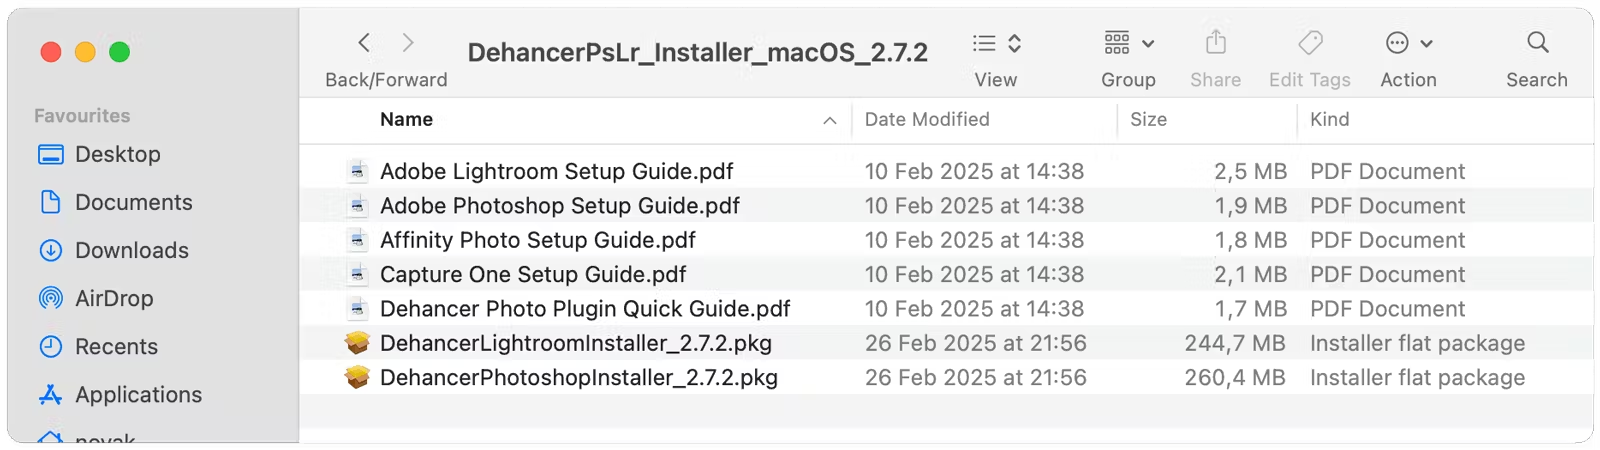
4. Select the appropriate distributive. The file name contains the host application (Photoshop or Lightroom).
- If it shows ‘Apple’, then Ps/LrC runs as a native application. In this case, please install the arm64 version of the plugin.
- If it says ‘Intel’, the application is launched in emulation mode. This requires the x86 version of the plugin. You can also check if the emulation mode is enabled manually. To do this, open the Applications folder, look for the Adobe Lightroom subfolder, locate Adobe Lightroom.app and select ‘Get Info’ from the right-click menu (or press Cmd + I). ‘Open with Rosetta’ option stands for the emulation mode.
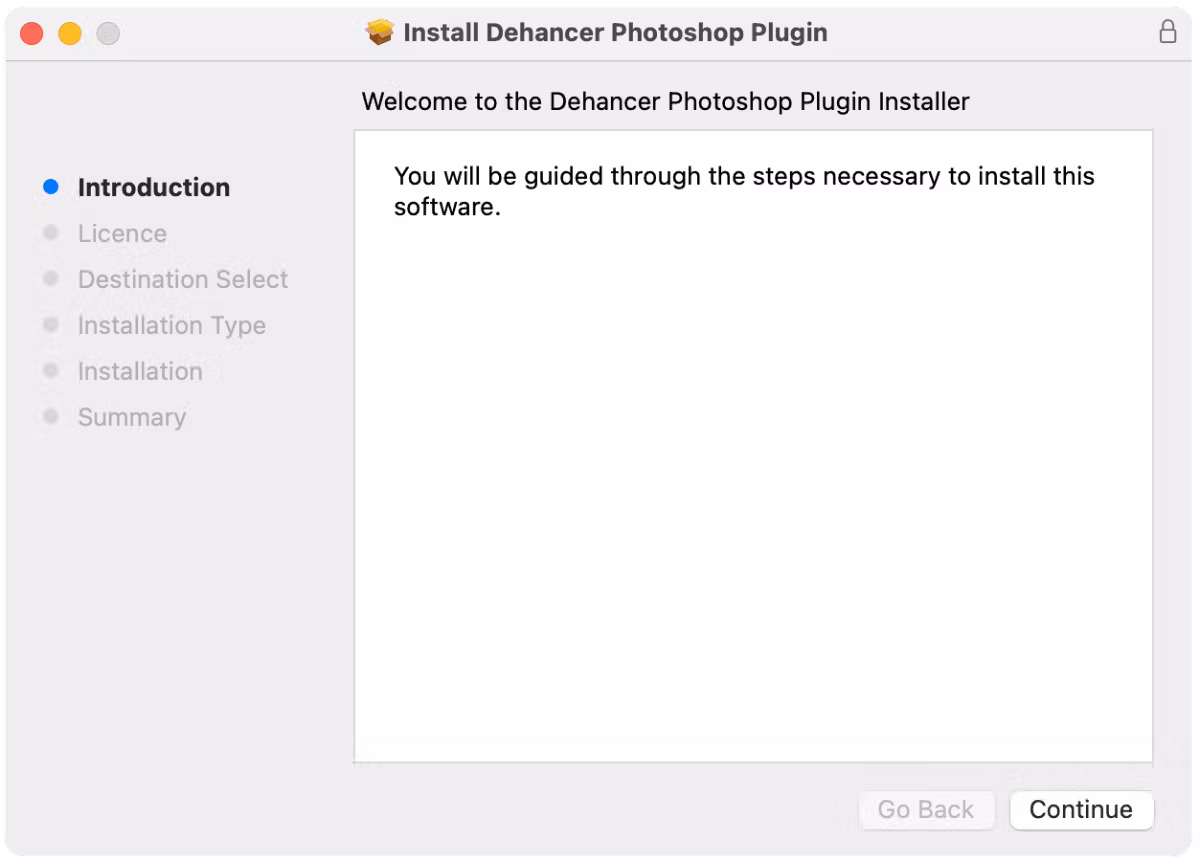
5. Run the Photoshop installation file and follow the installation steps.
6. Launch or restart Adobe Photoshop if it was already running.
7. Open any photo you would like to process with Dehancer.
Note that: your file must be presented in the sRGB color space to be displayed and processed properly. Support for other color spaces will be added later.
8. Select the plugin in the Photoshop menu: Filter → Dehancer → Dehancer Film.
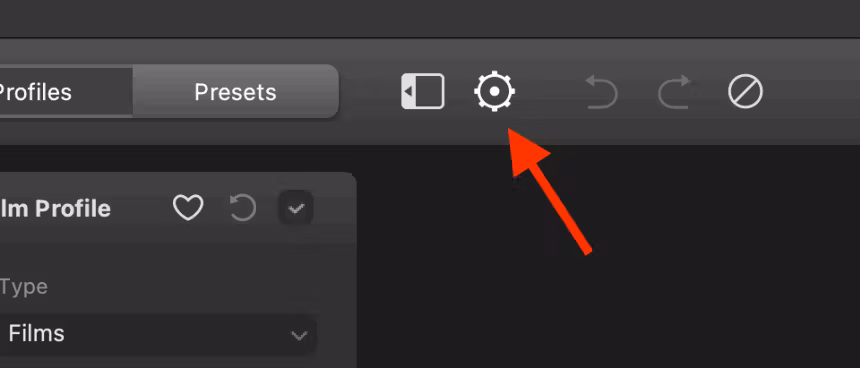
9. At first launch, the Settings window will open automatically. You can also open the Settings at any time by clicking on the gear icon in the toolbar.
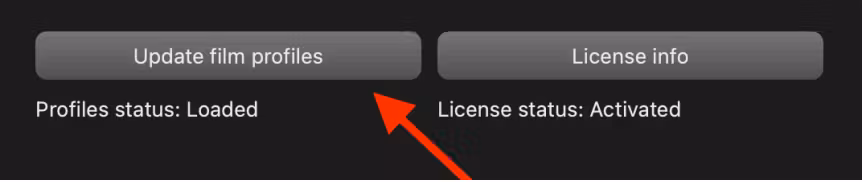
10. Use the button Update Film Profiles to download the profiles the first time.
11. Now Dehancer is ready to use.
Downloading and installing the plugin / Windows

2.1 Go to the Products → Ps, LrC, C1, APh plugin.
2.2 Select the desired plugin.
2.3 Select Windows as your operating system on the product page.
2.4 Hit Download button. Your download will start automatically.
3. Unzip the downloaded zip file, if your system didn’t do it automatically:
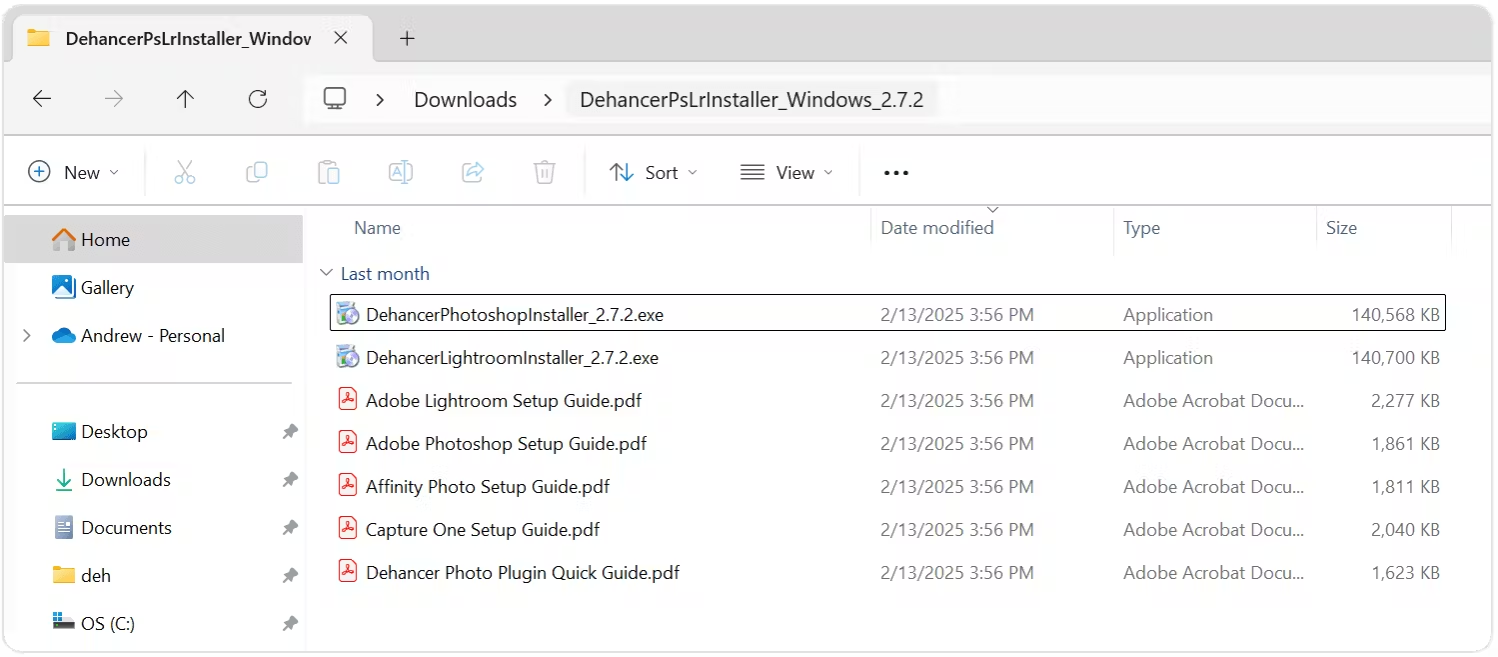
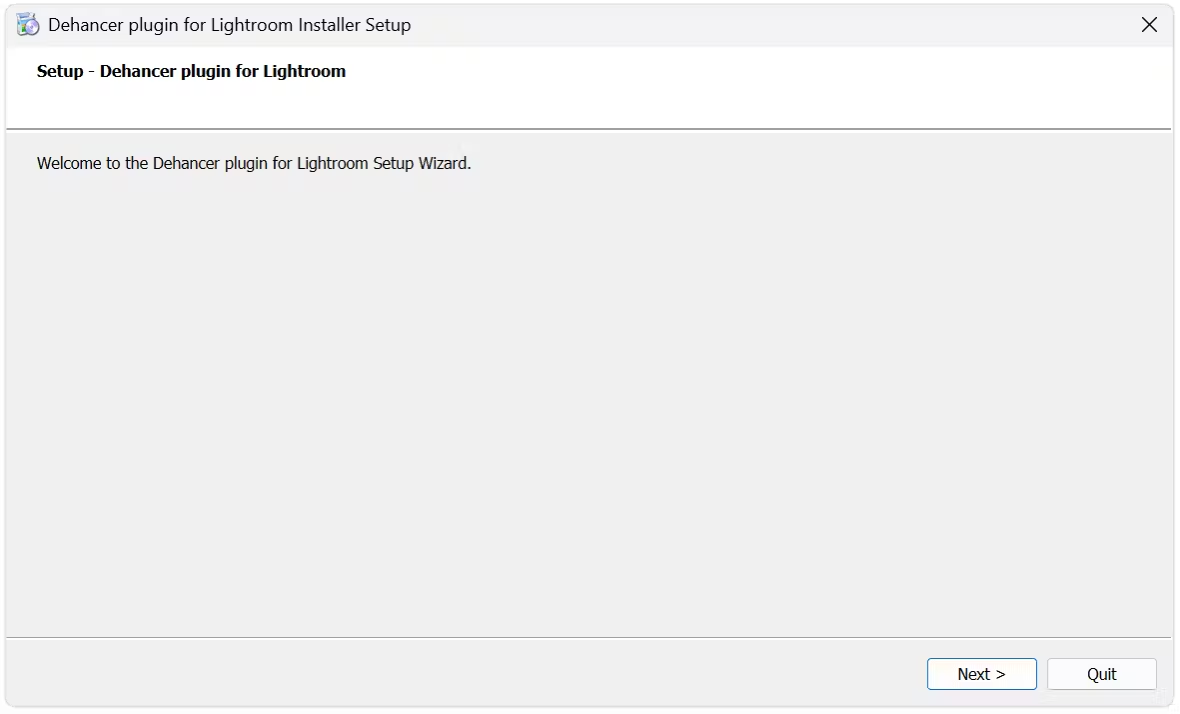
4. Run the installation Photoshop .exe file and follow the installation steps.
5. Launch or restart Adobe Photoshop if it was already running.
6. Open any photo you would like to process with Dehancer.
Note that your file must be presented in sRGB color space to be displayed and processed properly. Support for other color spaces will be added later.
7. Select the plugin in the Photoshop menu: Filter → Dehancer → Dehancer Film.
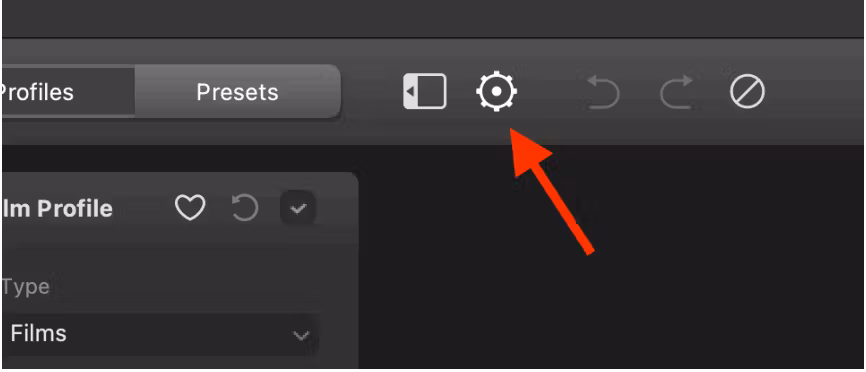

8. At first launch, the Settings window will open automatically. You can also open the Settings at any time by clicking on the gear icon in the toolbar.
9. Use the button Update Film Profiles to download the profiles the first time.
10. Now Dehancer is ready to use.