Downloading and installing the plugin

2.1 Go to the Products → Final Cut Pro plugins.
2.2 Select the desired plugin.
2.3 Hit Download button. Your download will start automatically.
3. Unzip the downloaded zip file, if your system didn’t do it automatically.
4. Run the installation file and follow the installation steps.
Adding Dehancer to the Project
1. After Dehancer installation, restart Final Cut Pro if it was already running.
2. Open a Project or Event.
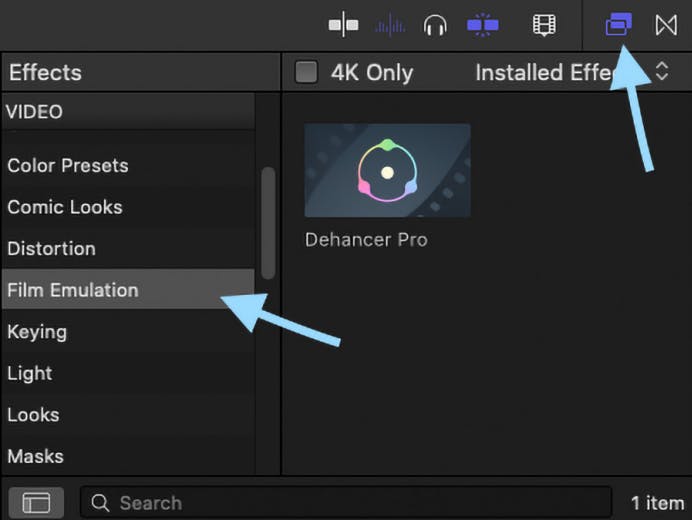
3. Click the Effects icon in the top-right corner of the timeline (or press Cmd–5).
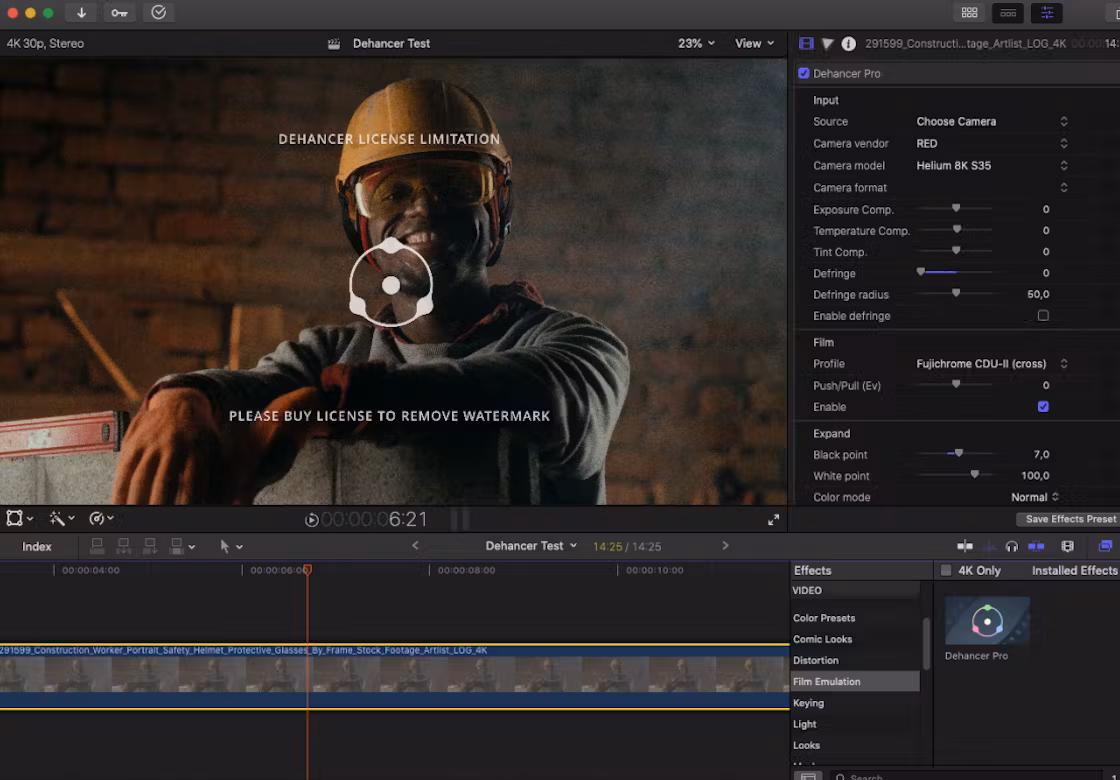
4. In the Effects tab, open the ‘Film emulation’ group and find Dehancer Pro or Dehancer Lite.
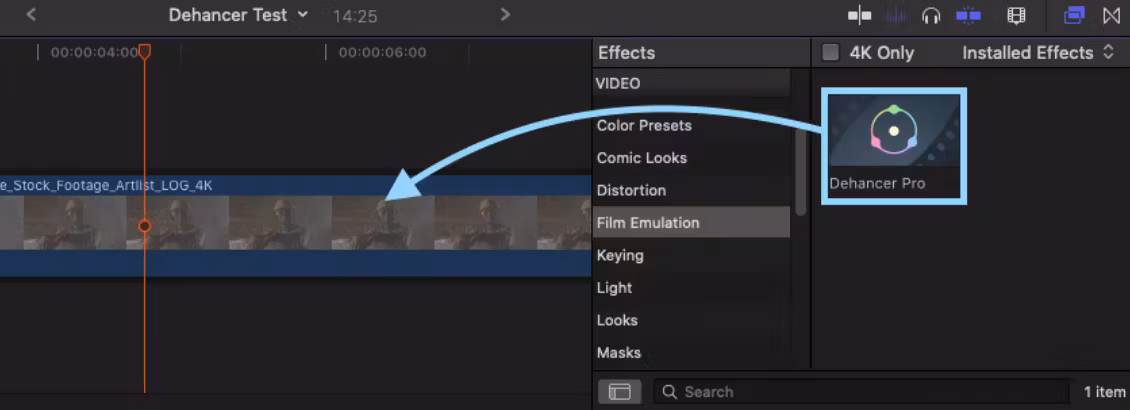
5. Select a clip on the timeline, then drag and drop Dehancer to the clip. Also, you can double-click the effect to apply it to the selected clip.
💡 In the same way, Dehancer can be applied not only to the individual clips, but also to the Adjustment Layers, thus allowing to grade the entire timeline with a single Dehancer instance. To add Adjustment Layer functionality to FCP, you have to create a blank Motion Template using Apple Motion or download one of the free Adjustment Layer templates available online.
Downloading Film and Camera Profiles
Attention!
Before using Dehancer you have to download film and camera profiles

1. If the profiles have not yet been downloaded, you will be prompted by the message ‘Please update profiles’ when trying to select a profile.
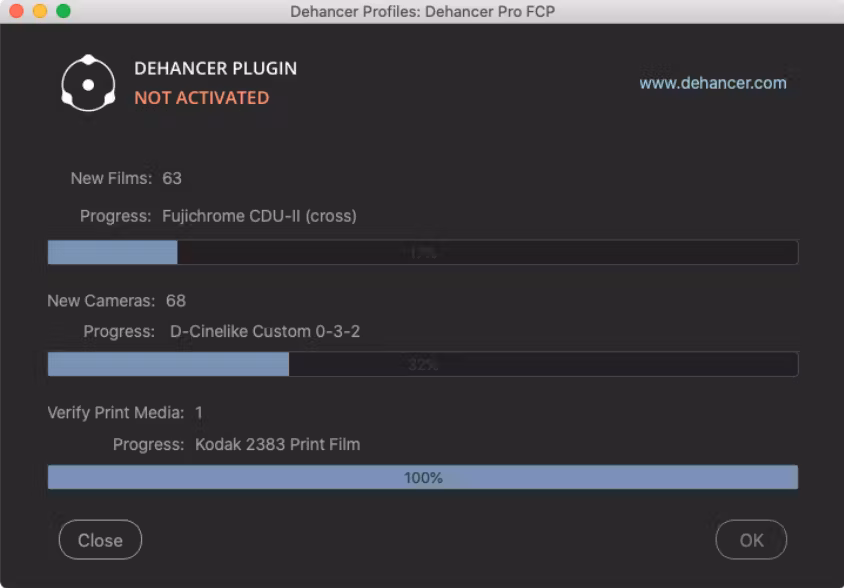
2. Navigate to the bottom of Dehancer plugin settings, find the Options section and click the Check profiles button.
3. The Dehancer Profiles widget will open and the profiles will be downloaded and installed automatically.
4. Once the profiles update is complete, close the widget. Now Dehancer is ready to use