
Downloading and installing the plugin / macOS
2.1 Go to the Products → Adobe Ae, Pr plugins.
2.2 Select the desired plugin.
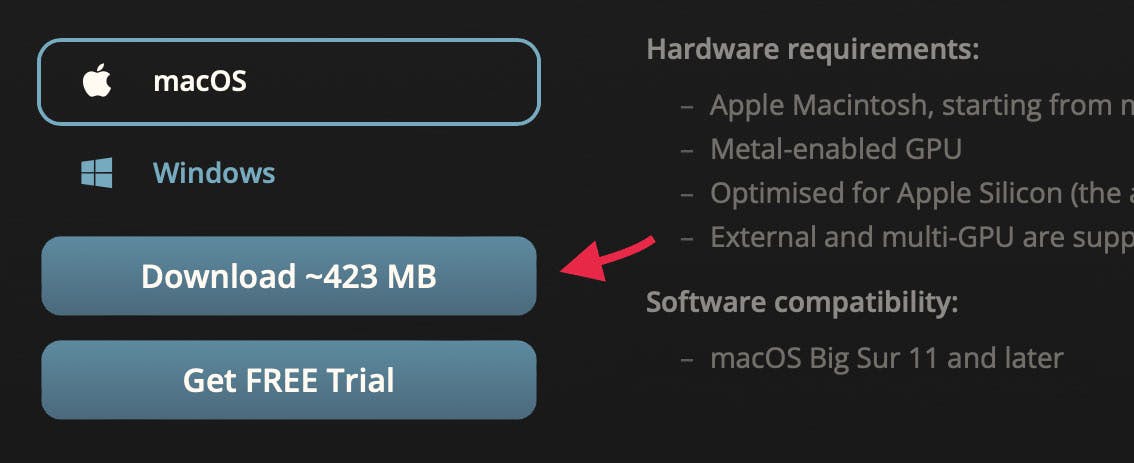
2.3 Select macOS as your operating system on the product page.
2.4 Hit Download button. Your download will start automatically.
3. Unzip the downloaded zip file, if your system didn’t do it automatically.
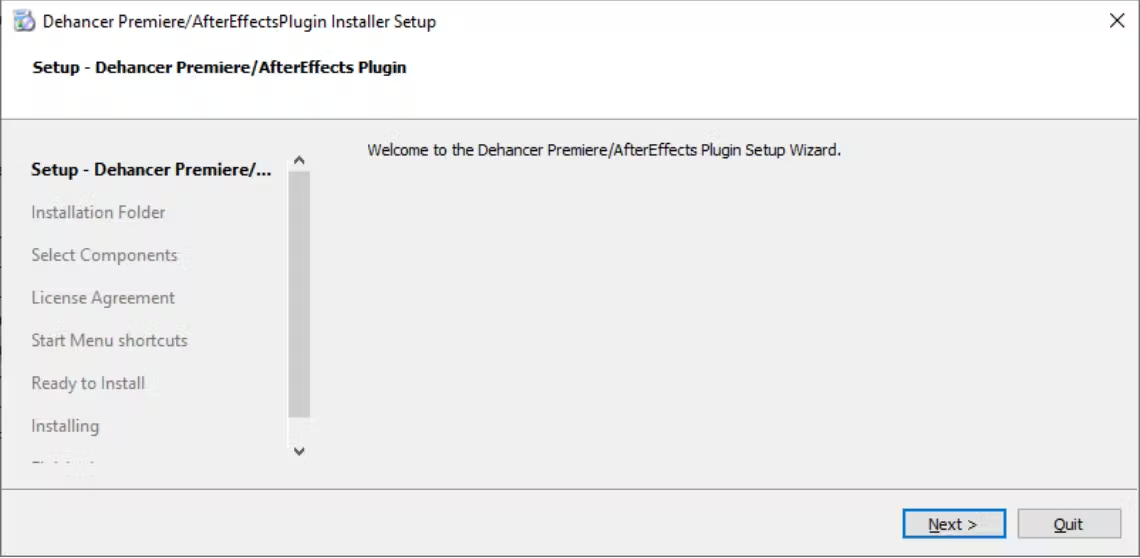
4. Run the installation file and follow the installation steps.
5. Normally, older plugin versions will be removed during the installation procedure automatically. If the update does not technically allow to maintain settings compatibility, new version will be installed as a separate, independent plugin.

Downloading and installing the plugin / Windows
2.1 Go to the Products → Adobe Ae, Pr plugins.
2.2 Select the desired plugin.
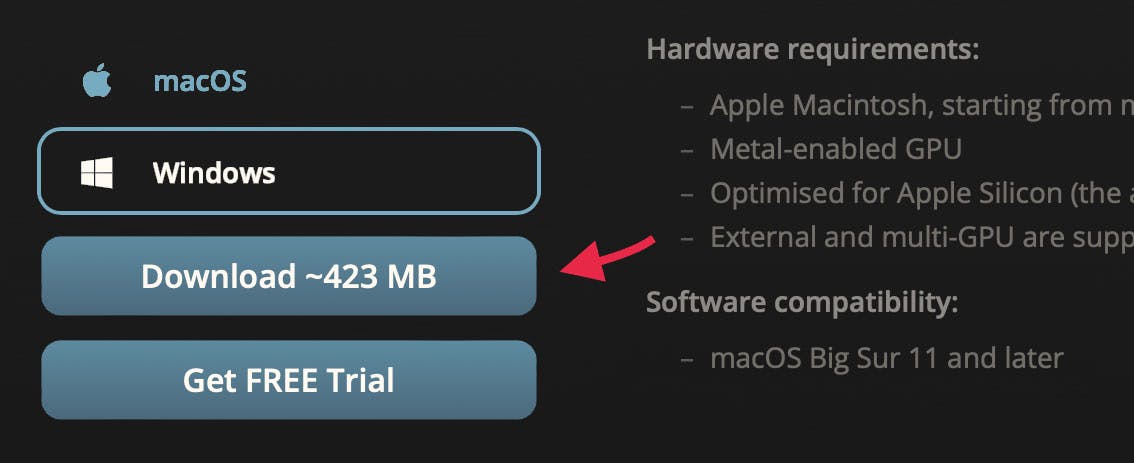
2.3 Select Windows as your operating system on the product page.
2.4 Hit Download button. Your download will start automatically.
3. Unzip the downloaded zip file, if your system didn’t do it automatically.
4. Select the appropriate distributive for CUDA/OpenCL GPU frameworks.
5. Run the installation file and follow the installation steps.
6. Normally, older plugin versions will be removed during the installation procedure automatically. If the update does not technically allow to maintain settings compatibility, new version will be installed as a separate, independent plugin.
GPU render selection [Pr] / macOS
In Adobe Premiere, you need to select the correct GPU engine when you create the New Project to make rendering and preview run at high performance. Otherwise, the system will automatically switch to software renderer, making performance extremely poor. Notice that this setting can only be changed when creating the project.
- In the New Project window go to: General → Video Rendering and Playback → Renderer
- Select the Metal rendering engine.
GPU render selection [Pr] / Windows
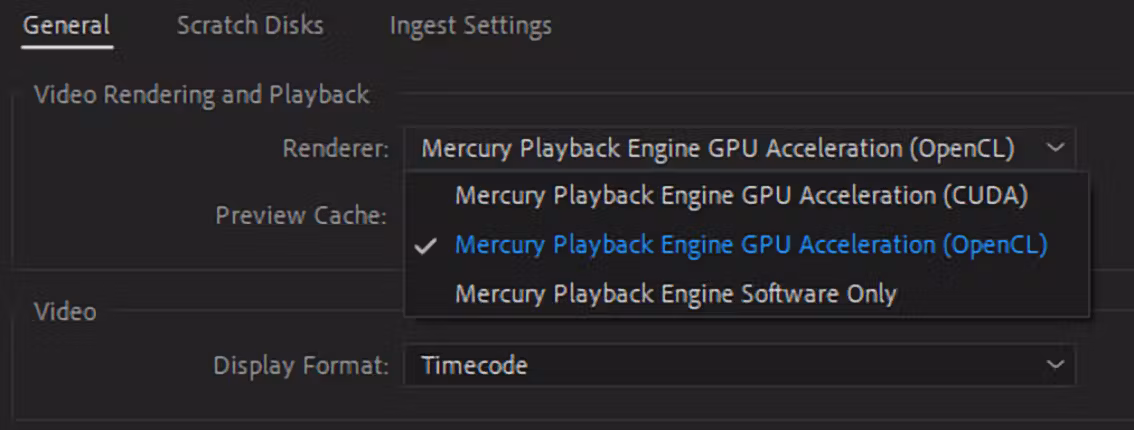
In Adobe Premiere, you need to select the correct GPU engine when you create the New Project to make rendering and preview run at high performance. Otherwise, the system will automatically switch to software renderer, making performance extremely poor. Notice that this setting can only be changed when creating the project.
- In the New Project window go to: General → Video Rendering and Playback → Renderer
- Select your GPU engine depending on the plugin distributive you used for the installation – CUDA or OpenCL.
Downloading Film and Camera Profiles
💡 Before using Dehancer you have to download film and camera profiles.

1. At the final step of the installation procedure, the Dehancer Profiles widget will open and the profiles will be downloaded and installed automatically.
2. Once the profiles update is complete, close the widget. Now Dehancer is ready to use.
3. If for some reason the profiles were not downloaded during the installation, you will need to do it manually.
3.1 Apply Dehancer Plugin to any clip or Adjustment layer.
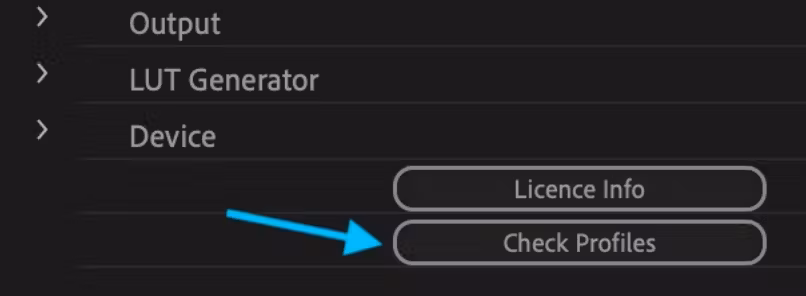
3.2 Go to Effect Controls panel → Dehancer, navigate to the bottom of the plugin settings and find the Check Profiles button. This allows you to download or update the profiles at any time.
Adding Dehancer to the Project (After Effects)
- After the plugin installation, restart After Effects if it was already running.
- Open a Project.
- Open the Effects & Presets panel (or press Ctrl+5).
- In the Effects & Presets tab, open the Film Emulation group and find Dehancer.
- Select a clip on the timeline, then drag and drop Dehancer to the clip. Also, you can double-click the effect to apply it to the selected clip.
💡 In the same way, Dehancer can be applied not only to the individual clips, but also to the Adjustment Layers, thus allowing to grade the entire timeline with a single Dehancer instance.
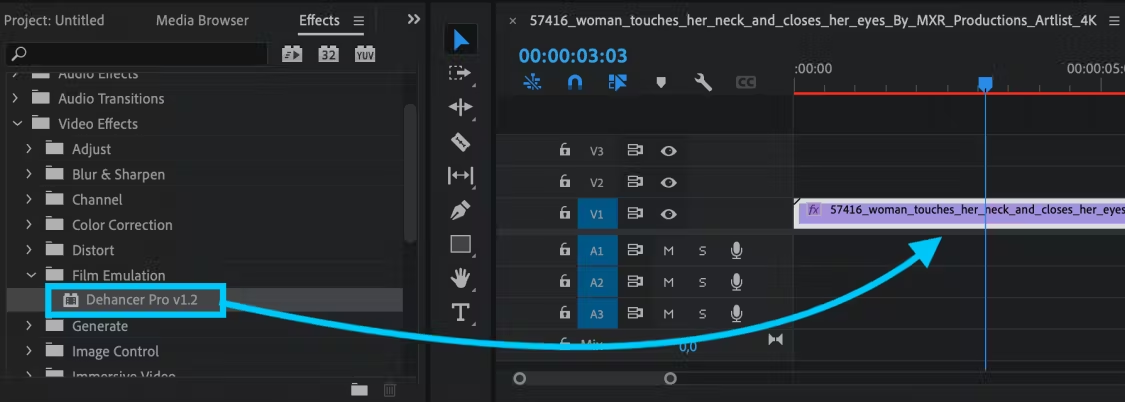
Adding Dehancer to the Project (Premiere Pro)
- After the plugin installation, restart Premiere Pro if it was already running.
- Open a Project.
- Open the Effects panel (or press Shift+7).
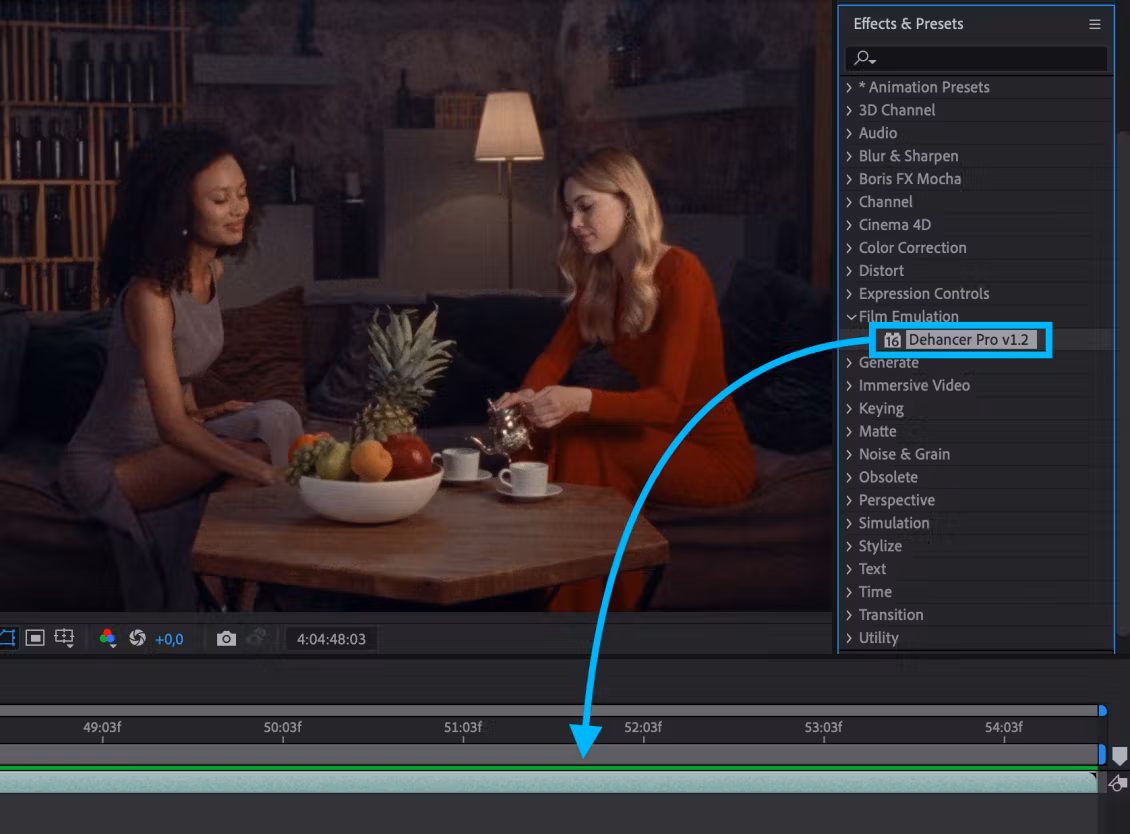
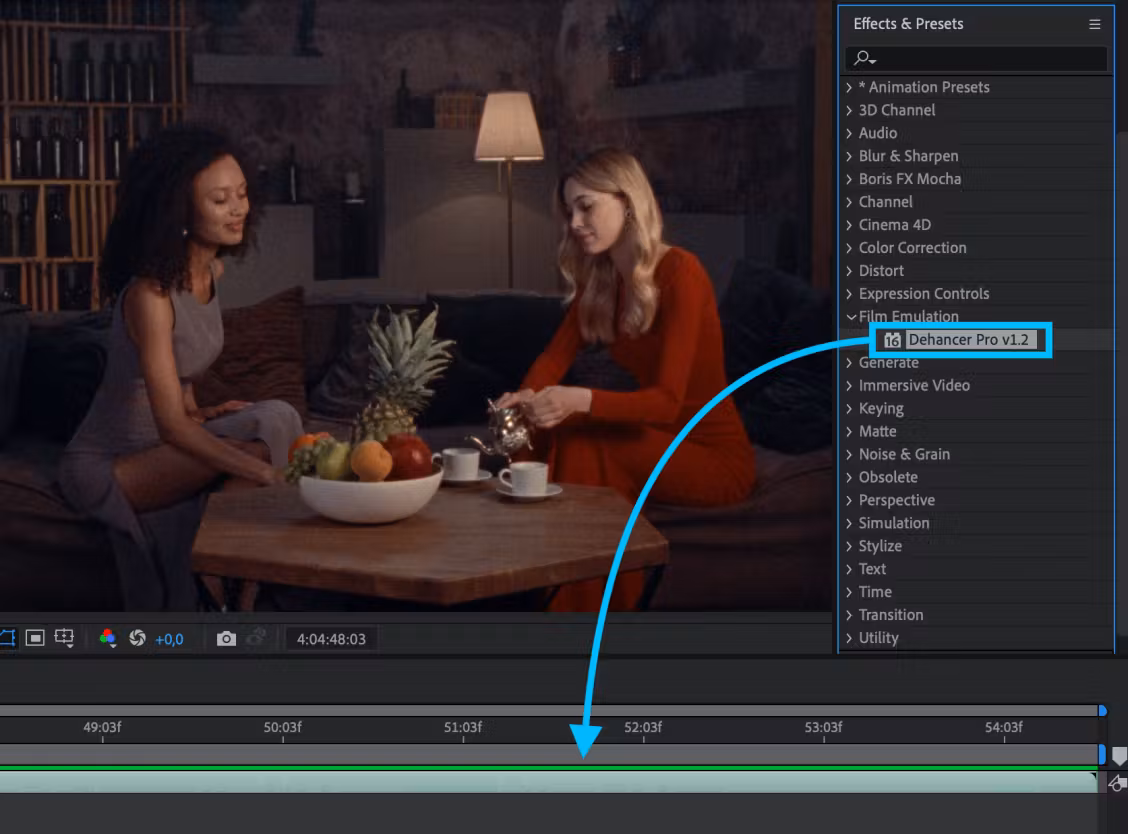
- In the Effects tab, open the Video Effects / Film Emulation group and find Dehancer.
- Select a clip on the timeline, then drag and drop Dehancer to the clip. Also, you can double-click the effect to apply it to the selected clip.
💡 In the same way, Dehancer can be applied not only to the individual clips, but also to the Adjustment Layers, thus allowing to grade the entire timeline with a single Dehancer instance.
Preview and Rendering quality settings (Premiere Pro)
When using Dehancer and other plugins with Adobe Premiere Pro, the Preview and the rendered footage may suffer from posterisation artifacts. This is caused by insufficient bit depth.
Maximum Preview quality:
- In the Premiere menu select Sequence → Sequence Settings.
- In the Video Previews section enable the Maximum Bit Depth checkbox.
- Optionally you can enable the Maximum Render Quality checkbox.
- Then you will get the warning alert, which in most cases can be ignored.
Maximum Render quality:

- Go to the Export tab.
- In the Video / Basic Video Settings enable the Render at Maximum Depth checkbox.
- Optionally you can enable the Use Maximum Render Quality checkbox.
Note:
These settings may significantly affect the plugin performance and memory requirements.