
Downloading and installing the plugin
CURRENTLY AFFINITY PHOTO SUPPORT HAS BETA STATUS AND MAY BE UNSTABLE. USE AT YOUR OWN RISK. Please follow our instructions carefully to maximize your chances. However, due to the nature of Photoshop plugin support in Affinity, we cannot guarantee the functionality of Dehancer plugin within this host application.
Downloading and installing the plugin / macOS
1. Make sure that your computer meets the system requirements for the plugin to work correctly.
2. Download the latest version of the plugin from Dehancer.
2.1 Go to the Products → Ps, LrC, C1, APh plugin.
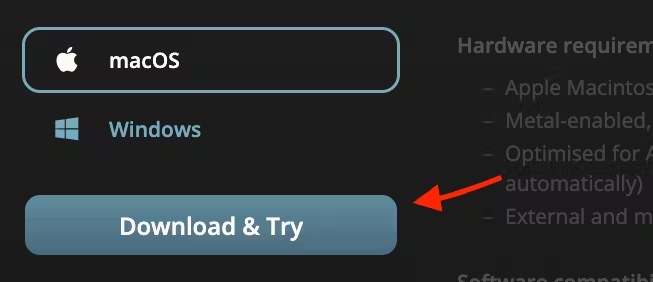
2.2 Select macOS as your operating system on the product page.
2.3 Hit Download & Try button. Your download will start automatically.
3. Unzip the downloaded zip file, if your system didn’t do it automatically:
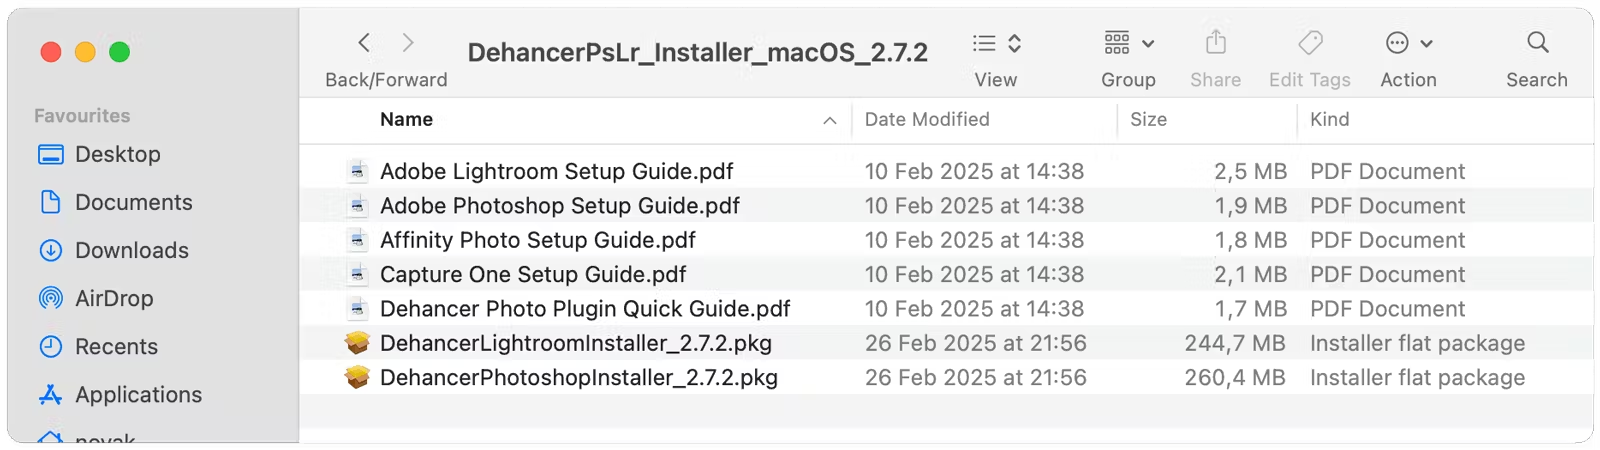
4. Select the appropriate distributive. The file name contains the host application (Photoshop or Lightroom).
ATTENTION! The Adobe Photoshop plugin is used for Affinity Photo installation.
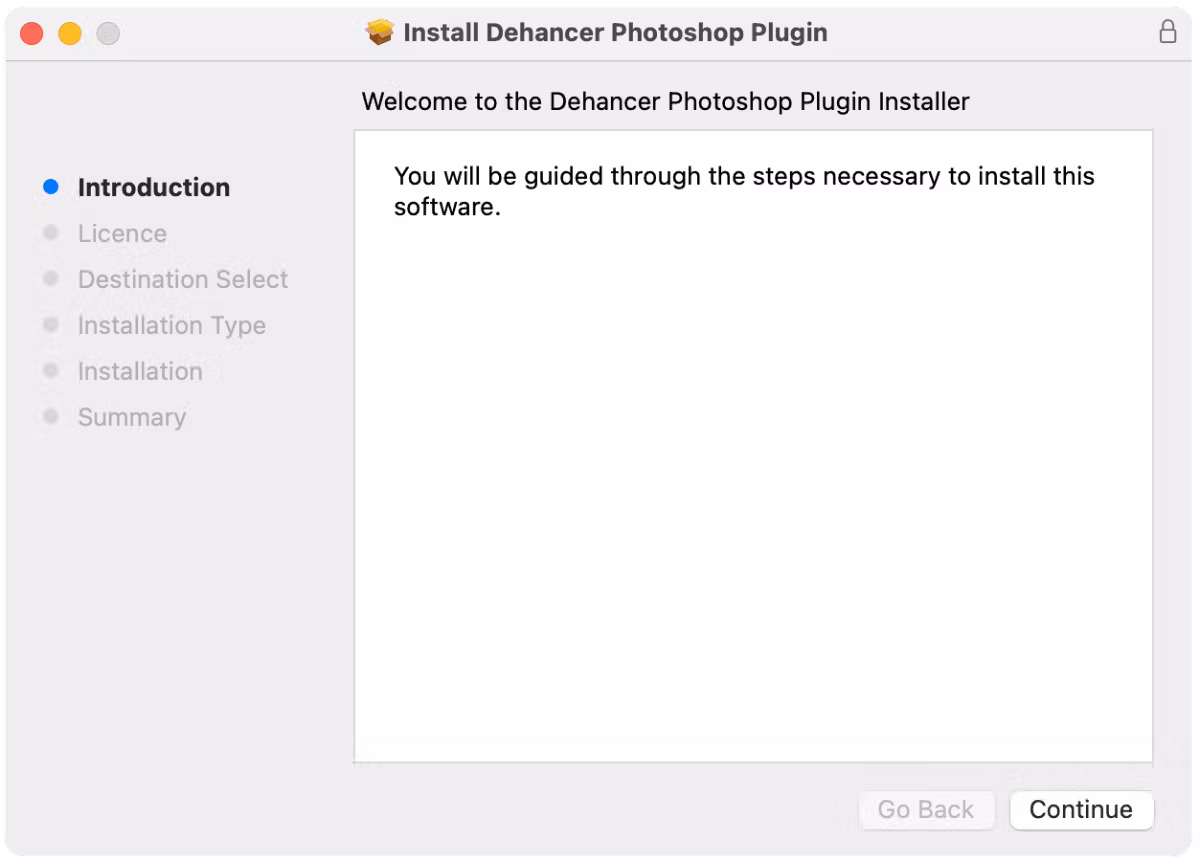
5. Run the Photoshop installation file and follow the installation steps.
6. Launch Affinity Photo. If the program was already running, you don’t need to restart it.
7. Open Affinity Photo plugins preferences: Affinity Photo → Preferences → Photoshop Plugins.
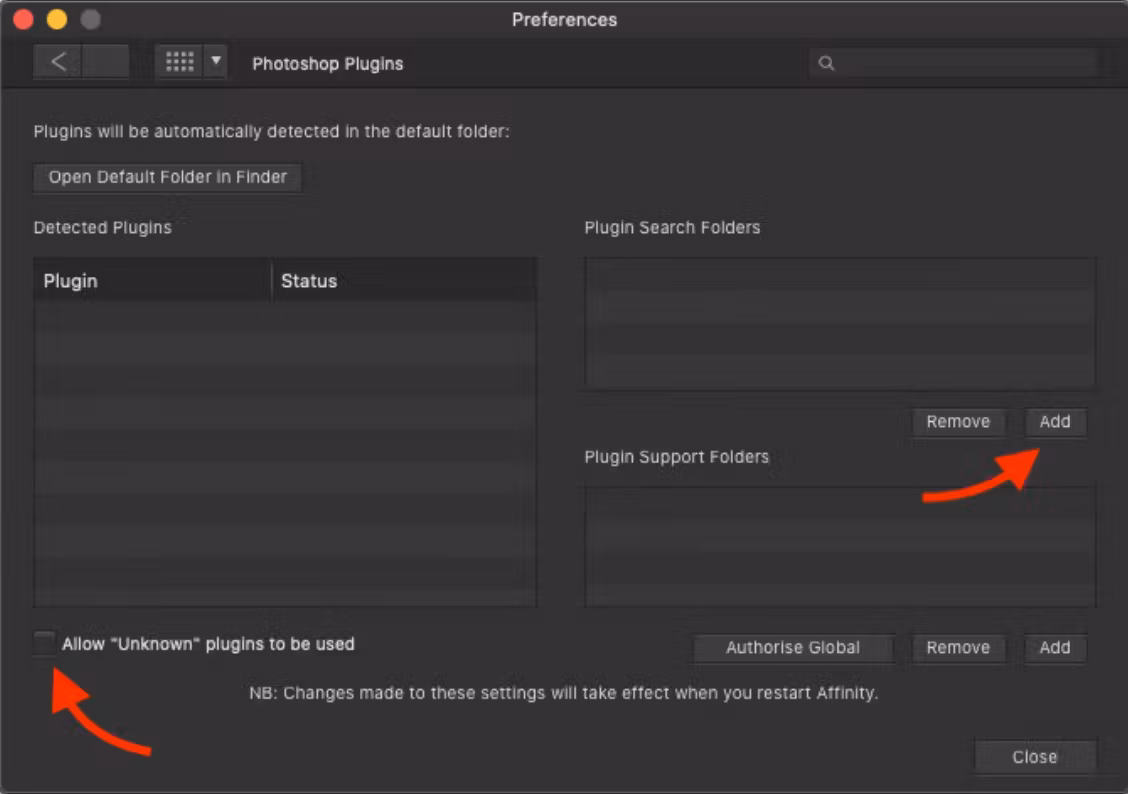
8. Click the Add button under the Plugin Search Folders list and specify the installed Dehancer Photoshop plugin location:
Macintosh HD/Library/Application Support/Adobe/Plug-Ins/CC/Dehancer
9. Enable the checkbox Allow "Unknown" plugins to be used.
10. Close Preferences and restart Affinity Photo as required.
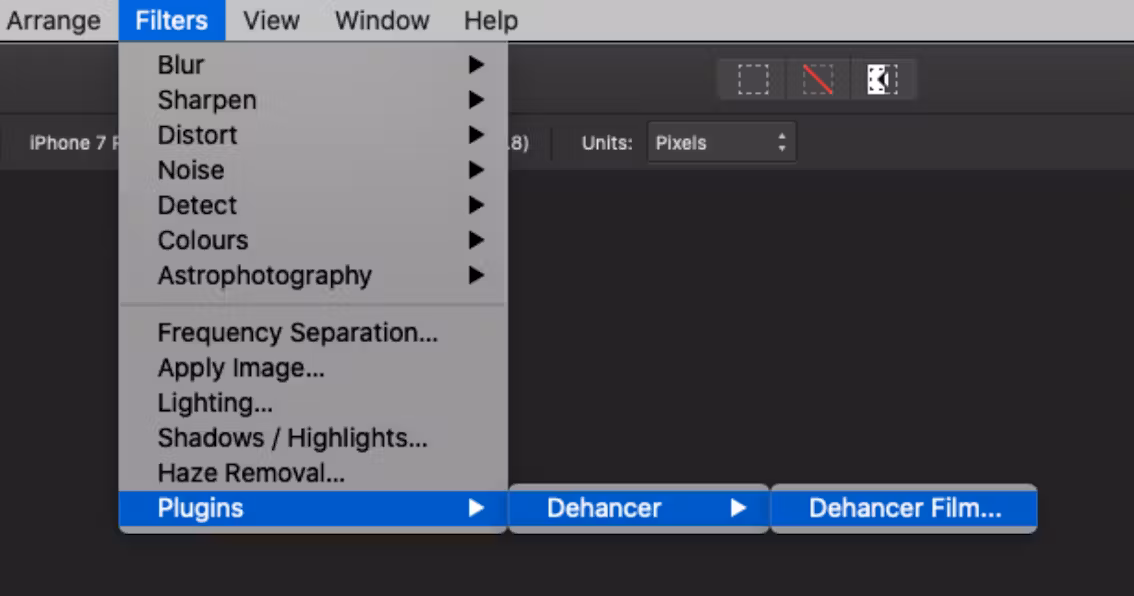
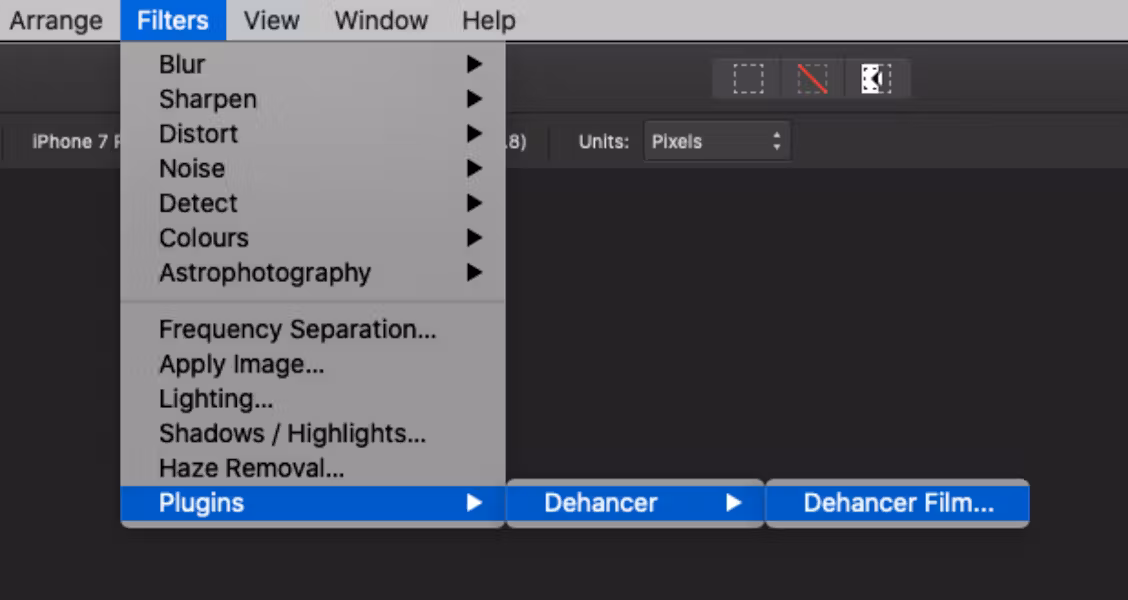
11. After the application is restarted, a new plugin should appear in the list:
Filters → Plugins → Dehancer → Dehancer Film
Note that your file must be presented in the sRGB color space to be displayed and processed properly. Support for other color spaces will be added later.
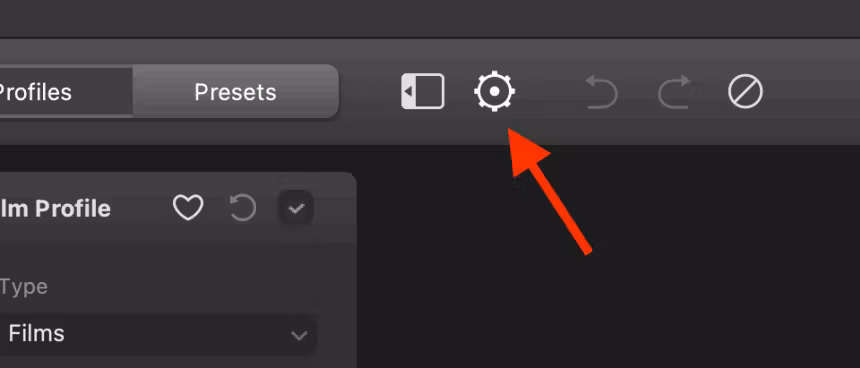

12. At first launch, the Settings window will open automatically. You can also open the Settings at any time by clicking on the gear icon in the toolbar.
13. Use the button Update Film Profiles to download the profiles the first time.
14. Now Dehancer is ready to use.
Downloading and installing the plugin / Windows
1. Make sure that your computer meets the system requirements for the plugin to work correctly.
2. Download the latest version of the plugin from Dehancer.
2.1 Go to the Products → Ps, LrC, C1, APh plugin.
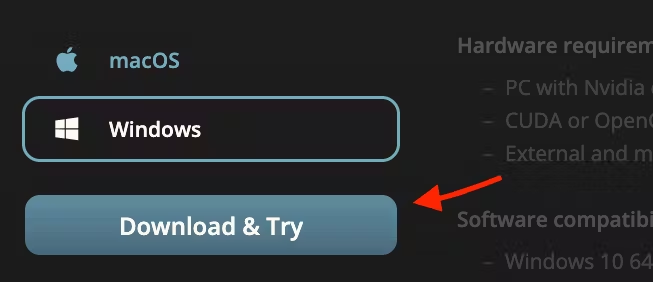
2.2 Select Windows as your operating system on the product page.
2.3 Hit Download & Try button. Your download will start automatically.
3. Unzip the downloaded zip file, if your system didn’t do it automatically:
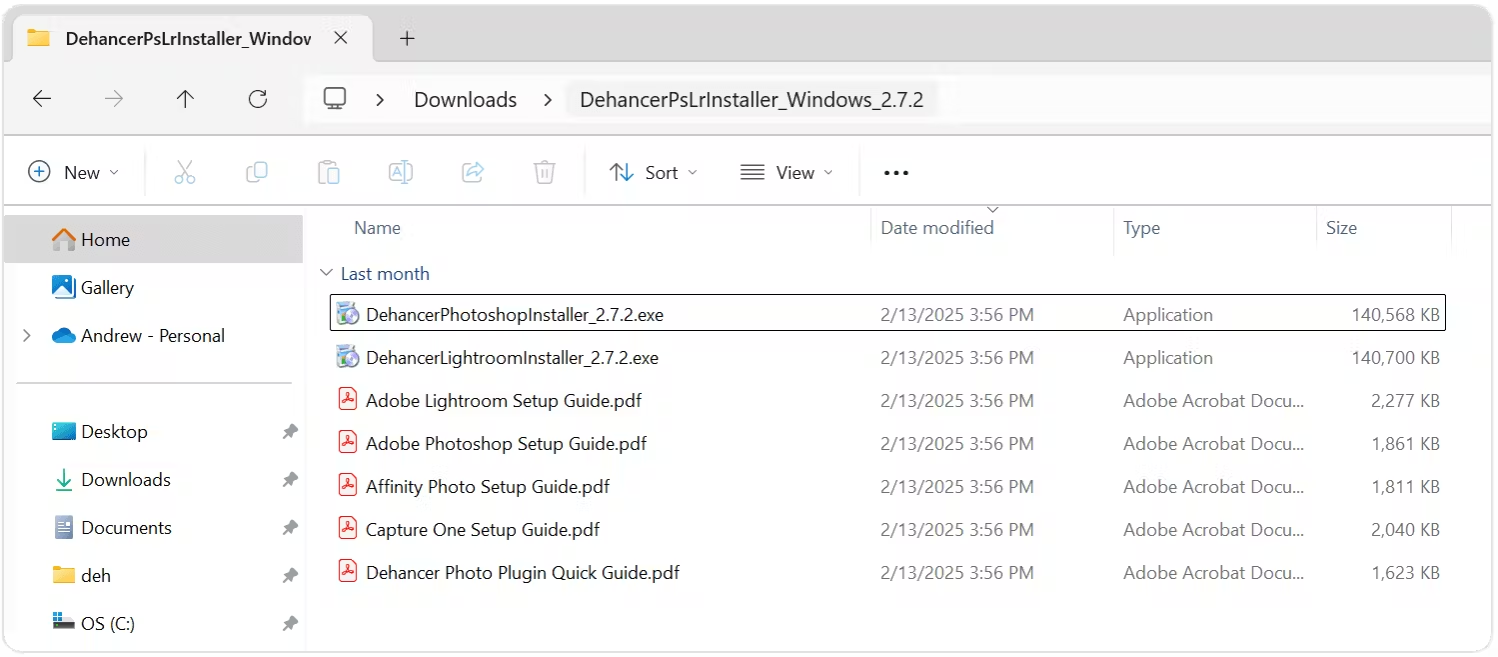
ATTENTION! The Adobe Photoshop plugin is used for Affinity Photo installation.
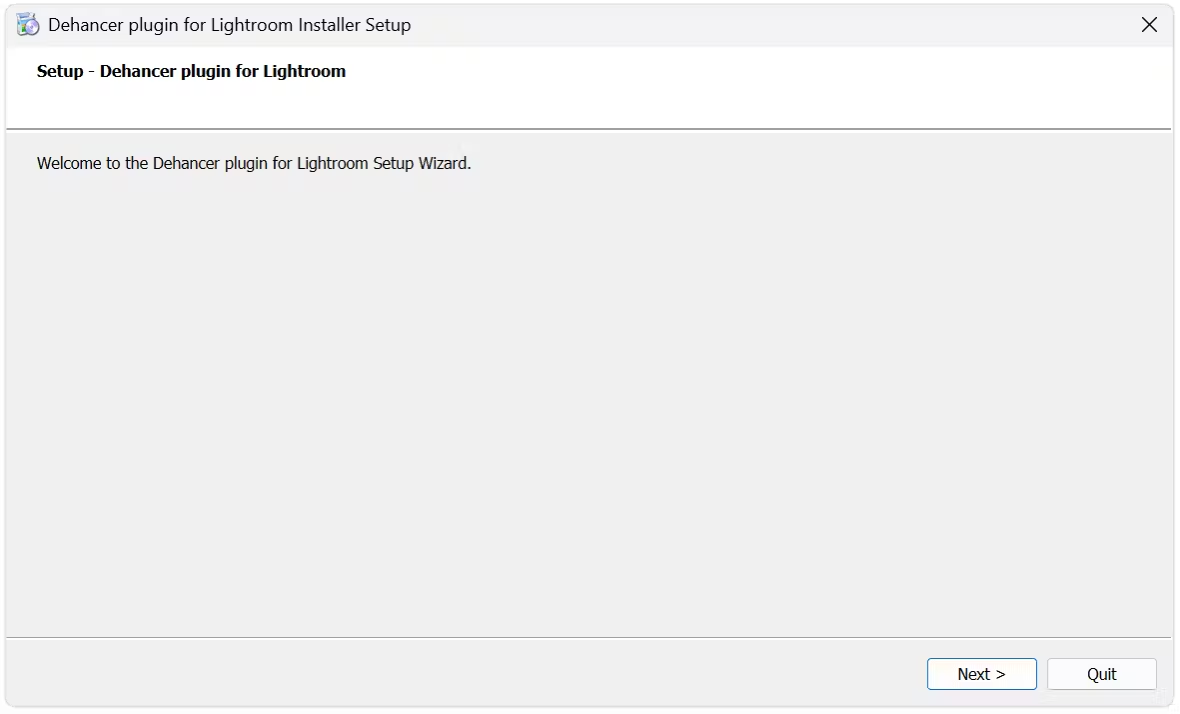
4. Run the installation Photoshop installation file and follow the installation steps.
5. Launch Affinity Photo. If the program was already running, you don’t need to restart it.
6. Open Affinity Photo plugins preferences: Affinity Photo → Preferences → Photoshop Plugins.
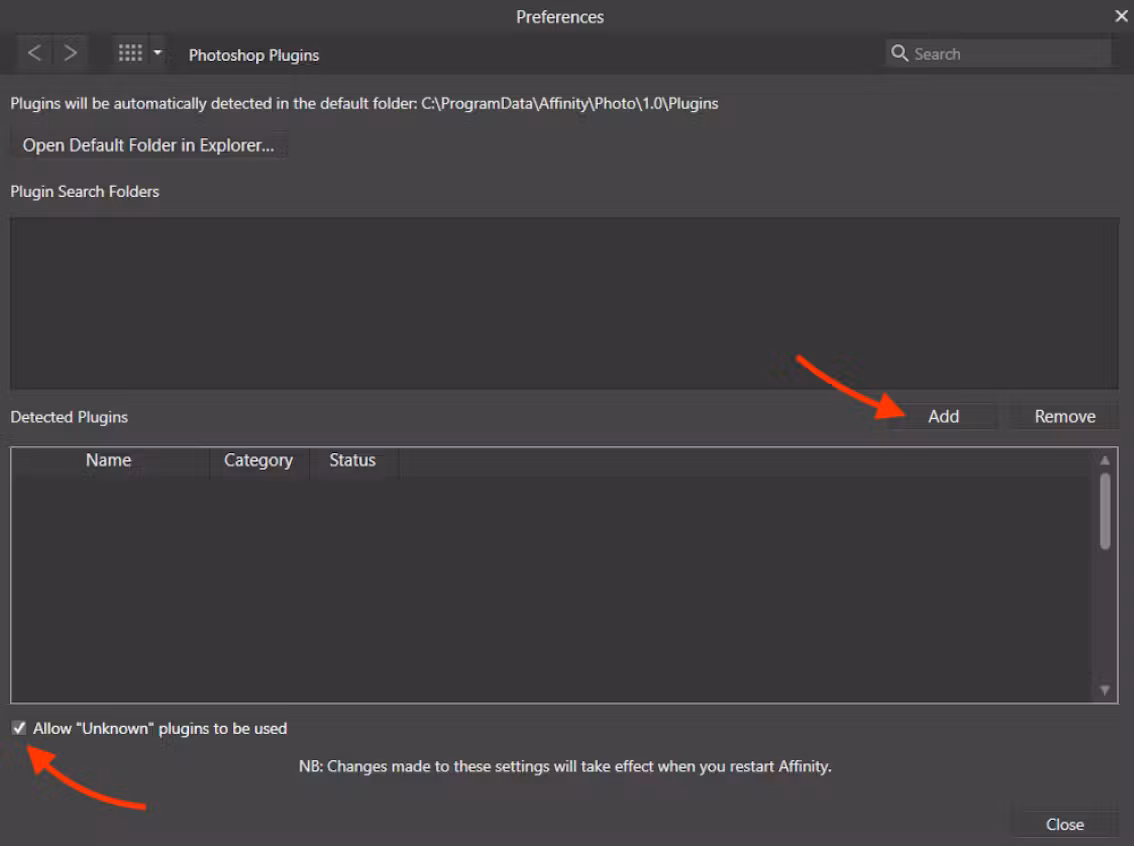
7. Click the Add button under the Plugin Search Folders list and specify the installed Dehancer Photoshop plugin location:
C:\Program Files\Common Files\Adobe\Plug-Ins\CC\Dehancer
8. Enable the checkbox Allow "Unknown" plugins to be used.
9. Close Preferences and restart Affinity Photo as required.
10. After the application is restarted, a new plugin should appear in the list:
Filters → Plugins → Dehancer → Dehancer Film
Note that your file must be presented in sRGB color space to be displayed and processed properly. Support for other color spaces will be added later.


11. At first launch, the Settings window will open automatically. You can also open the Settings at any time by clicking on the gear icon in the toolbar.
12. Use the button Update Film Profiles to download the profiles the first time.
13. Now Dehancer is ready to use.