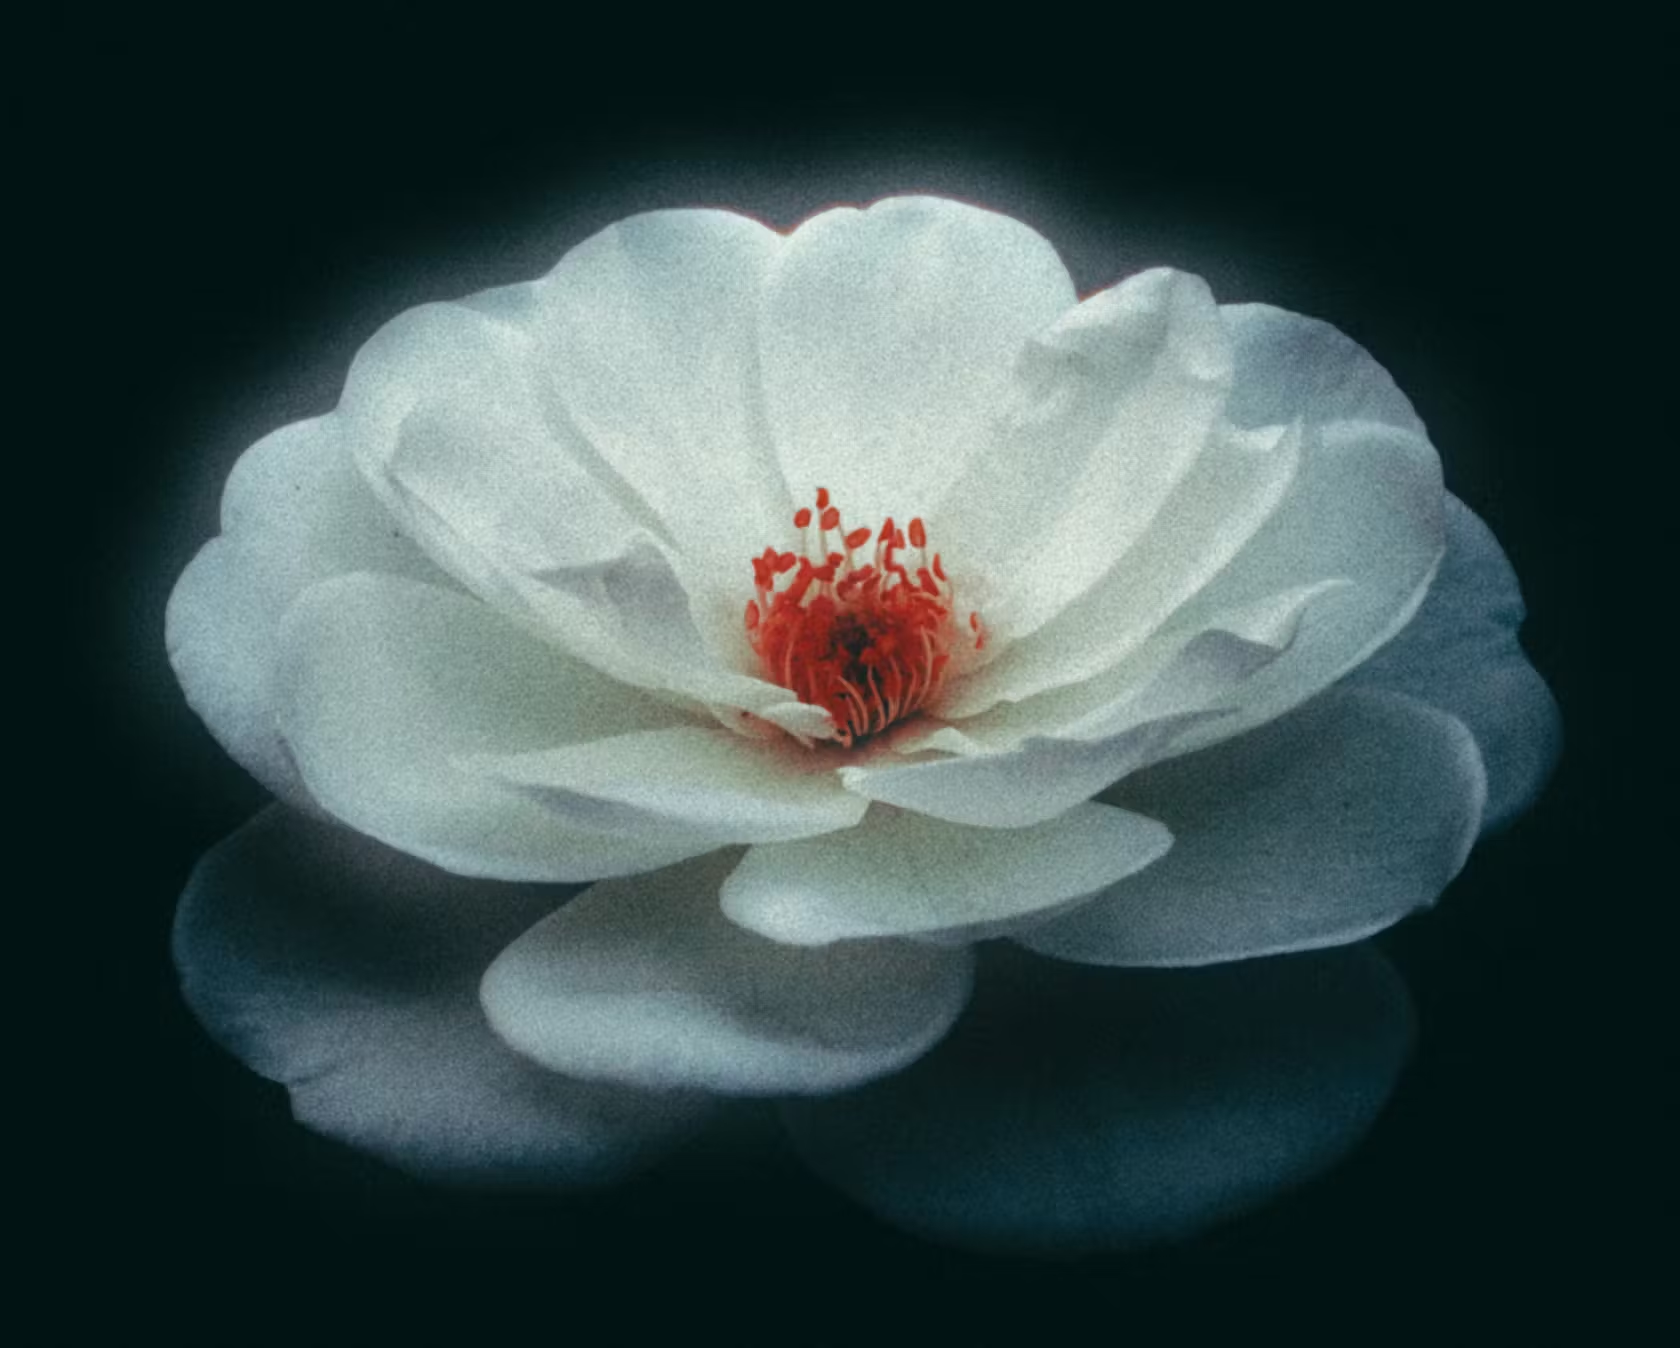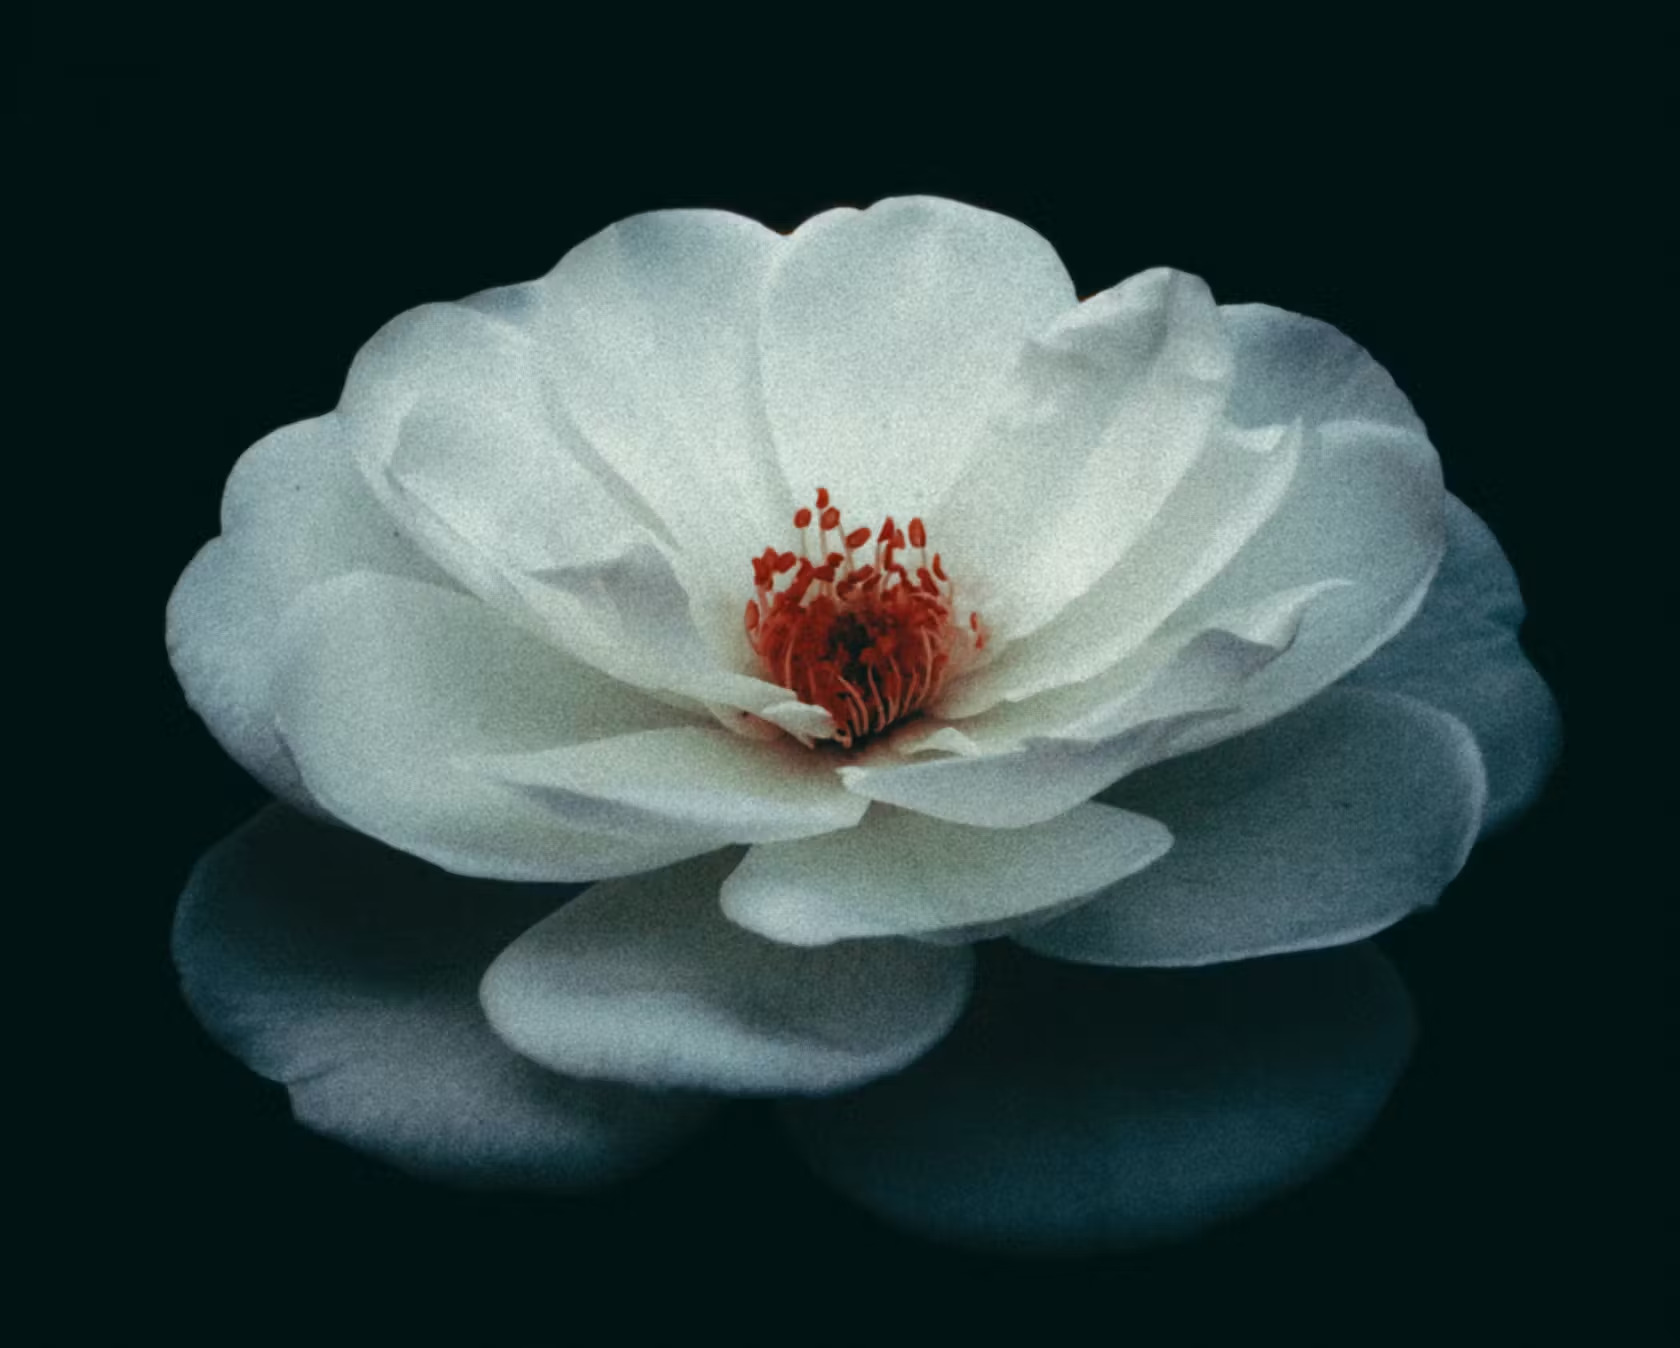

Bloom emulates the combined effect of light dispersion on the boundaries of contrasting image areas, which originates in the optical system, and then amplified in the emulsion layers. Notice that bloom has little in common with optical soft-effects as it appears only around the light sources.
1. Bloom Profiles
To simulate the Bloom diffuse glow effect, we have created four versatile profiles for 8, 16, 35 and 65 mm film formats. We have selected the average settings, which reflect the general image character.
In order to change the parameters of any profile, you must first select the most suitable one and then switch to Custom mode. All the usual effect settings will be available to you, and the parameter values will match the last selected profile.
2. Custom settings
The Custom settings allow you to configure Bloom as you like:
Highlights
In general, this setting may be considered the ‘sensitivity’ of the effect and determines the brightness threshold for bloom to appear. The higher is the value, the wider the tonal range that produces blooming is.
Source Limiter
Source Limiter is used to cut-off the unwanted blooming from the lower end of the tonal range defined by the Highlights setting.
Details
This setting controls the distribution of the bloom effect between large and small light sources. Increasing the value makes the effect more detailed and precise, up to the smallest point sources. Lowering the Details results in a more global effect across a frame, affecting larger objects.
Diffusion
Diffusion controls the extent of the bloom effect relative to the boundary where it appears. The bigger is the Diffusion value, the larger is the geometric size of the glow radius.
Amplify
Amplify controls the overall effect strength by virtually ‘changing’ the brightness of a light source and the diffusion properties of an emulsion. The higher the value, the more obvious the whole effect becomes.
Save Lights
Bloom affects not only the background but also increases brightness of a light source itself. In digital pipeline this may lead to visible clipping. Save Lights simply does what it’s supposed to do, protecting highlights from possible clipping induced by the Bloom effect.
Saturation
Naturally Bloom inherits the hue and saturation of a light source. This setting makes it possible to desaturate the effect at your taste.
Impact
This parameter can be conventionally referred to as ‘opacity’, since it controls not the physical parameters of the emulation, but the overall transparency of the superimposed effect.
Mask Mode
This checkbox enables a special preview mode which allows you to better control the settings with the effect preview isolated from a source image.
3. Bloom Tips
Basic Adjustment
Bloom effect is most pronounced when Source Limiter is at its lowest and Highlights at its highest settings, with Amplify set to maximum. It can be a good starting point – just gradually reduce the effect until getting optimal results.
Reducing halo artifacts
Sometimes with extreme settings Bloom may produce excessive halo-like artefacts. In this case try to increase the Save Lights, decrease the Amplify value and disable the Defringe tool.
Mask Mode visibility
Mask visibility depends on the exposition and contrast of the image. If Halation appears too dim or invisible in Mask Mode, try to temporarily increase the Amplify and Impact values.
Related Article: Bloom: what it is and how it works
