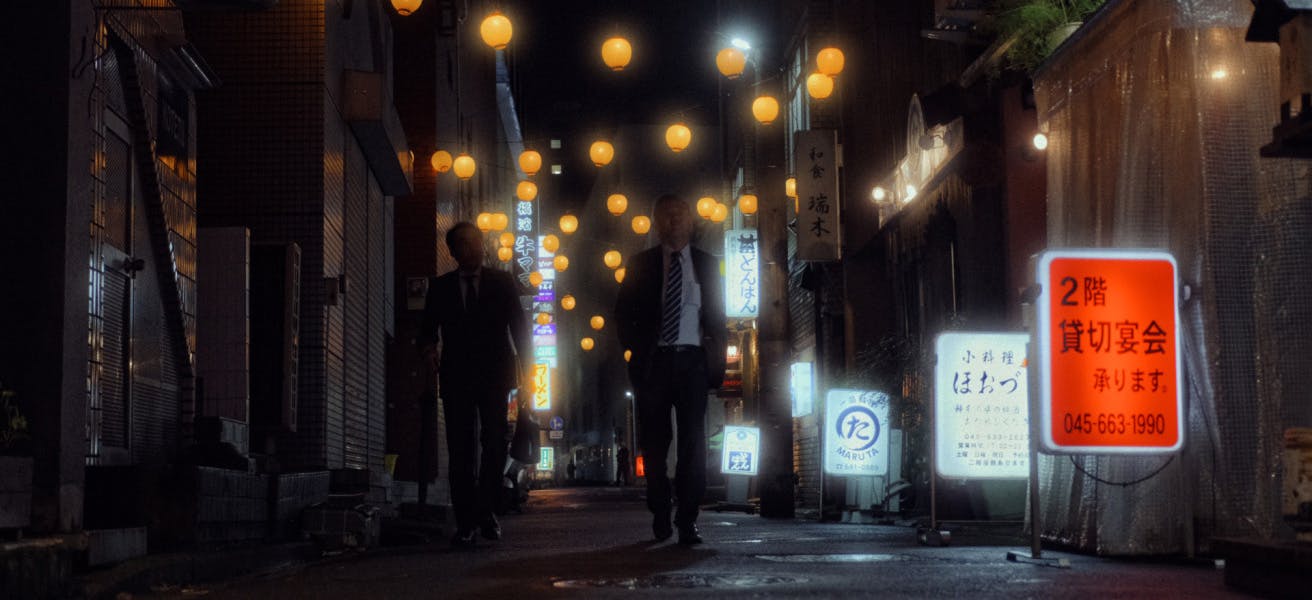
Film color simulation in digital image processing is usually discussed in the context of film profiles or other color transformations. Also, sometimes we’re talking about grain and how it can be superimposed.
In fact, color on itself is necessary but not enough to obtain a so-called ‘warm film look’ because film image is also distinguished by other properties of physical nature.
Some of them are particularly important. The most significant are grain, bloom, halation and highlights compression.
Grain is already discussed in detail in this article, but today we will talk about the Bloom effect and the corresponding tool in Dehancer Film plugin.
What is Bloom
The Bloom term is commonly used to define the combined effect of bright light dispersion on the boundaries of contrasting image areas, which originates in the optical system, and then is distorted and amplified in the multiple layers of the photographic emulsion.
The Bloom effect is most prominent when shooting with vintage lenses, as well as with special lenses or with special optical filters (including Pro-Mist). Since the nature of Bloom lies not only in optical system but also in film emulsion, this effect is particularly pronounced when using small-format films, especially with 8mm:
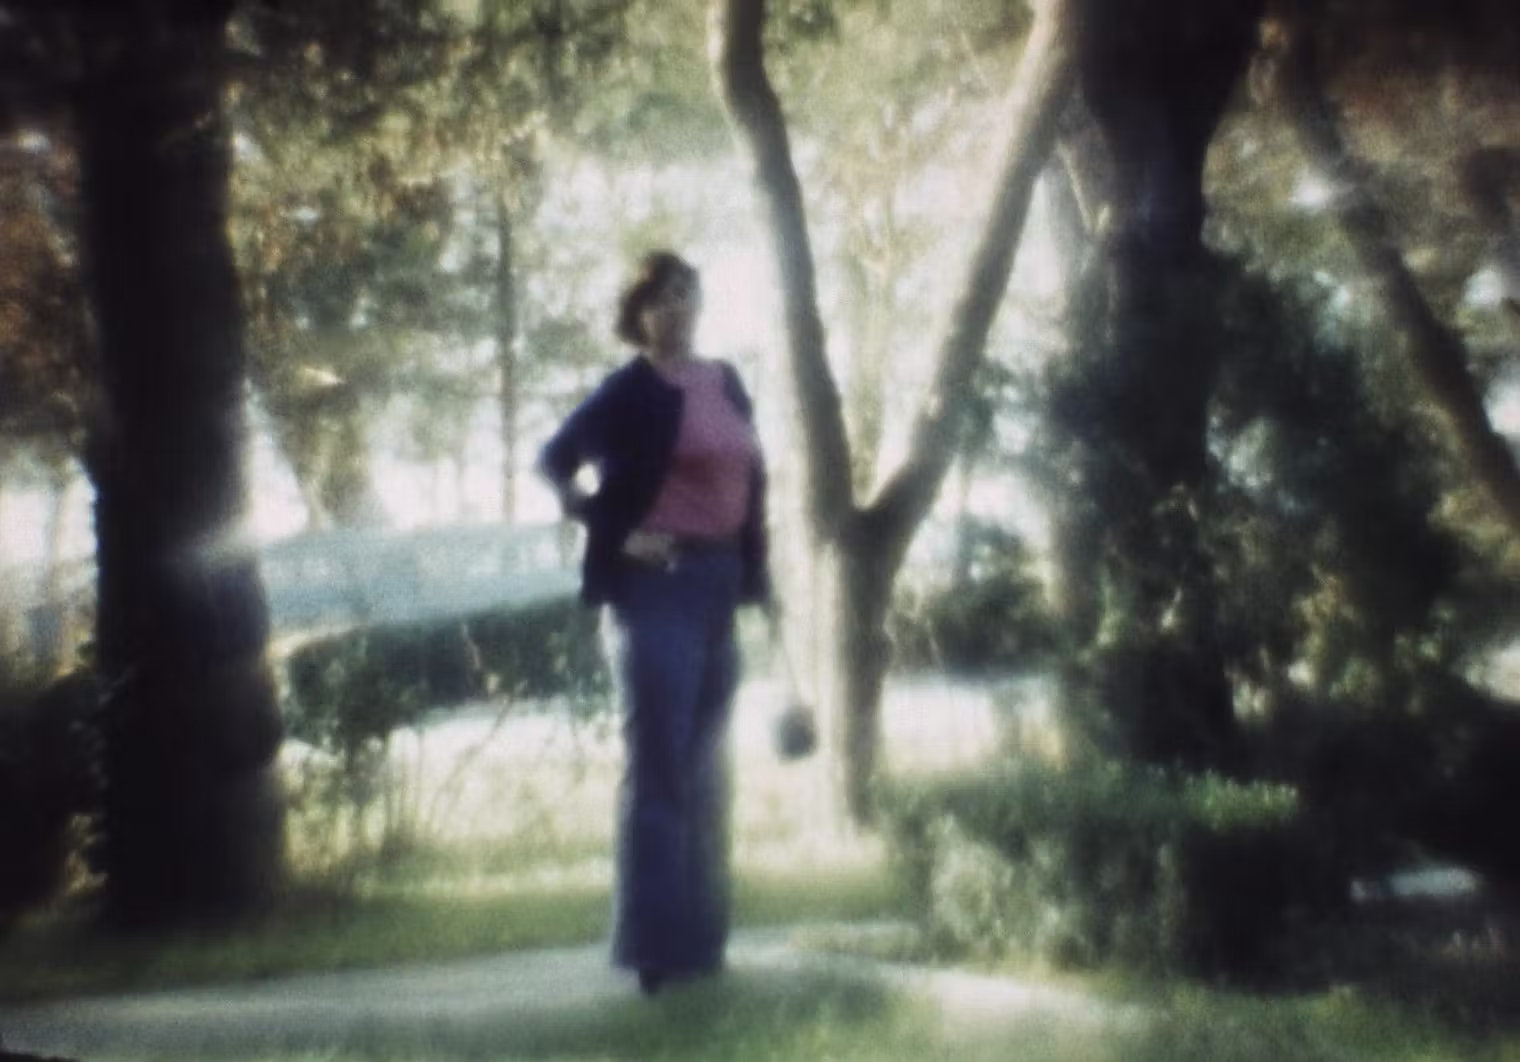
8 mm movie film scan
The ‘Bloom’ (or ‘Blooming’) term initially came from 3D graphics. When lighting effects are simulated in 3D, the light source location and the emitter properties (shape, size, brightness, color etc) are well known and predefined. Therefore, in 3D this effect of diffuse glow can be rendered with a high degree of realism.
When working with bitmaps the 2D-image doesn’t contain the exact information about light sources. On appearance of the illuminated objects we can only assume the physical characteristics of the light sources. That is why in post-processing Bloom is often simulated with a simple blurring of bright image areas. This method is usually called Glow.
Although the terms Glow and Bloom originally refer to the same visual effect, in Dehancer we use the word Bloom because the term Glow is somewhat defamed by established terminology.
Bloom is often confused with optical soft-effects (stocking on the lens, monocle, etc.), but these phenomena have different nature. Soft optics leads to a global decrease in contrast over the entire frame area, and the Bloom effect is expressed locally, at the areas of maximum exposure.
When discussing the effect of blurring highlights, the term Mist is also encountered along with words ‘fog’, ‘smoke’, ‘mist’. In fact, this natural phenomenon is not related to the optical effect of Bloom.
Bloom physical principles
The Bloom effect is caused by imperfections in optical design. It is most evident in old lenses with poorly coated glass. Inside these lenses, parasitic illumination occurs and then is scattered further in the film emulsion layers. As a result, diffuse glow appears around light sources, bright areas of the scene and along high-contrast edges.
While the Bloom effect is not directly related to the film itself, film makes it particularly attractive. Additional light scattering occurs in slightly inhomogeneous layers of emulsion and further this diffusion is amplified with development, when silver halides form clusters of grain.
As a result, initially smooth and regular, this optical effect becomes more non-linear, natural and pronounced.

8 mm movie film scan
When designing the Dehancer Bloom tool, we took into account the following observations:
- Bloom on the digital sensor is not similar to the film. On the sensor we deal with a simple optical effect, on film – with a complex and more perceptually natural effect of combined optics + emulsion impact.
- The Bloom effect appears when there is a lot of light. More light in bright areas of the scene makes the effect more visible, especially in case of slightly or even heavily overexposed image.
- Bloom is best observed along the borders of contrasting objects, as the light penetrates the neighbouring dark areas, against which become clearly visible. Higher contrast results in the more pronounced glow.
- Taking into account pp. 2 and 3, we can conclude that the brightest glow can be observed in local areas around very bright and overexposed light sources over a dark background: light bulbs, windows viewed from a dimly lit room, etc.
- Glow is produced by optical system, but then it is altered and amplified by diffusion and scattering processes. The local distribution of light leaks (glow) depends on the power of the source, so the glow size usually varies along area boundaries.
- Negative film is difficult to overexpose enough to completely lose information in the highlights. That’s why the glow effect, although it makes the lights slightly brighter, does not (or hardly does) lead to clipping – overexposure with total loss of detail.
How Bloom works in Dehancer
We have managed to create a mathematical model that replicates real physical processes quite accurately and, consequently, it simulates the Bloom effect in the most analogous way. A couple of these video examples illustrate it well (don’t forget to enable HD mode).
Please note that for the illustrative purposes the Glow effect in this example is slightly exaggerated by plugin settings. Normally, in real life grading, this effect is applied with slightly less amount.
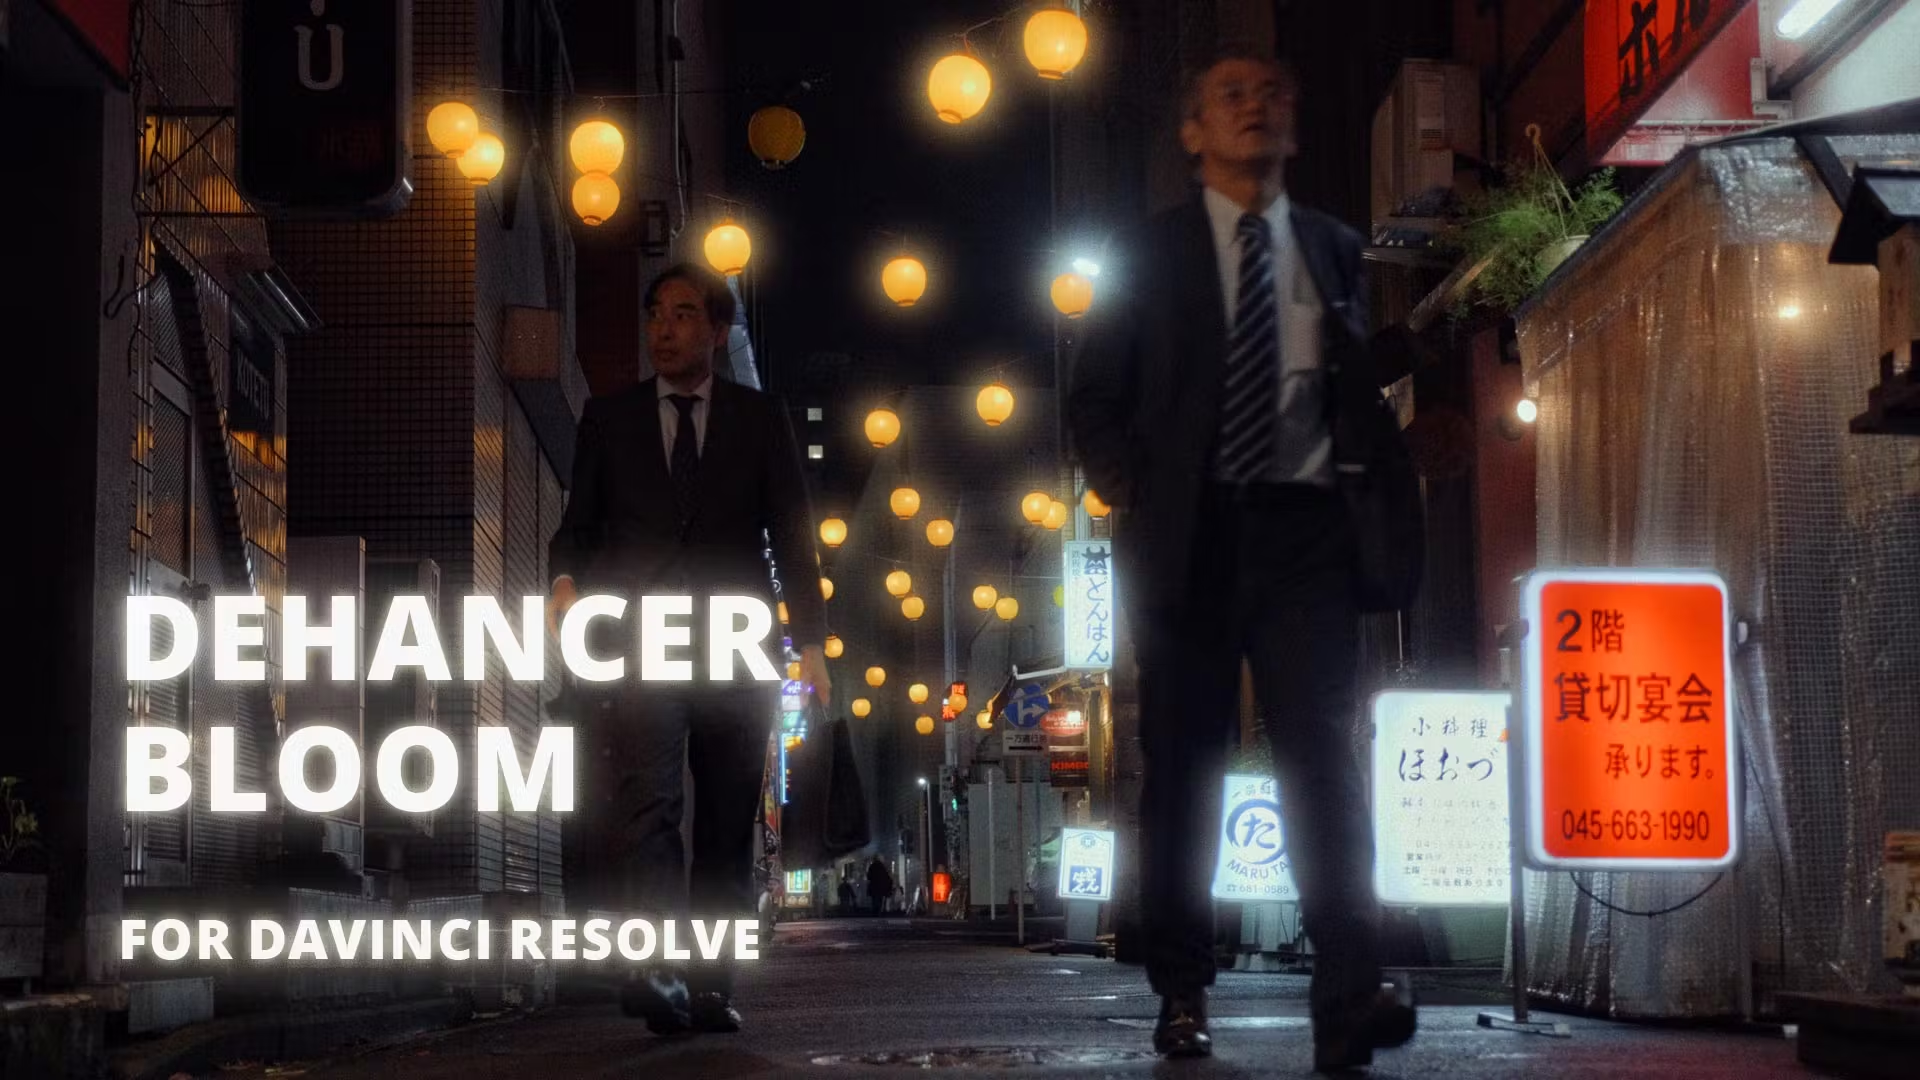
To control the Bloom effect, we have provided the following settings:
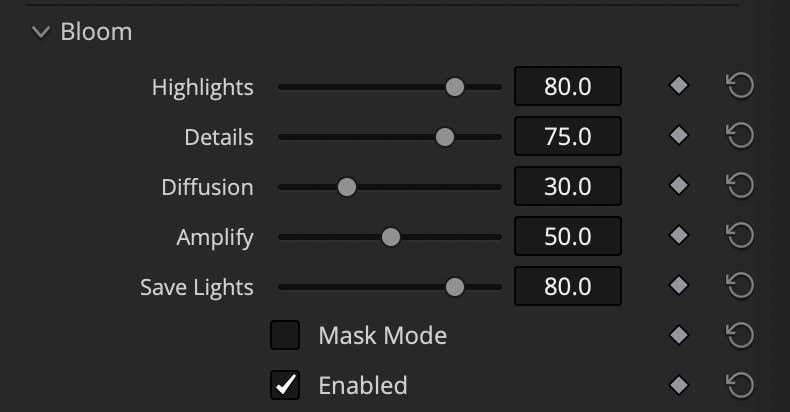
Highlights
This parameter determines the brightness threshold, starting from which image data is used to create Bloom effect. The higher is the value, the wider is the ‘highlights’ tonal range. At the lowest value only the brightest areas are considered to be highlights, at the highest value the wide range is used.
If the input image is too dark, highlights brightness value will not be high enough to produce Bloom effect. In this situation primary node correction is needed to raise the white point or overall exposure. The effect starts to appear in light areas where the white point of the original image exceeds 50% of luminosity.

Details
This setting defines the size of the area which produces Bloom.
Minimum values correspond to small objects – for example, thin foliage against a bright sky background. Maximum values correspond to large objects – e.g. a bright window pane viewed from inside a room. The higher is the Details value, the larger objects are affected by the Bloom effect.
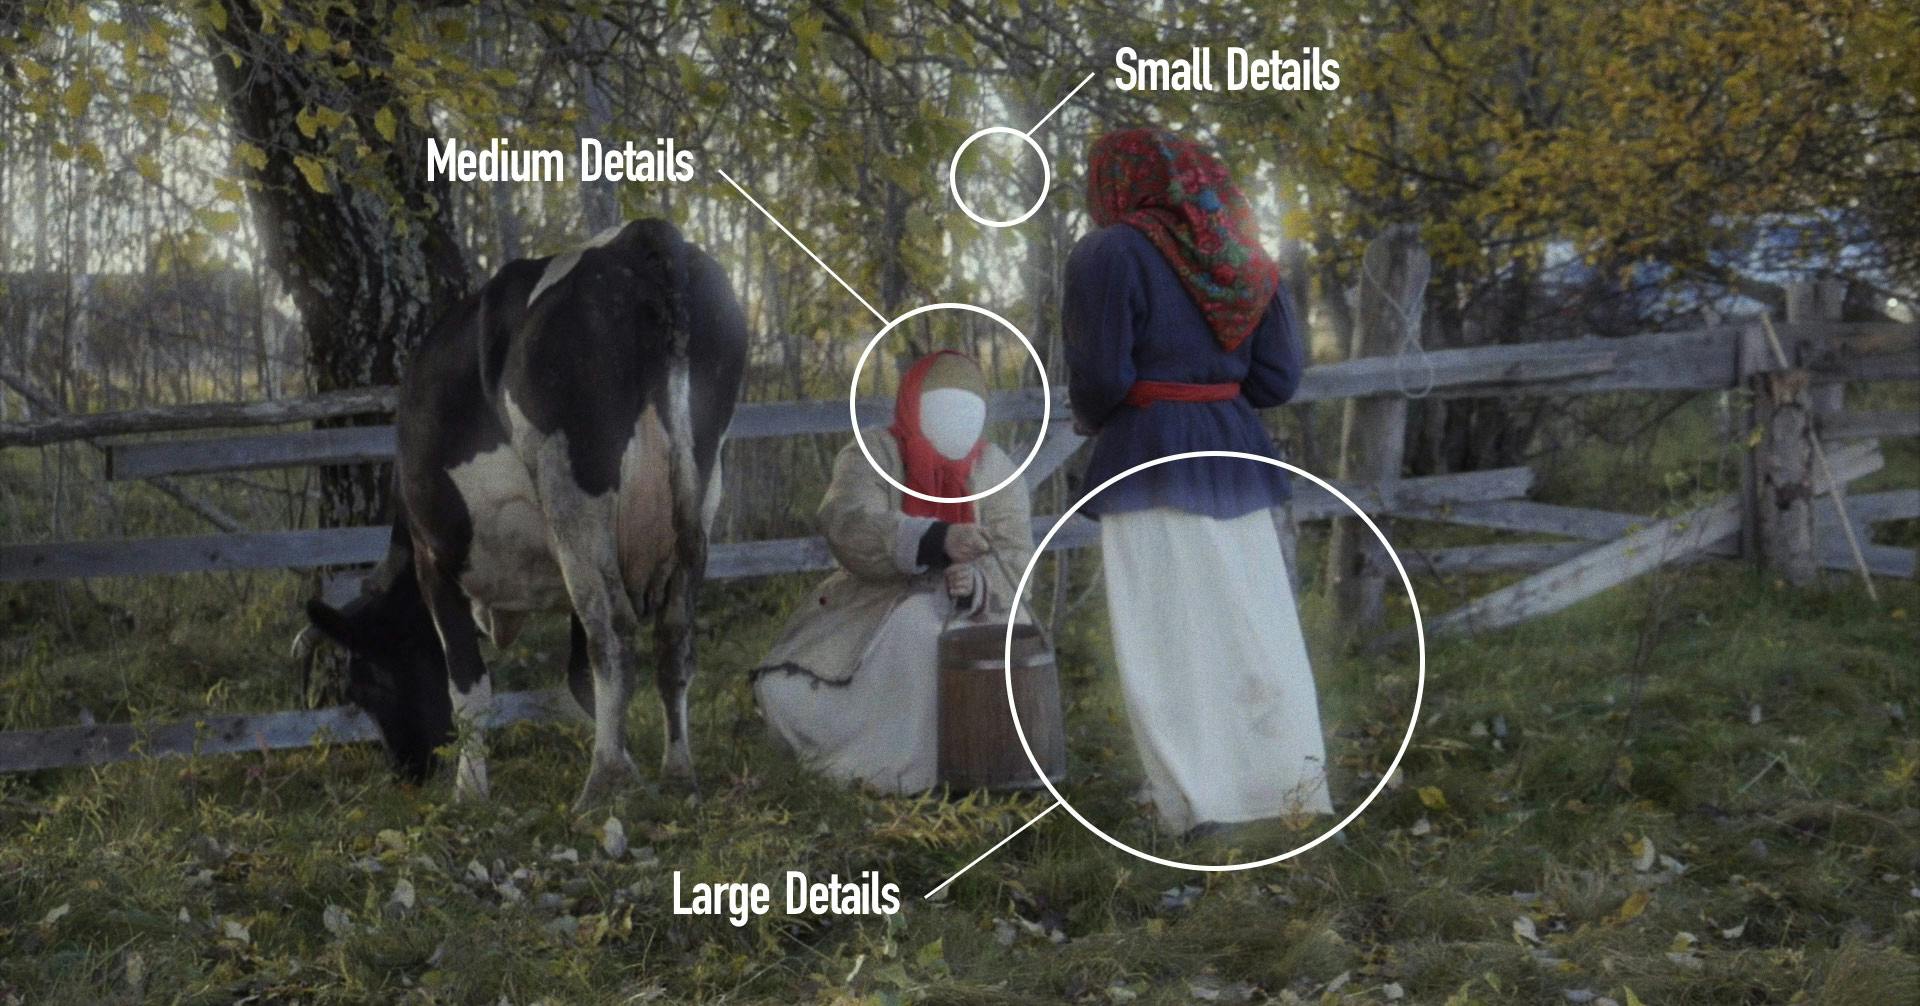
Glowing objects and other image details involved in scattered light effects are detected with automatic algorithms. For dynamic scenes and moving objects, the mechanism of internal tracking of these objects is reproduced, without the need to use additional key tracking by DaVinci.
Diffusion
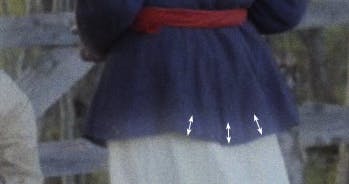
Diffusion controls the extent of Bloom effect relative to the boundary where it appears. The bigger is the Diffusion value, the larger is the geometric size of the glow radius.
Amplify
The overall effect strength is controlled by a virtual amplifier that ‘changes’ the brightness of the light source and the diffusion properties of the emulsion. The higher the value, the more obvious the whole effect becomes, taking into account other Bloom parameters. This parameter can be conventionally treated as ‘Opacity’.
Save Lights
This controls the brightness value of highlights affected by Bloom. Bigger value adds more highlights protection.
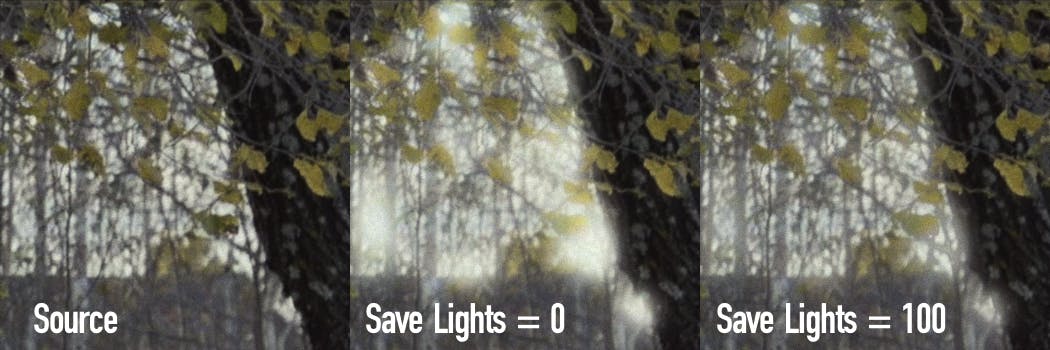
Highlights with Bloom effect applied inevitably become brighter. In digital pipeline this may lead to some clipping, unlike with film.
Similar to the film, Bloom effect in Dehancer is delicate to highlights, even if Save Lights parameter is set to 0. At the same time, it’s possible to increase the bright area protection.
Mask Mode
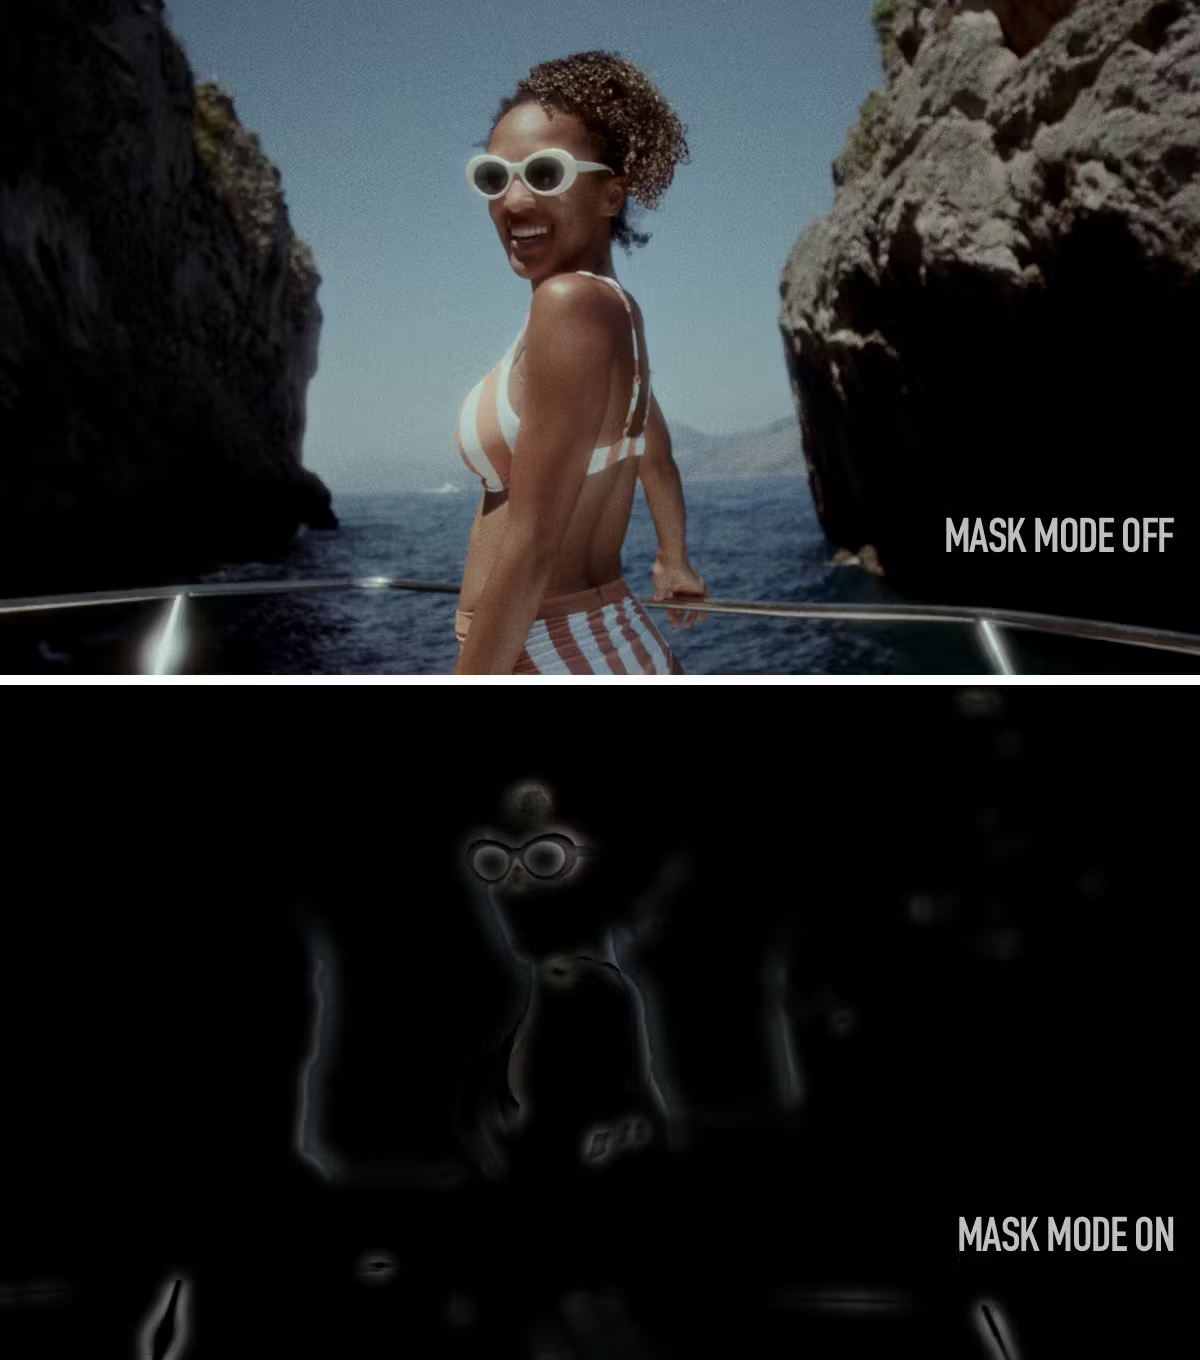
Mask Mode checkbox is used to preview the complex bloom mask created with current Bloom settings. Lighter colors correspond to maximum effect, while darker reflects areas unaffected by Bloom.
Authors: © Denis Svinarchuk, © Pavel Kosenko, © Dmitry Novak
