
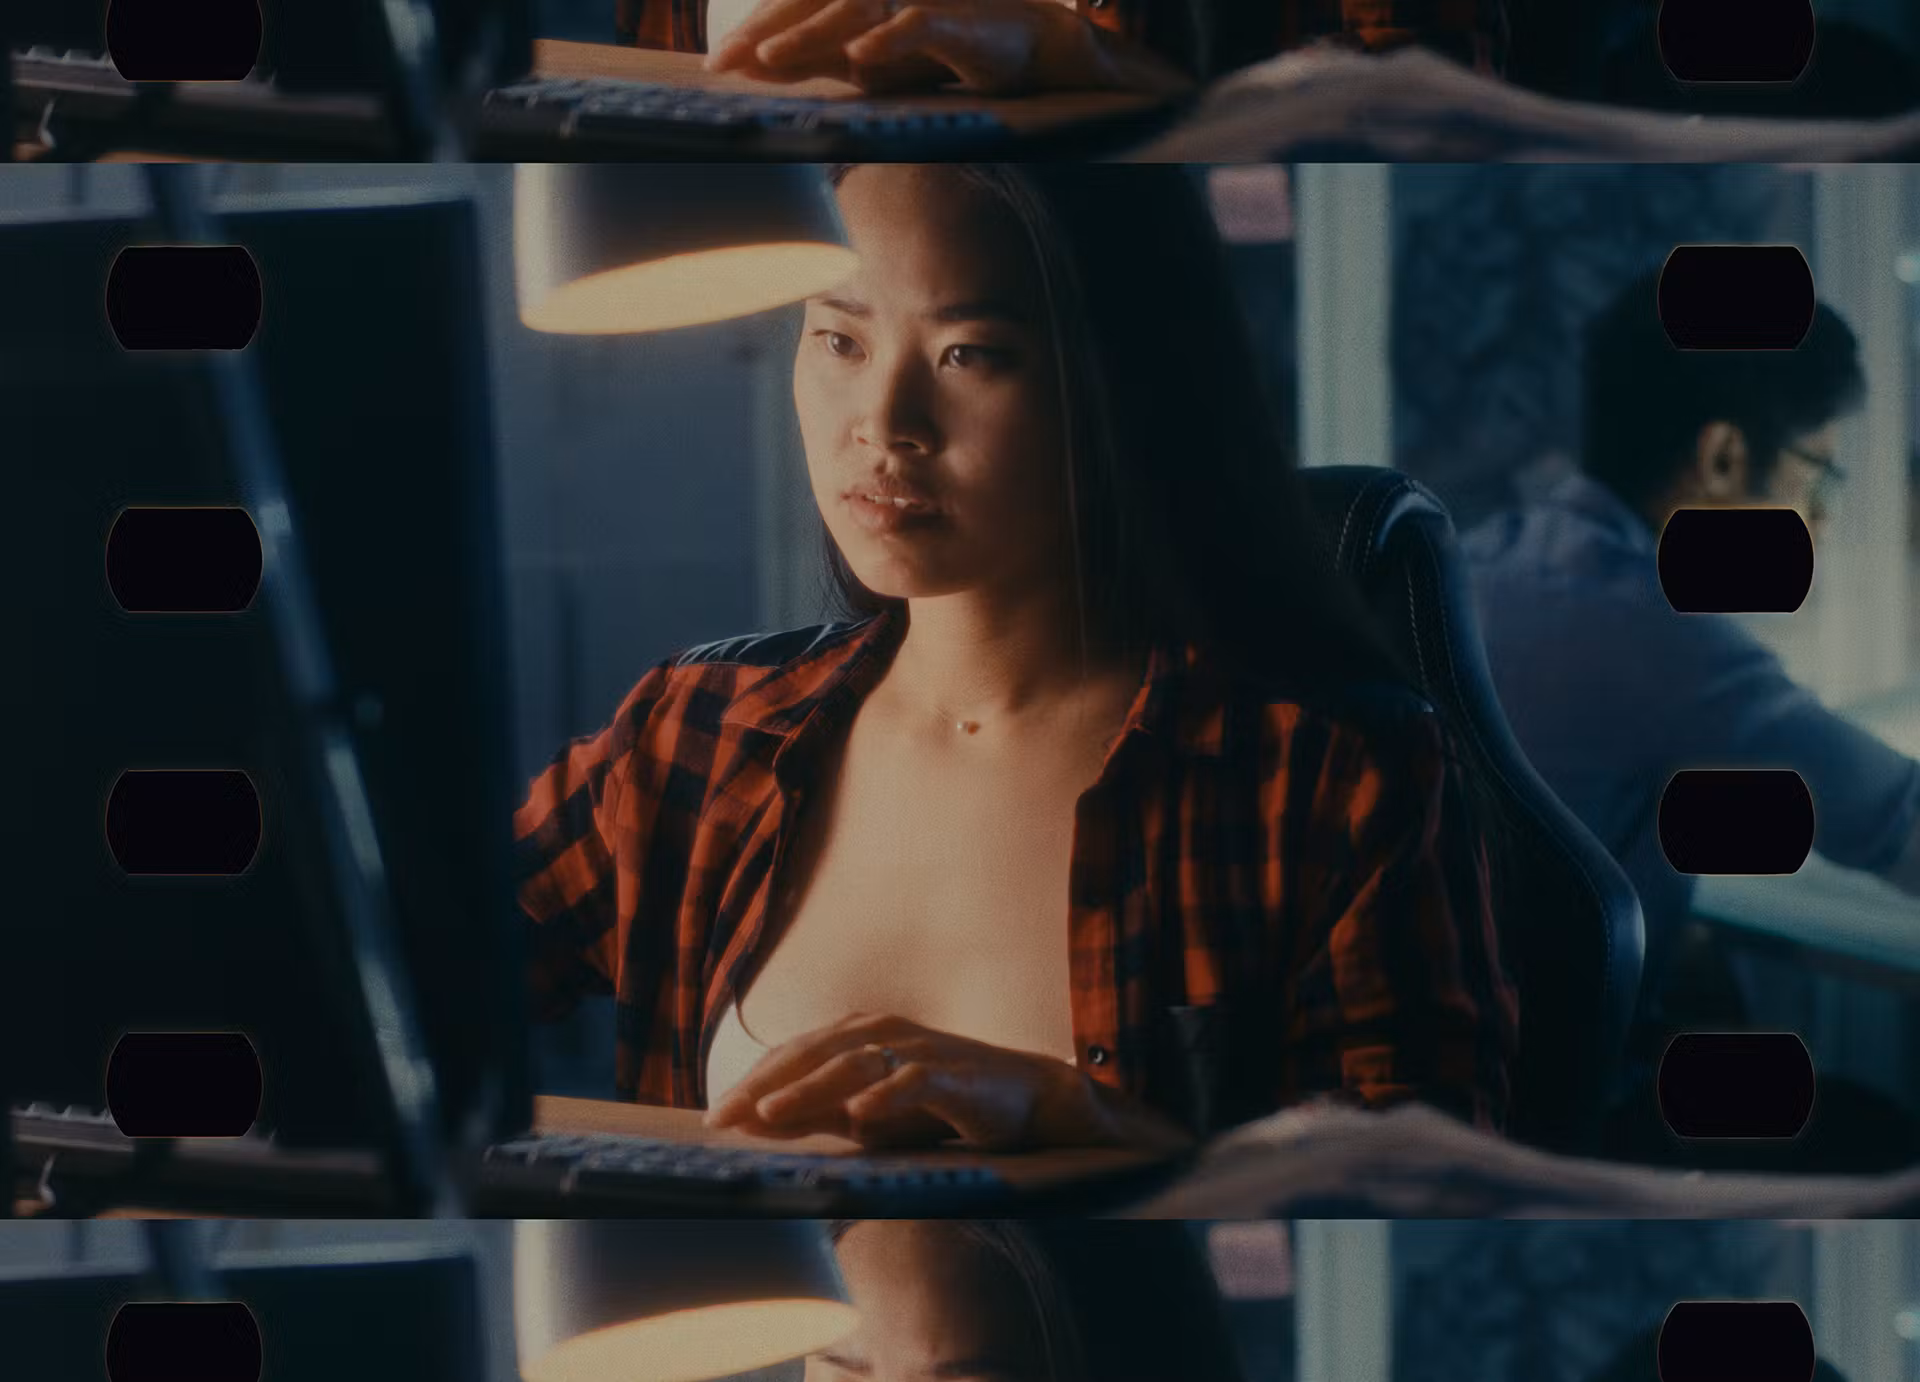
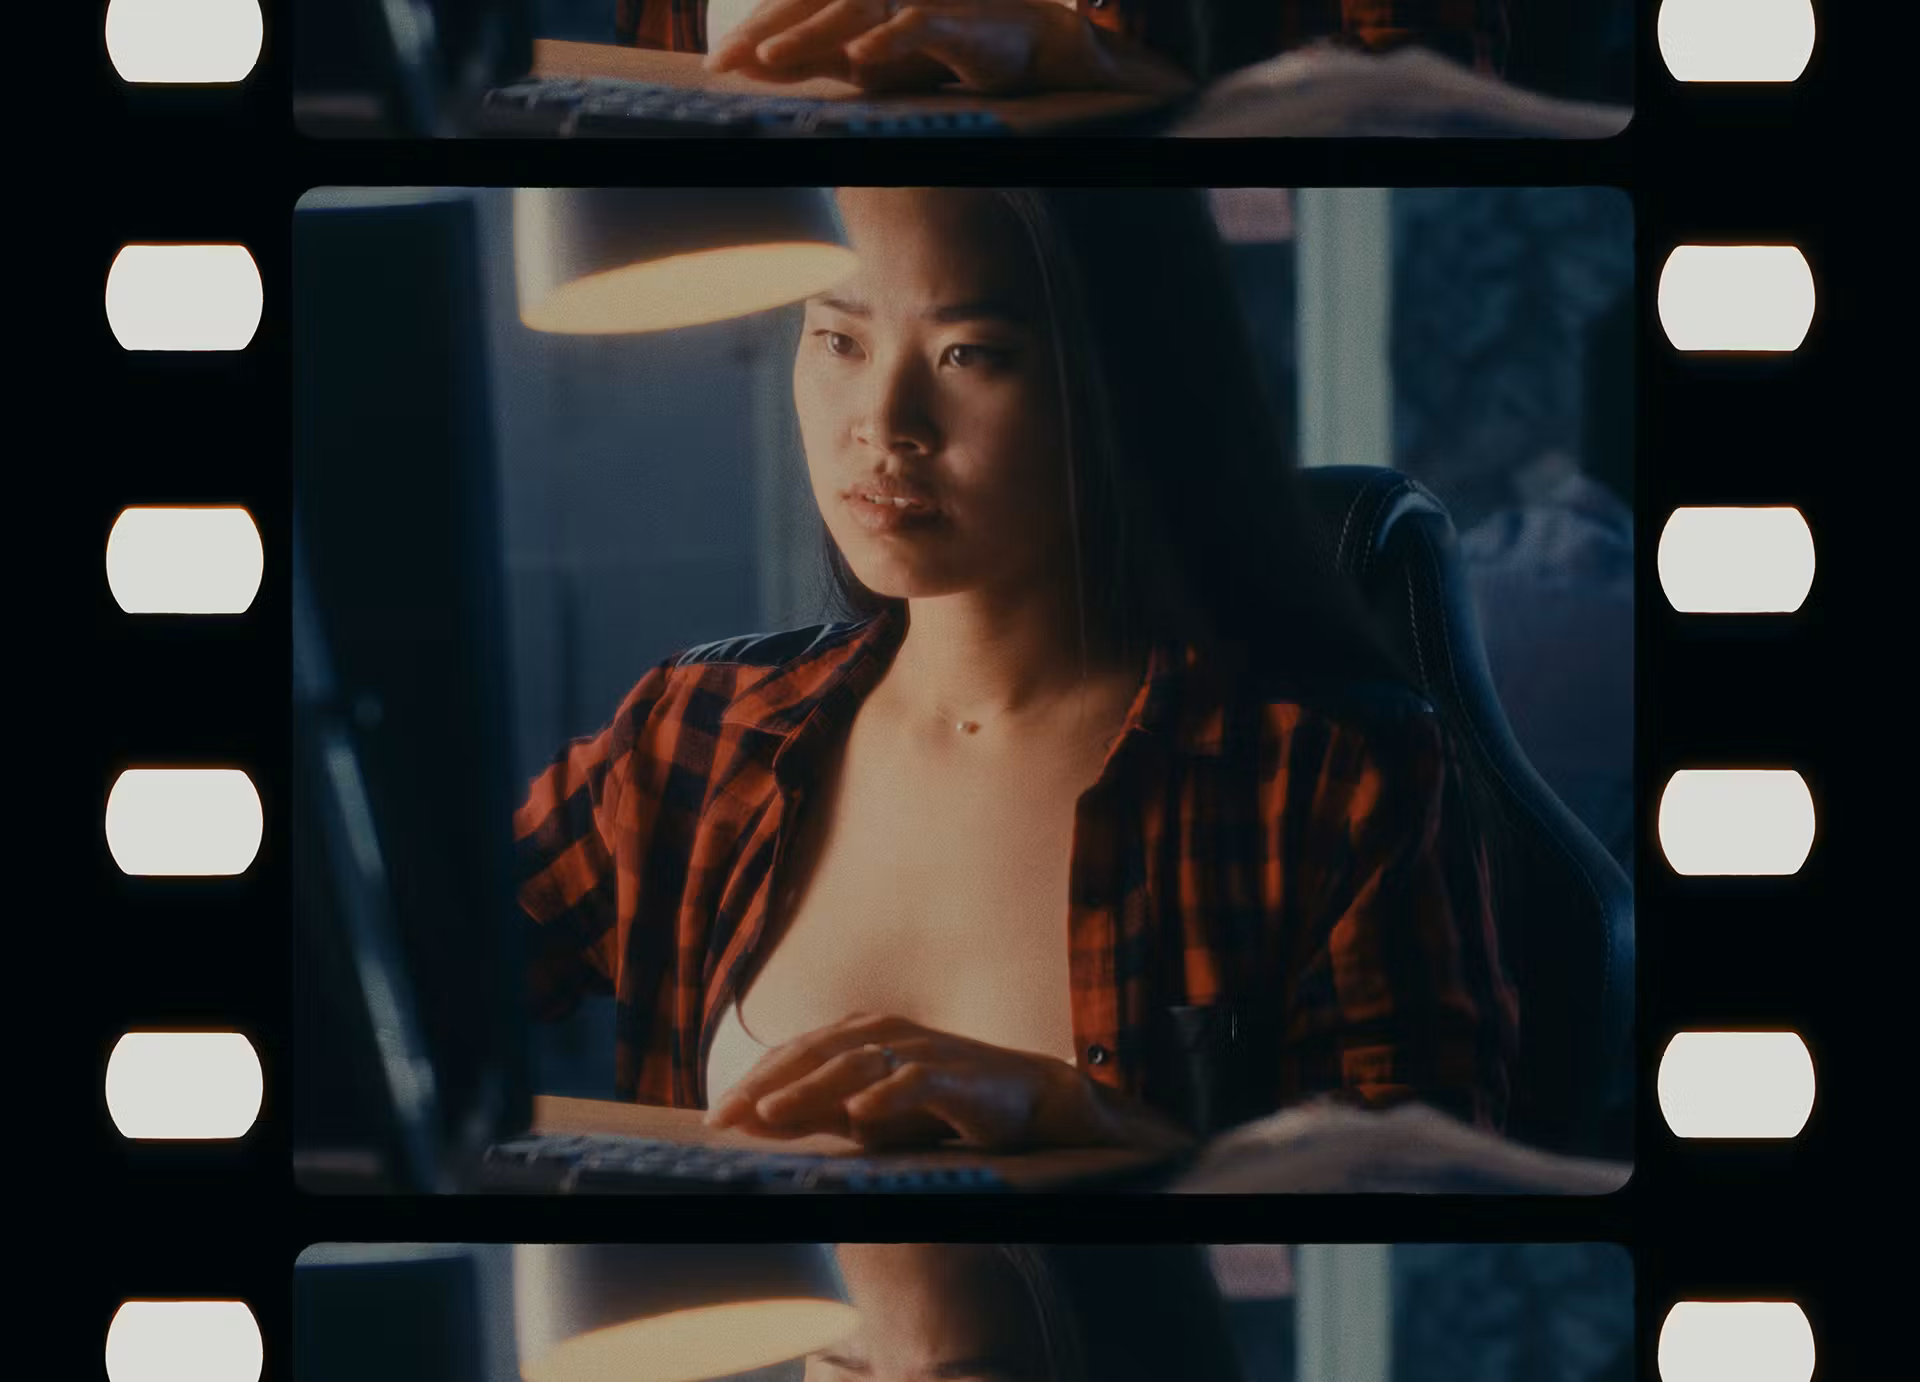
Usually motion picture film is scanned with additional area for further processing – stabilization and cropping. In this case, the scanning area may contain not only the image itself, but also its periphery – interframe space, perforations, portions of the previous and next frame.
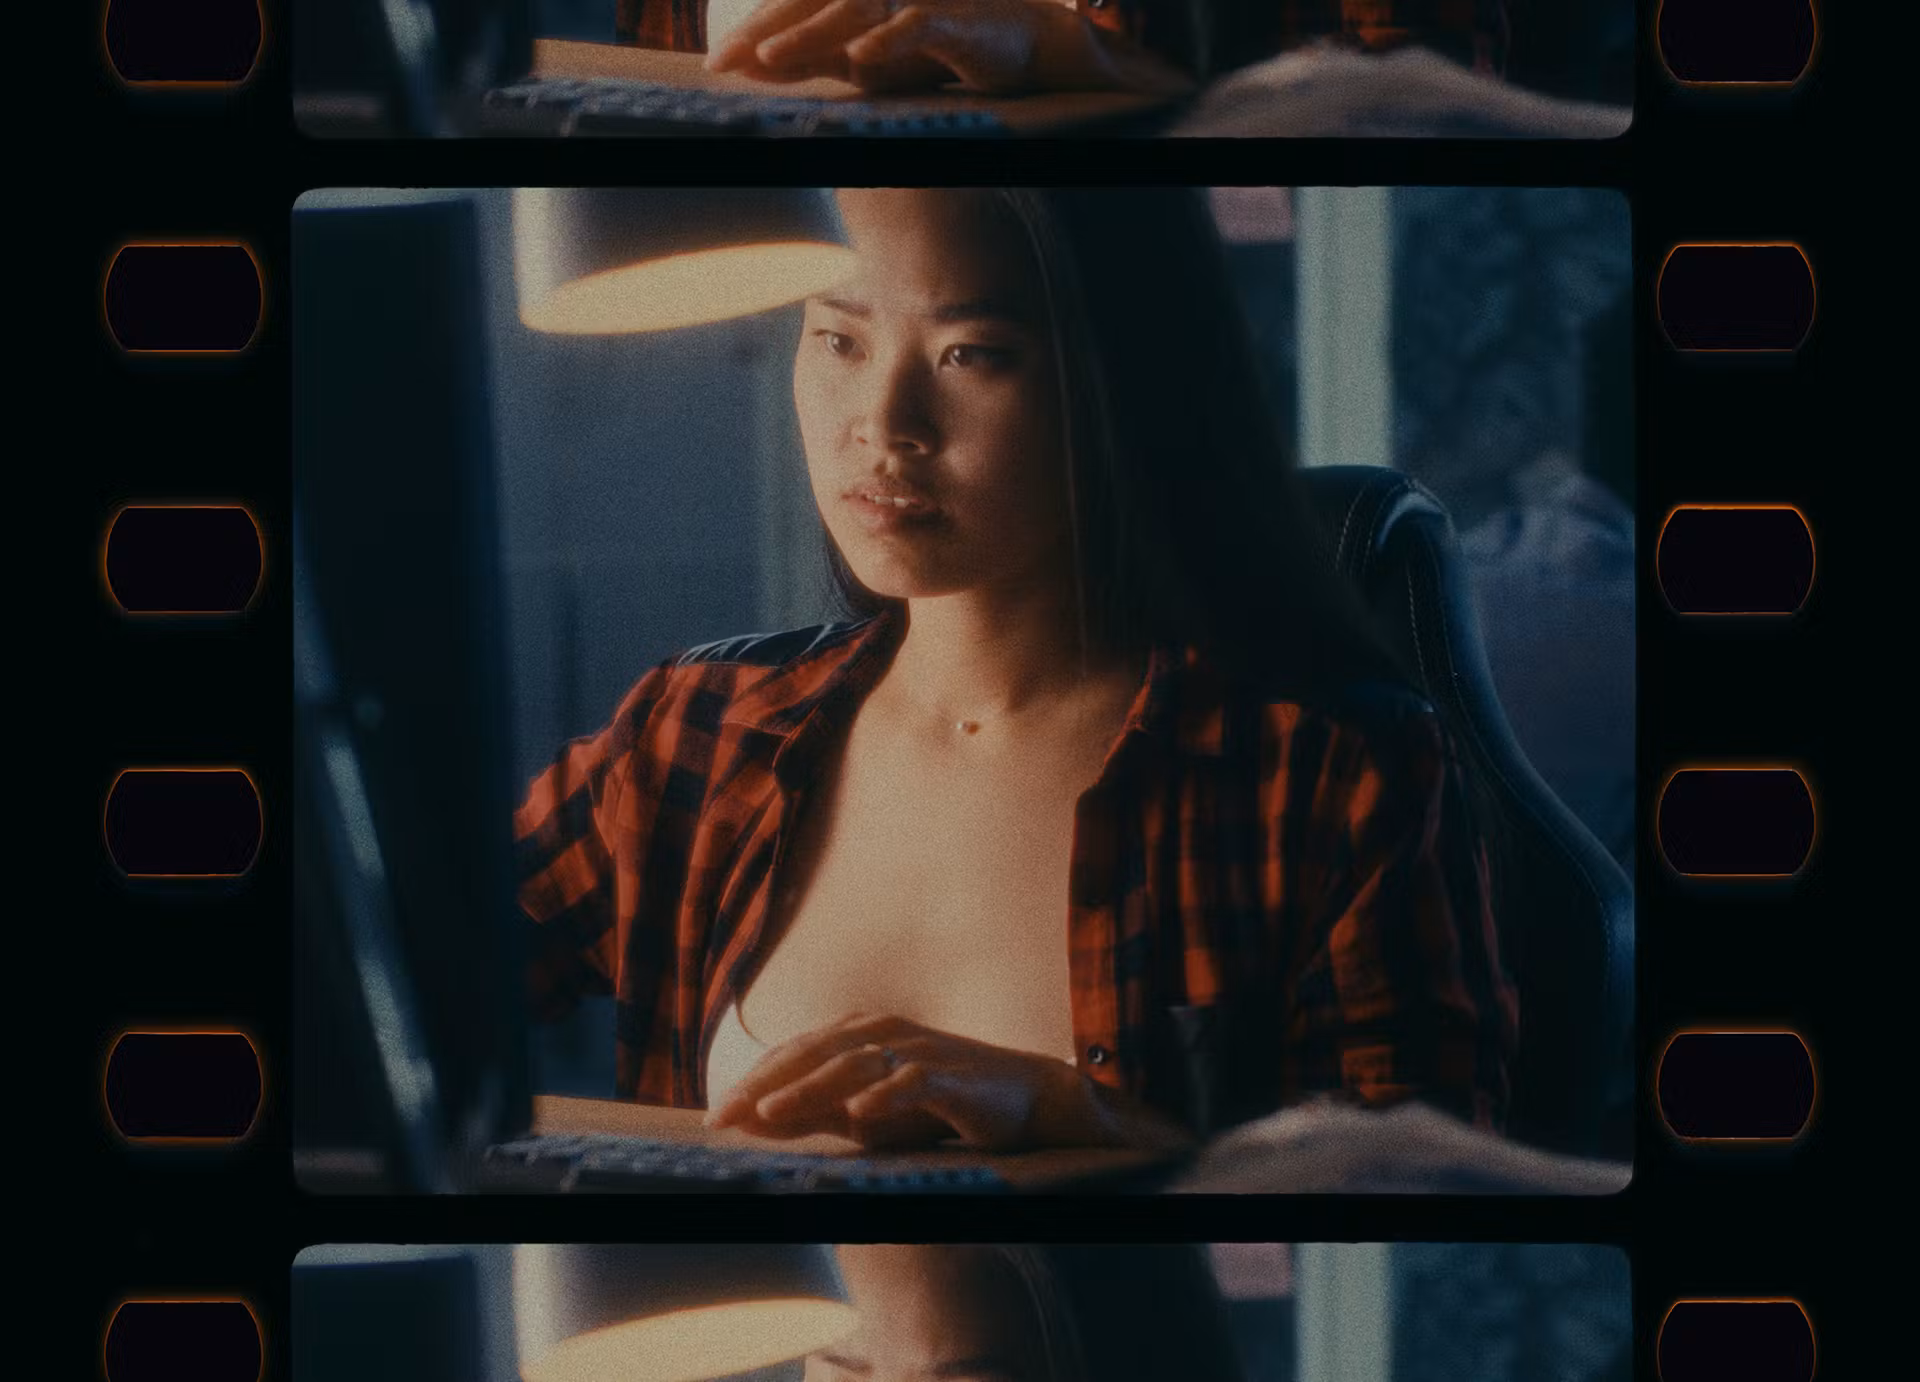
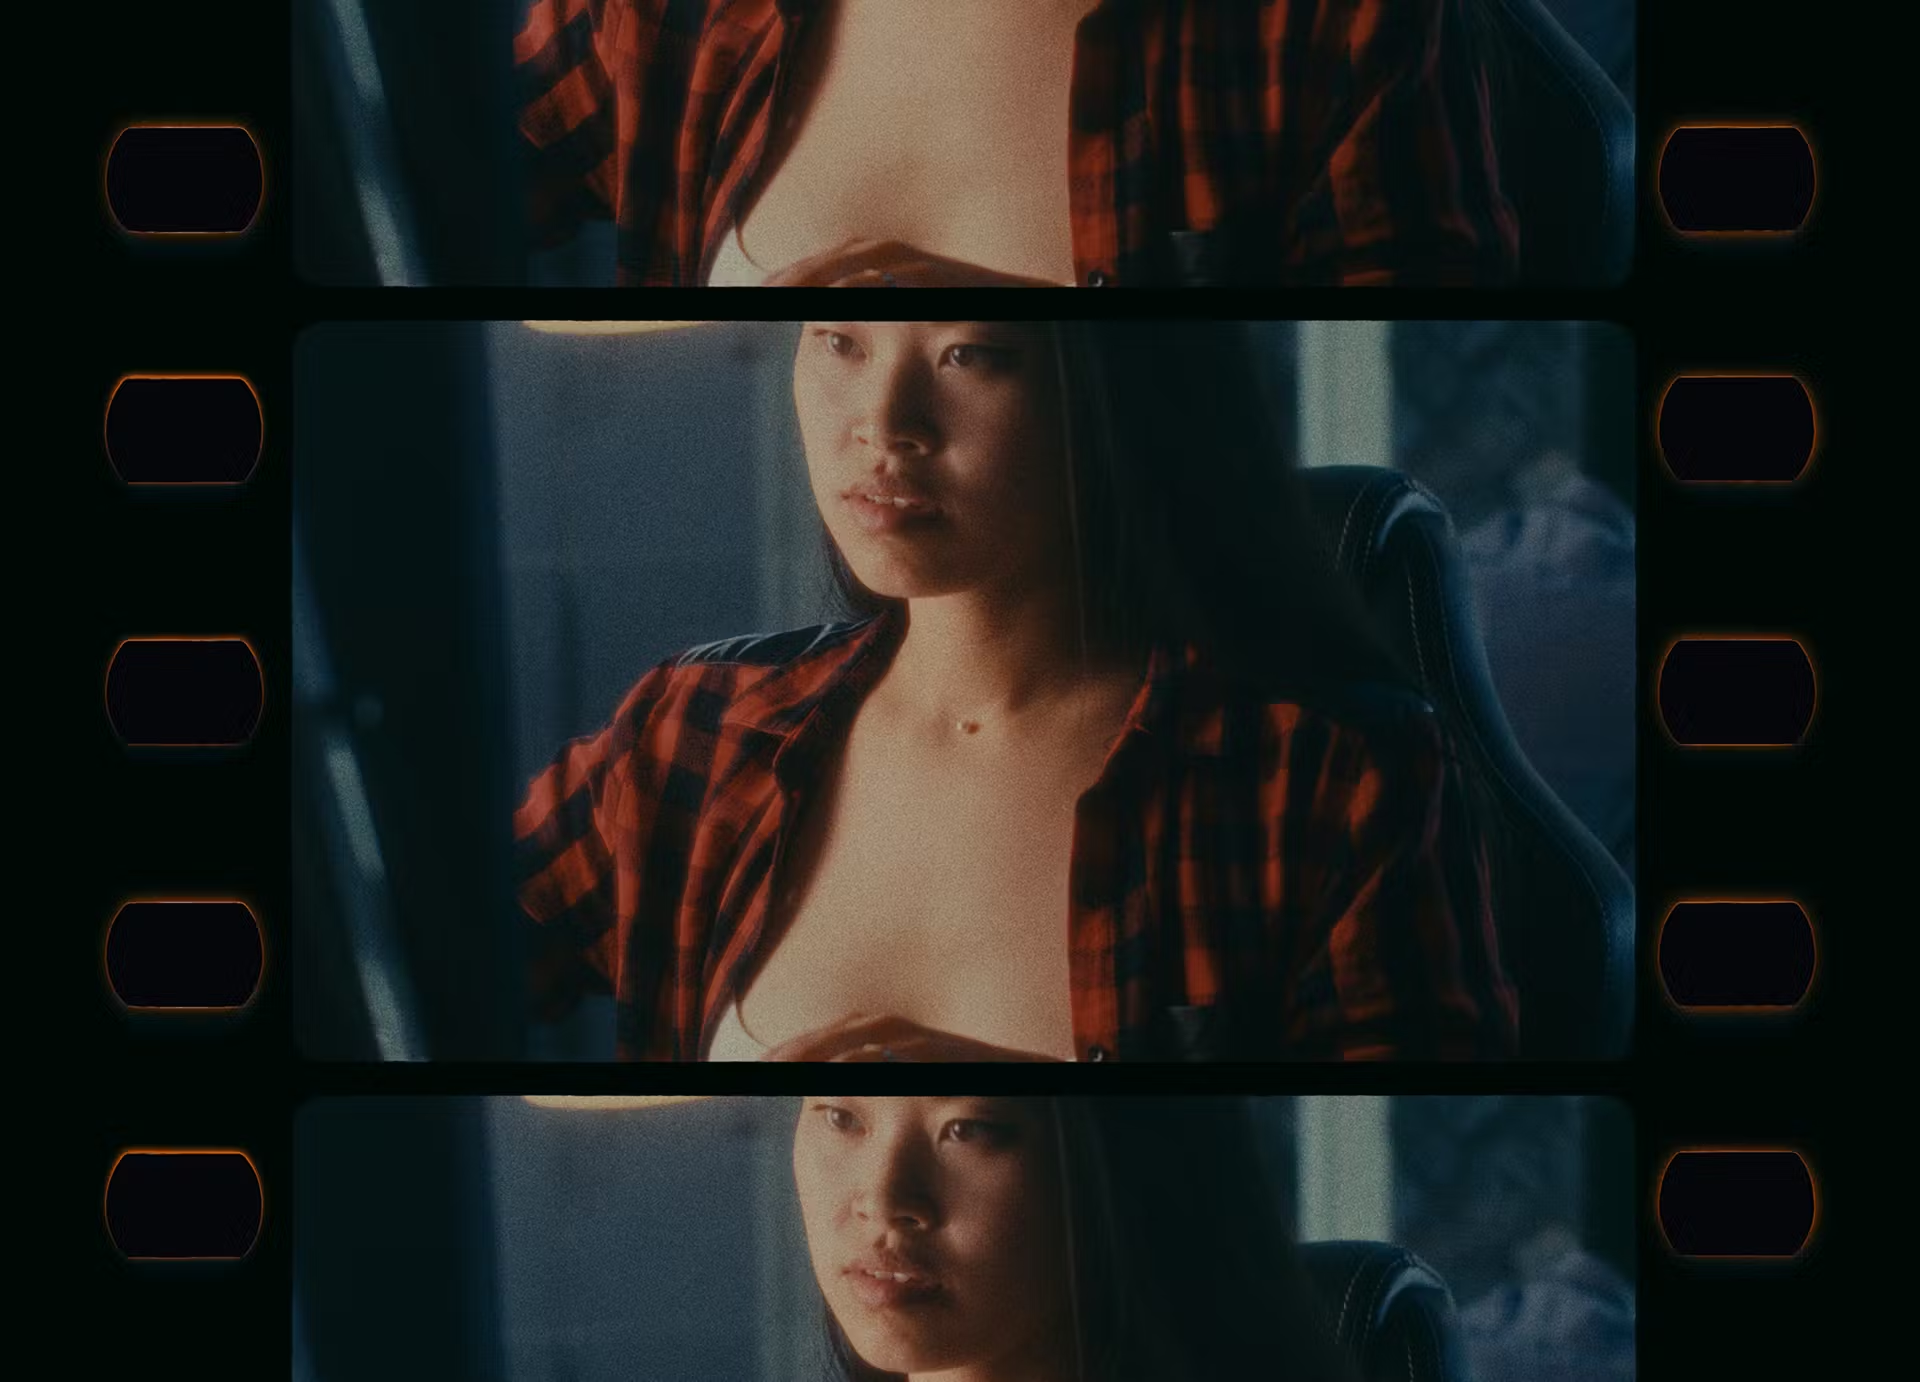
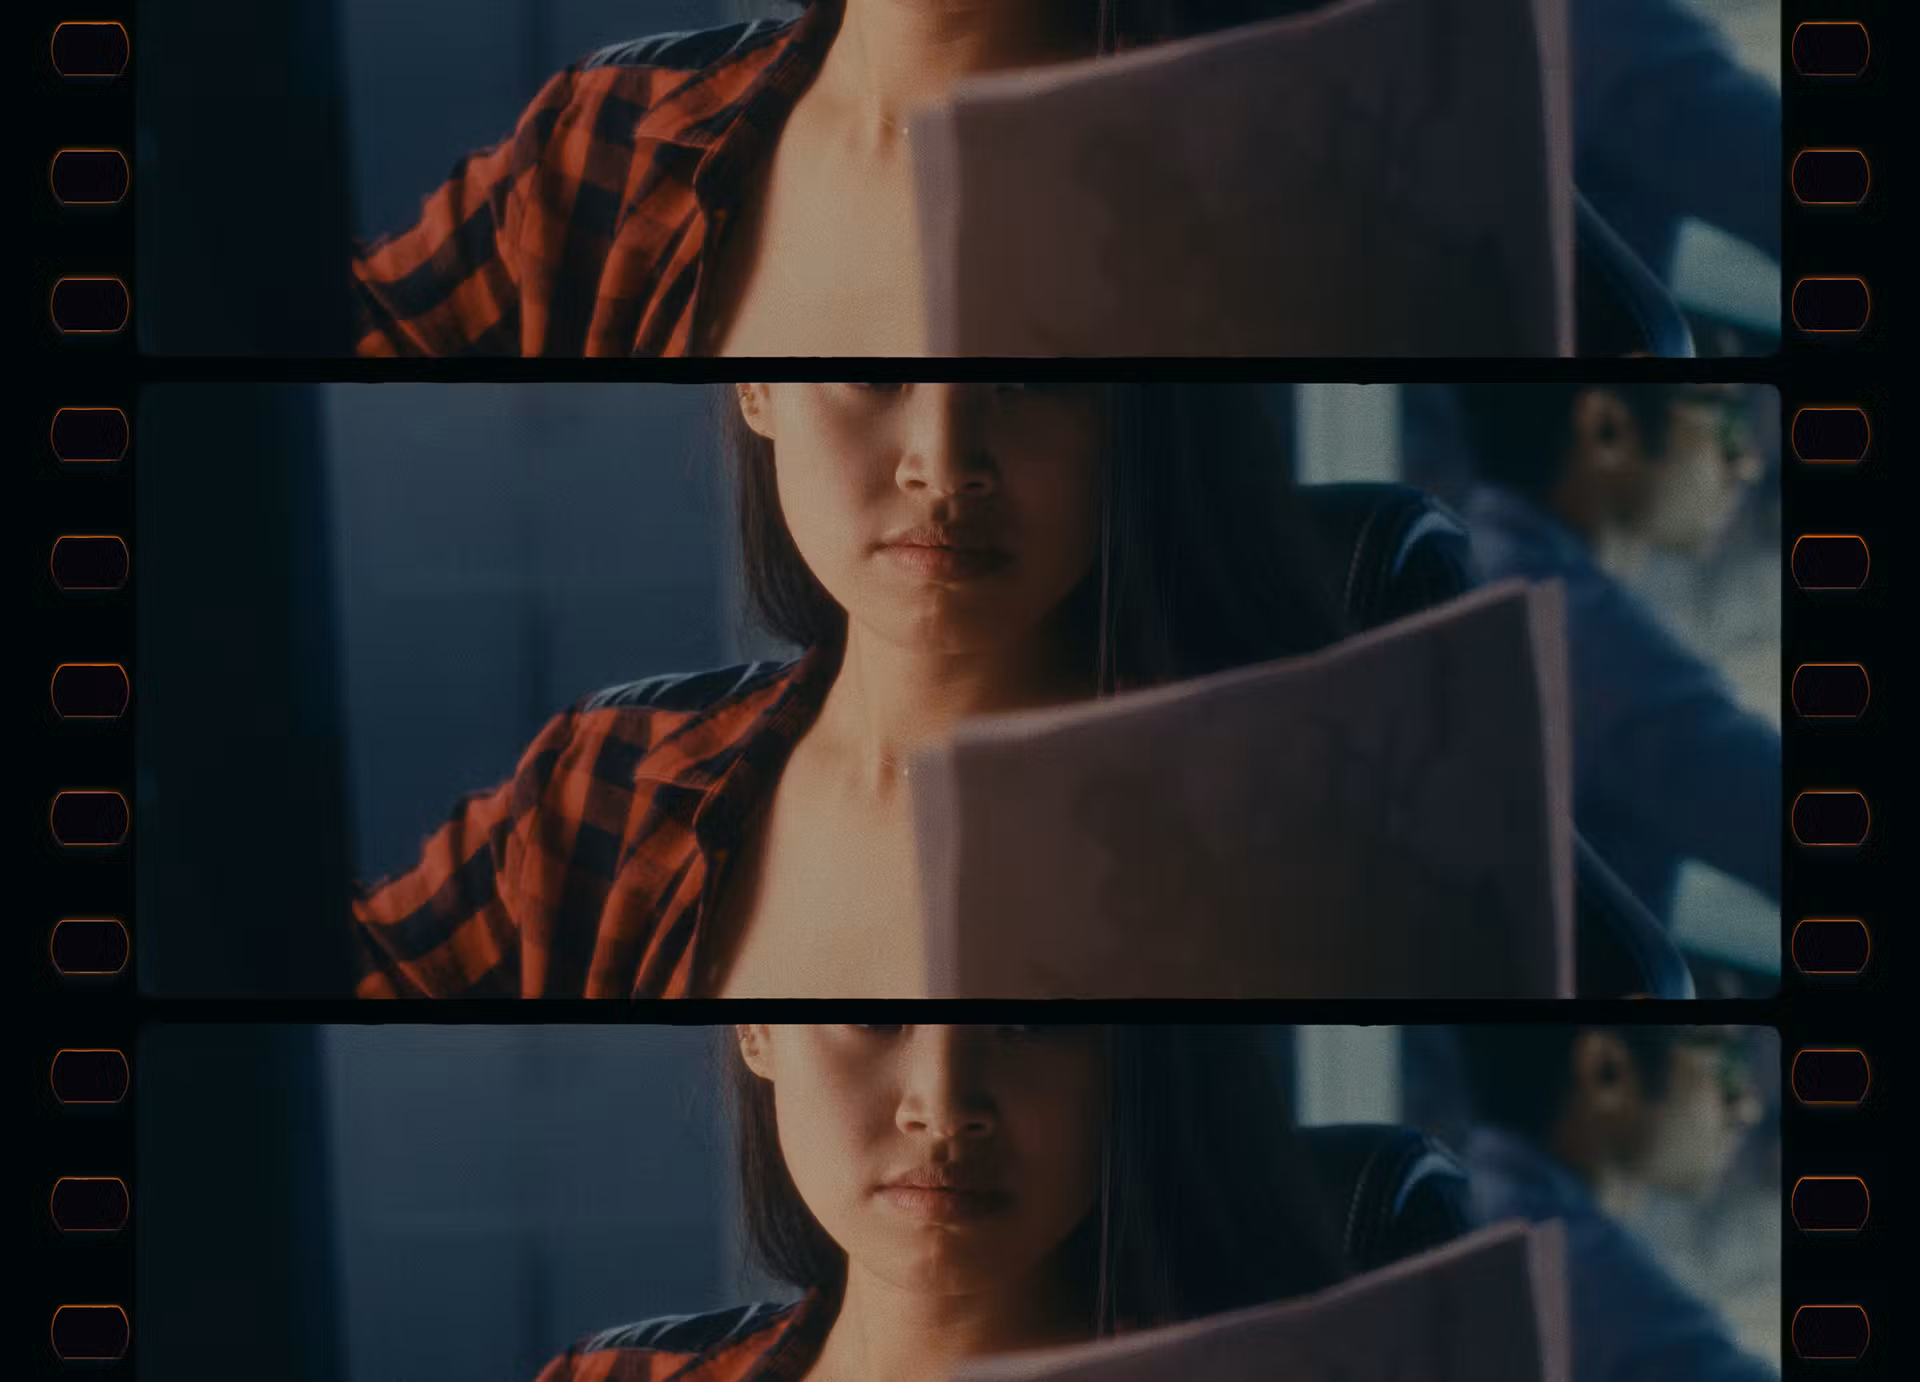
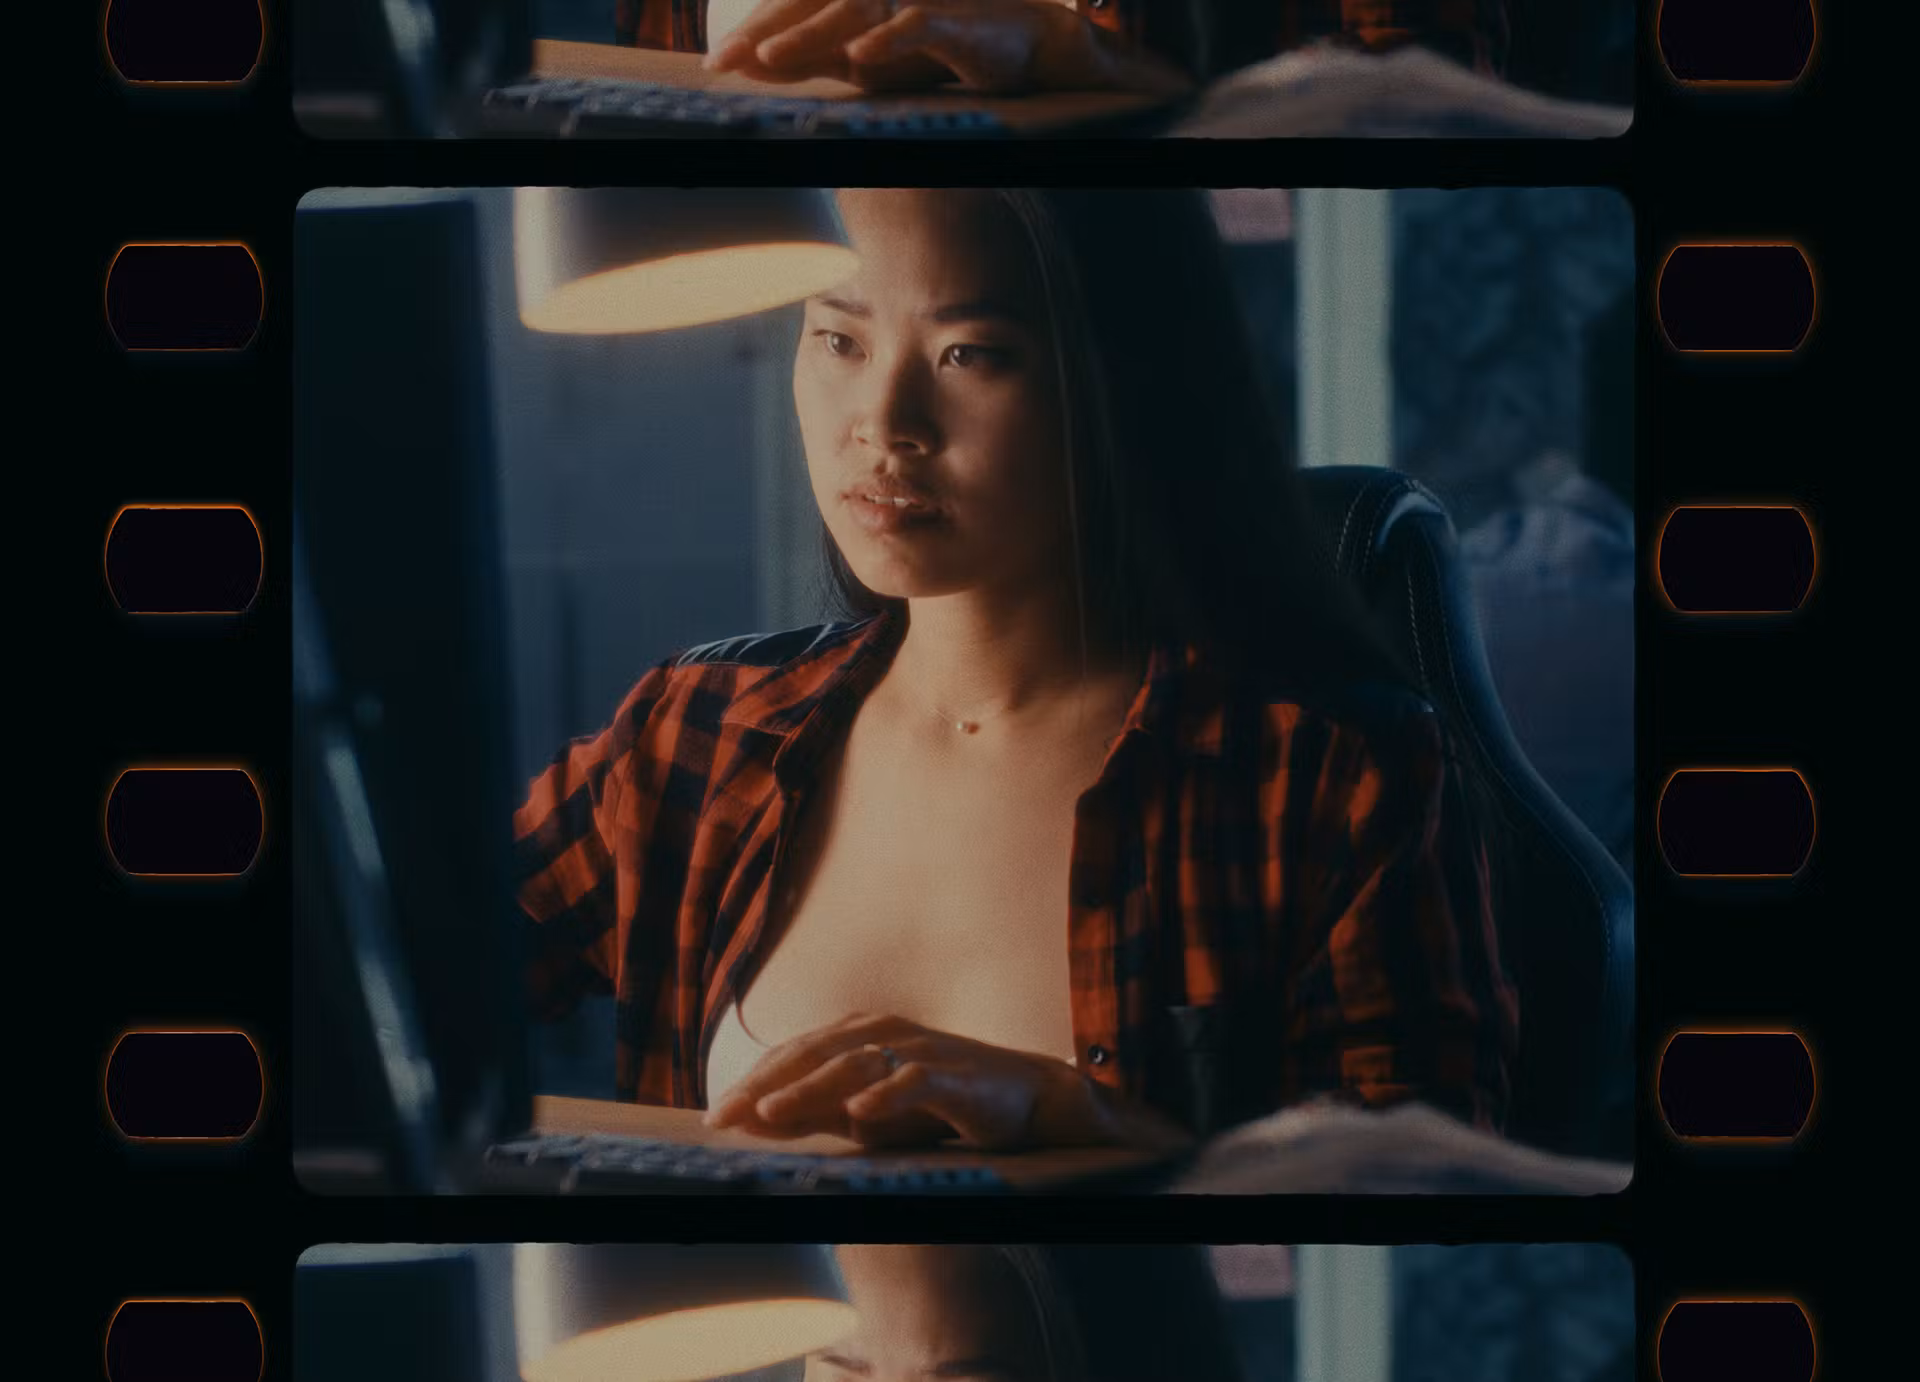
Normally, scans are cropped using the exposed area. But sometimes, to emphasize the analog nature of the image and for other creative purposes, information outside the film gate is intentionally included. This technique is called Overscan.
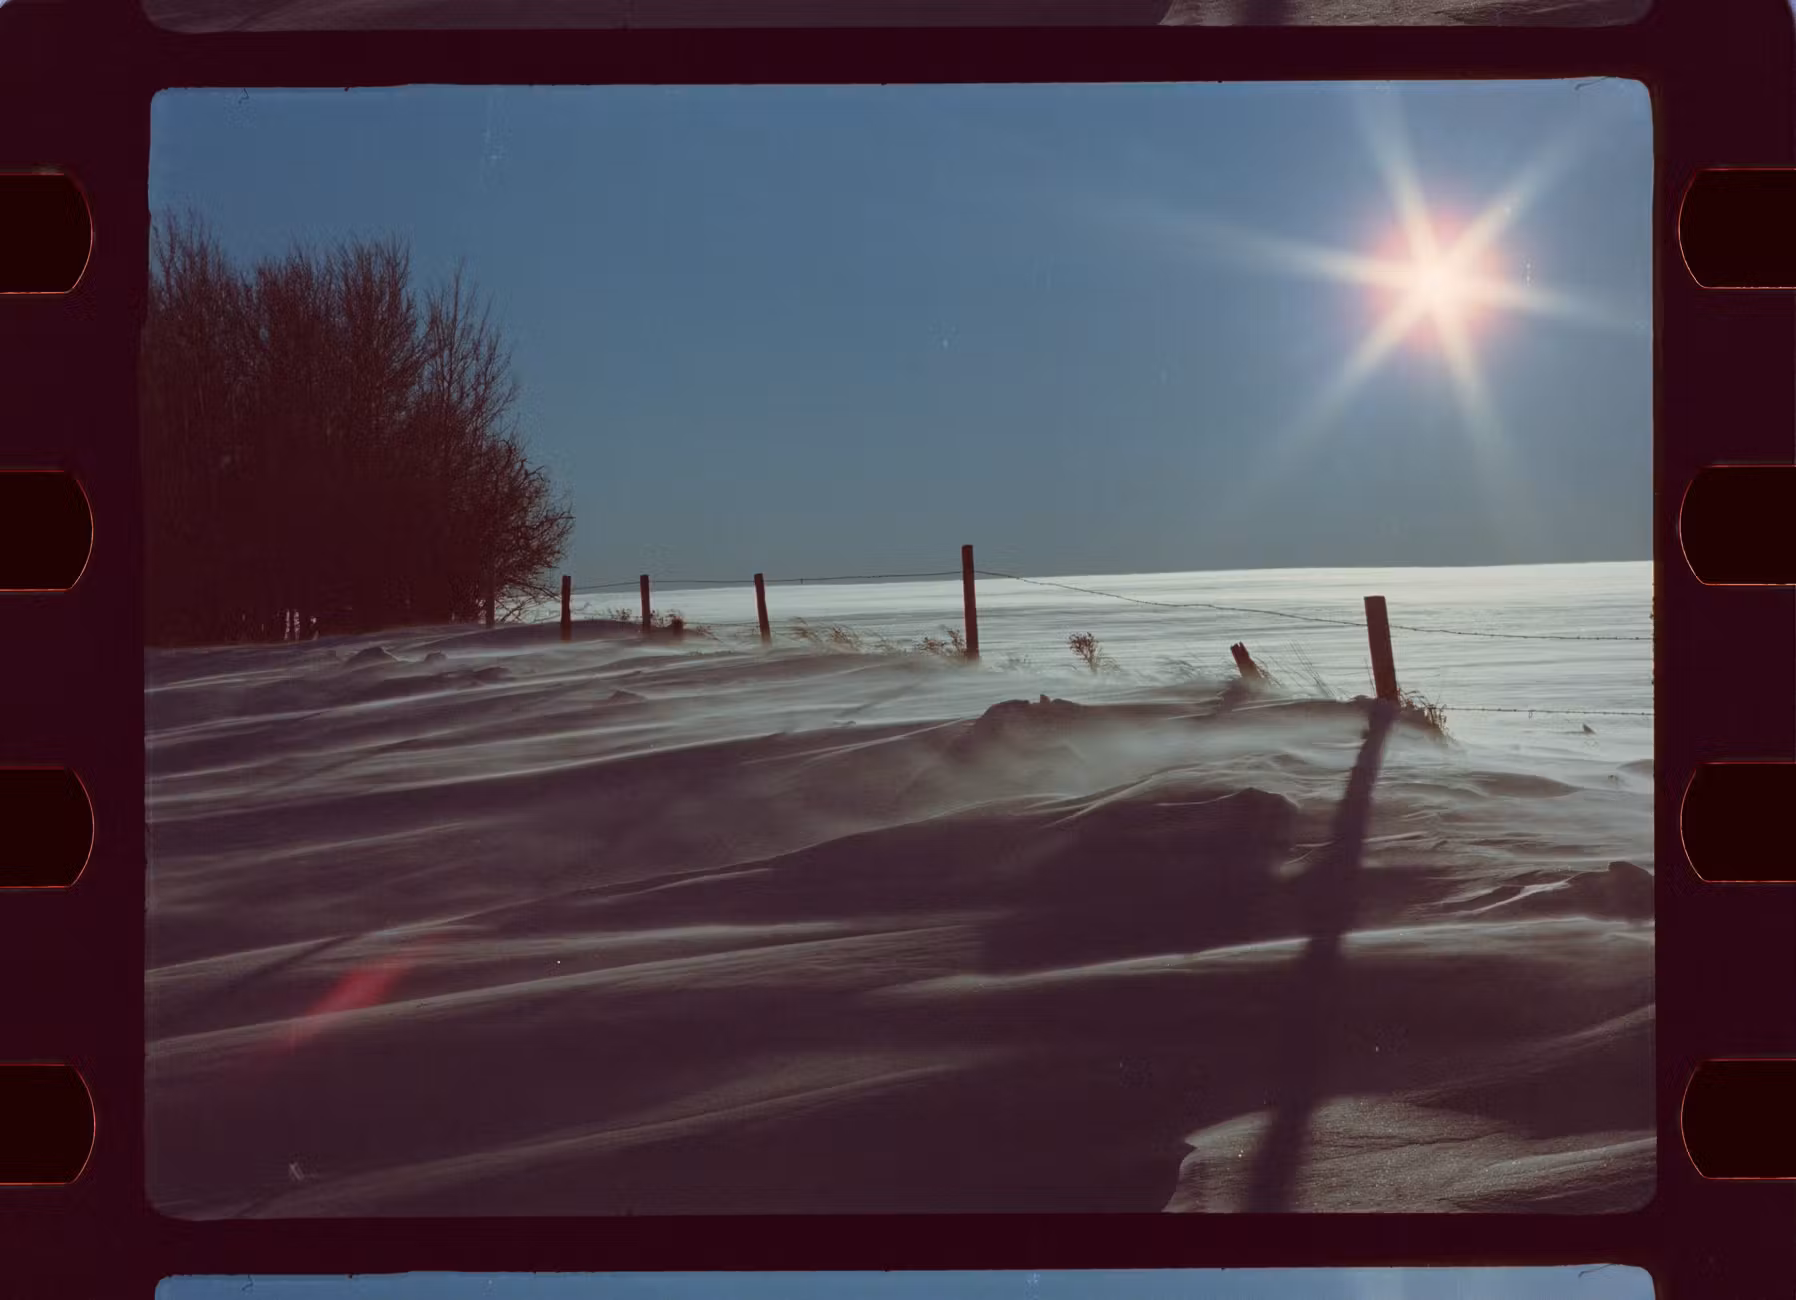
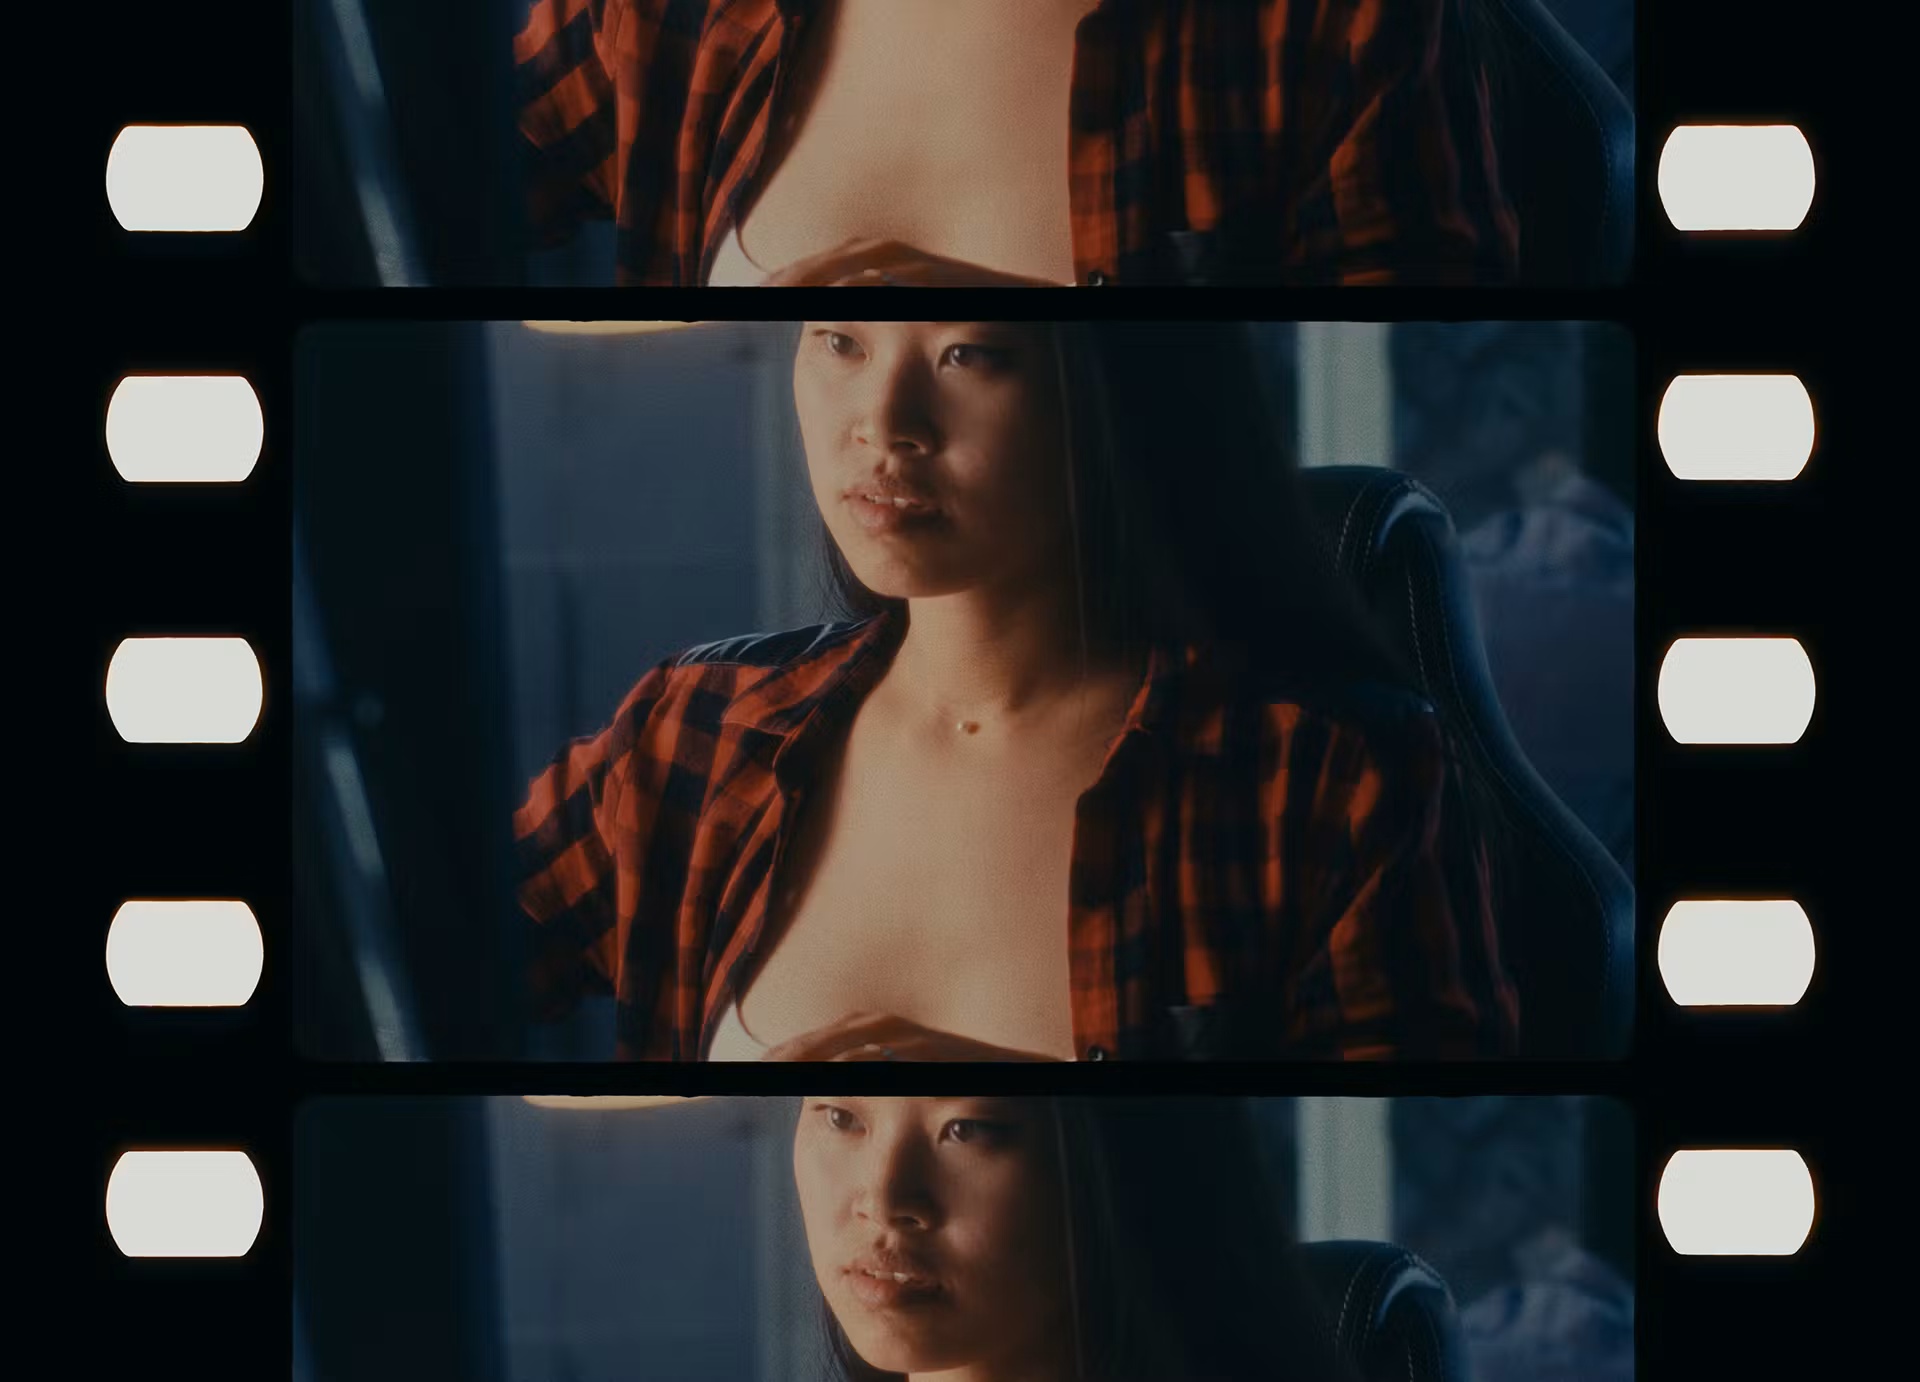
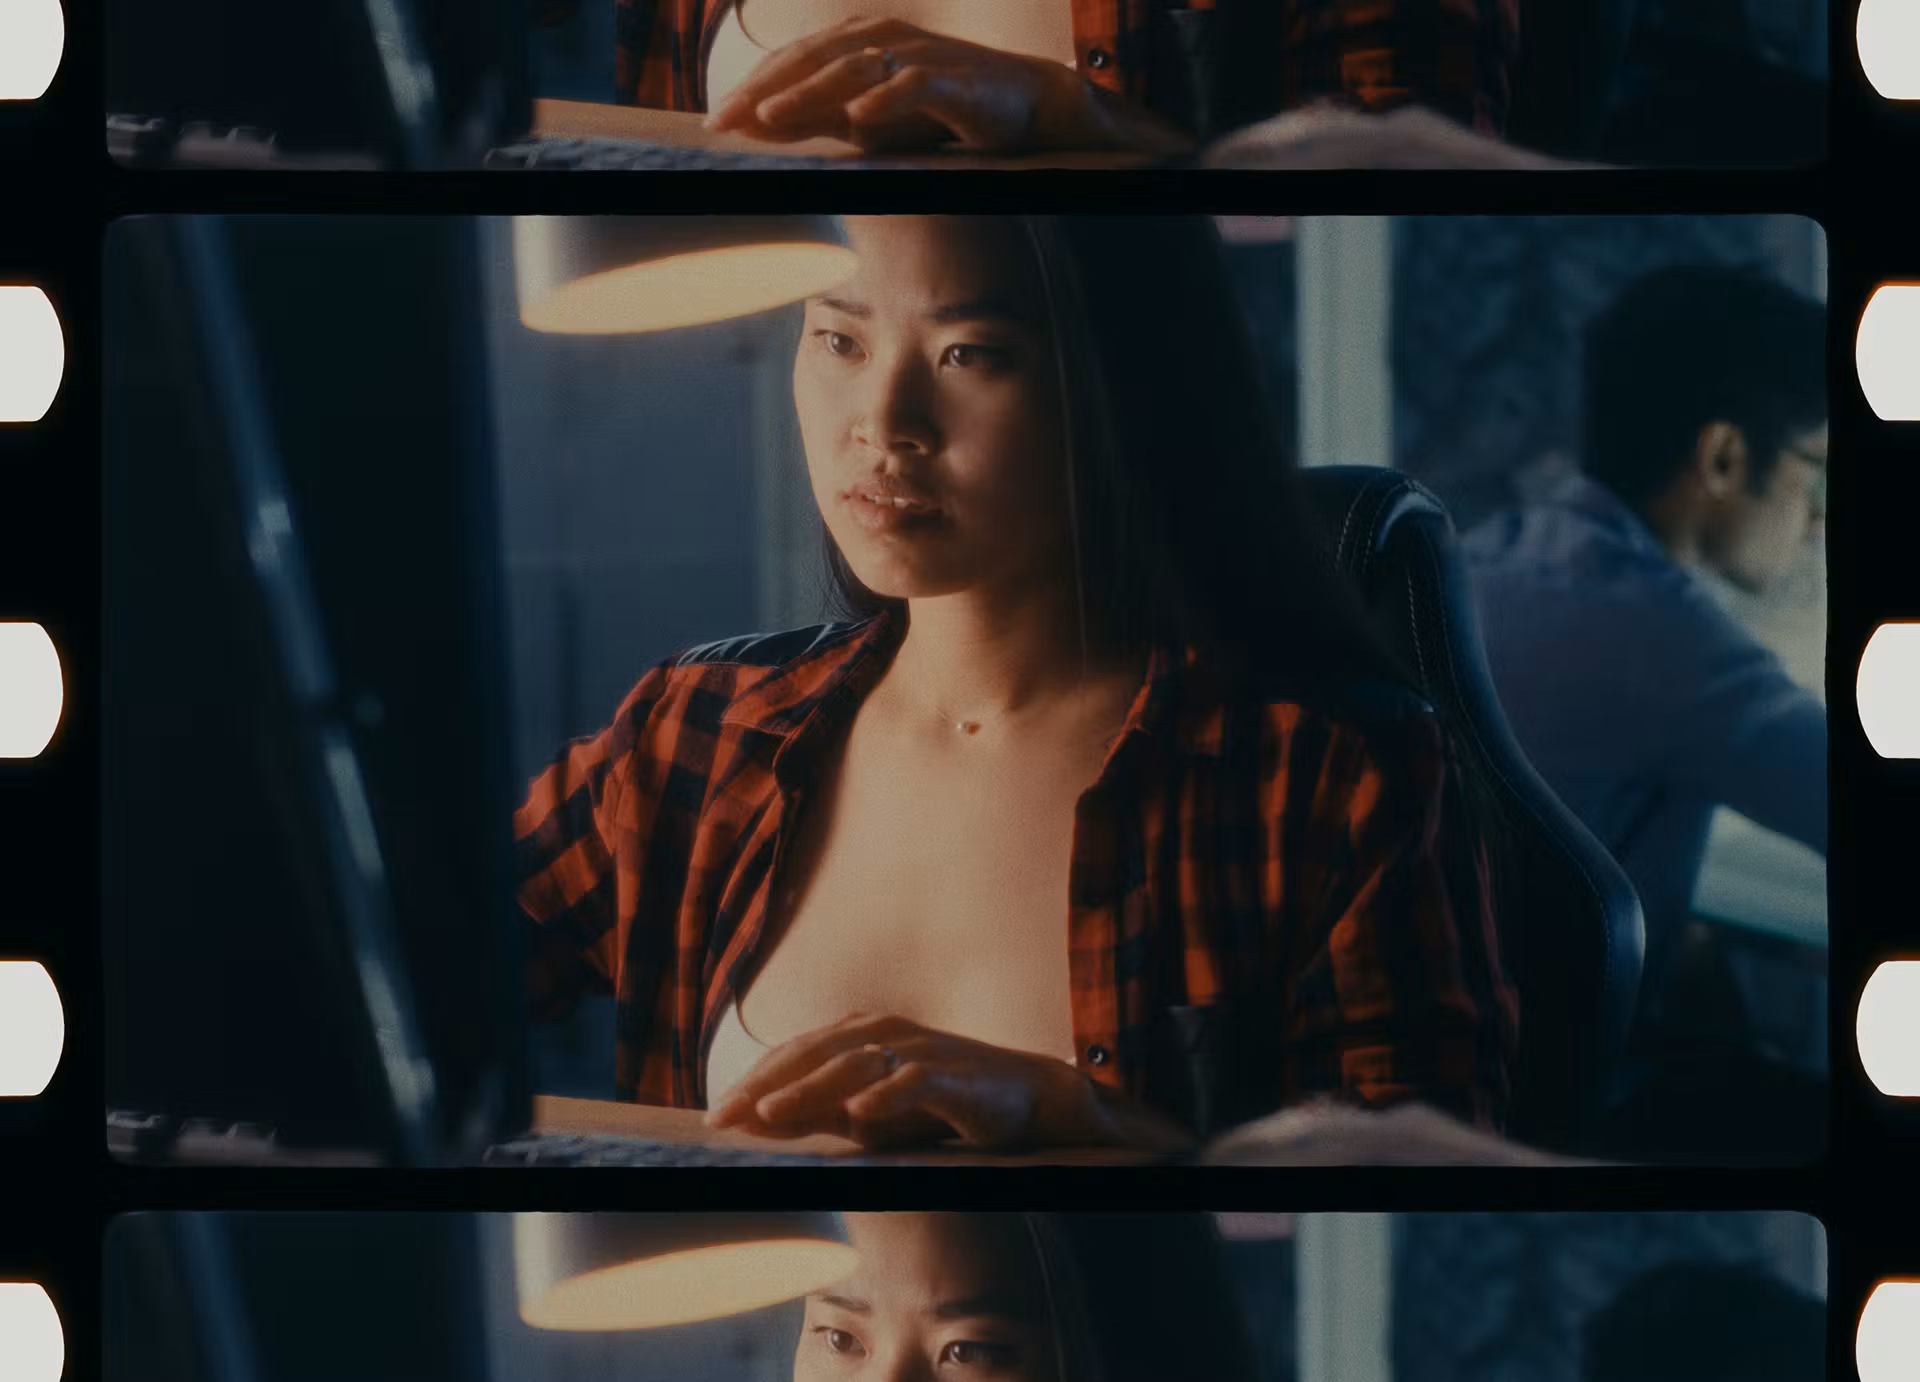
Negative 35mm film scan
Simulating this effect is not an easy task. It can be done most accurately using the real film scans.
Just like in the Film Damage tool, we implemented a hybrid approach. Textures are handcrafted using real scans and presented as a set of elements that can be controlled independently in terms of size, quantity, positioning, color and exposure.
In this way, with the help of a lightweight set of textures it is possible to reproduce a variety of film formats by setting film gate and perforation parameters. At the same time, excellent optimization is achieved – enabling Overscan has almost no effect on the overall performance of Dehancer, while the textures take less than 100 MB and are installed with the plugin, no additional download is required.
The first version of Overscan introduces the basic film gate and perforation elements characteristic of the most common types of negative and positive film. The features of a theatre projection film copy (including the soundtrack area and other nuances) is not included in the first version of the tool.
Since Overscan contains a number of practical simplifications, it is appropriate to call it stylization rather than imitation. We have implemented the basic components for the most common formats. In the future, the tool will be improved by expanding the set of frames, formats and additional elements.
Let’s discuss the parameters of the Overscan tool in detail.

Gate Type
The type of film gate. In other words, it is the format of the film and the type of camera used to “take the picture”. The following options are available:
Super 8mm 1,33:1
Super 8 motion picture film with an 8 mm width and a frame aspect ratio of 1.33:1 (4:3).
Standart 16mm 1,37:1
16 mm motion picture film shot in standard aspect ratio of 1.37:1.
Super 16mm 1,66:1
Super 16 mm motion picture film with a 1.66:1 aspect ratio.
Ultra 16mm 1,85:1
16 mm motion picture film shot in aspect ratio of 1.85:1.

Super 35mm 1,37:1
35 mm motion picture film shot in standard aspect ratio of 1.37:1.
Widescreen 35mm 1,85:1
35 mm motion picture film shot in widescreen aspect ratio of 1.85:1.
Ultra Panavision 65mm 2,76:1
65 mm motion picture film shot in Ultra Panavision aspect ratio of 2.76:1.
💡 It will be appropriate to answer the popular question – why there is no “classic” 16:9 aspect ratio among the featured formats.
In fact, this format does not exist on film. It appeared in the early 2000s in TV broadcasting and on digital media, and then as a standard for widescreen monitors. The closest film format is Widescreen 35mm 1.85:1 with a frame pitch of 3 perforation holes (3 perf), and it is cropped to 16:9 with minimal loss.
Gate Shape
The shape of the film gate is determined by the specifics of a particular camera. The most common options are available:
Neat Normal gate
Standard frame with slightly rounded corners.
Neat Sharp gate
A frame with sharper corners with almost no rounding.
Neat Rounded gate
A frame with the corners rounded to a large radius.
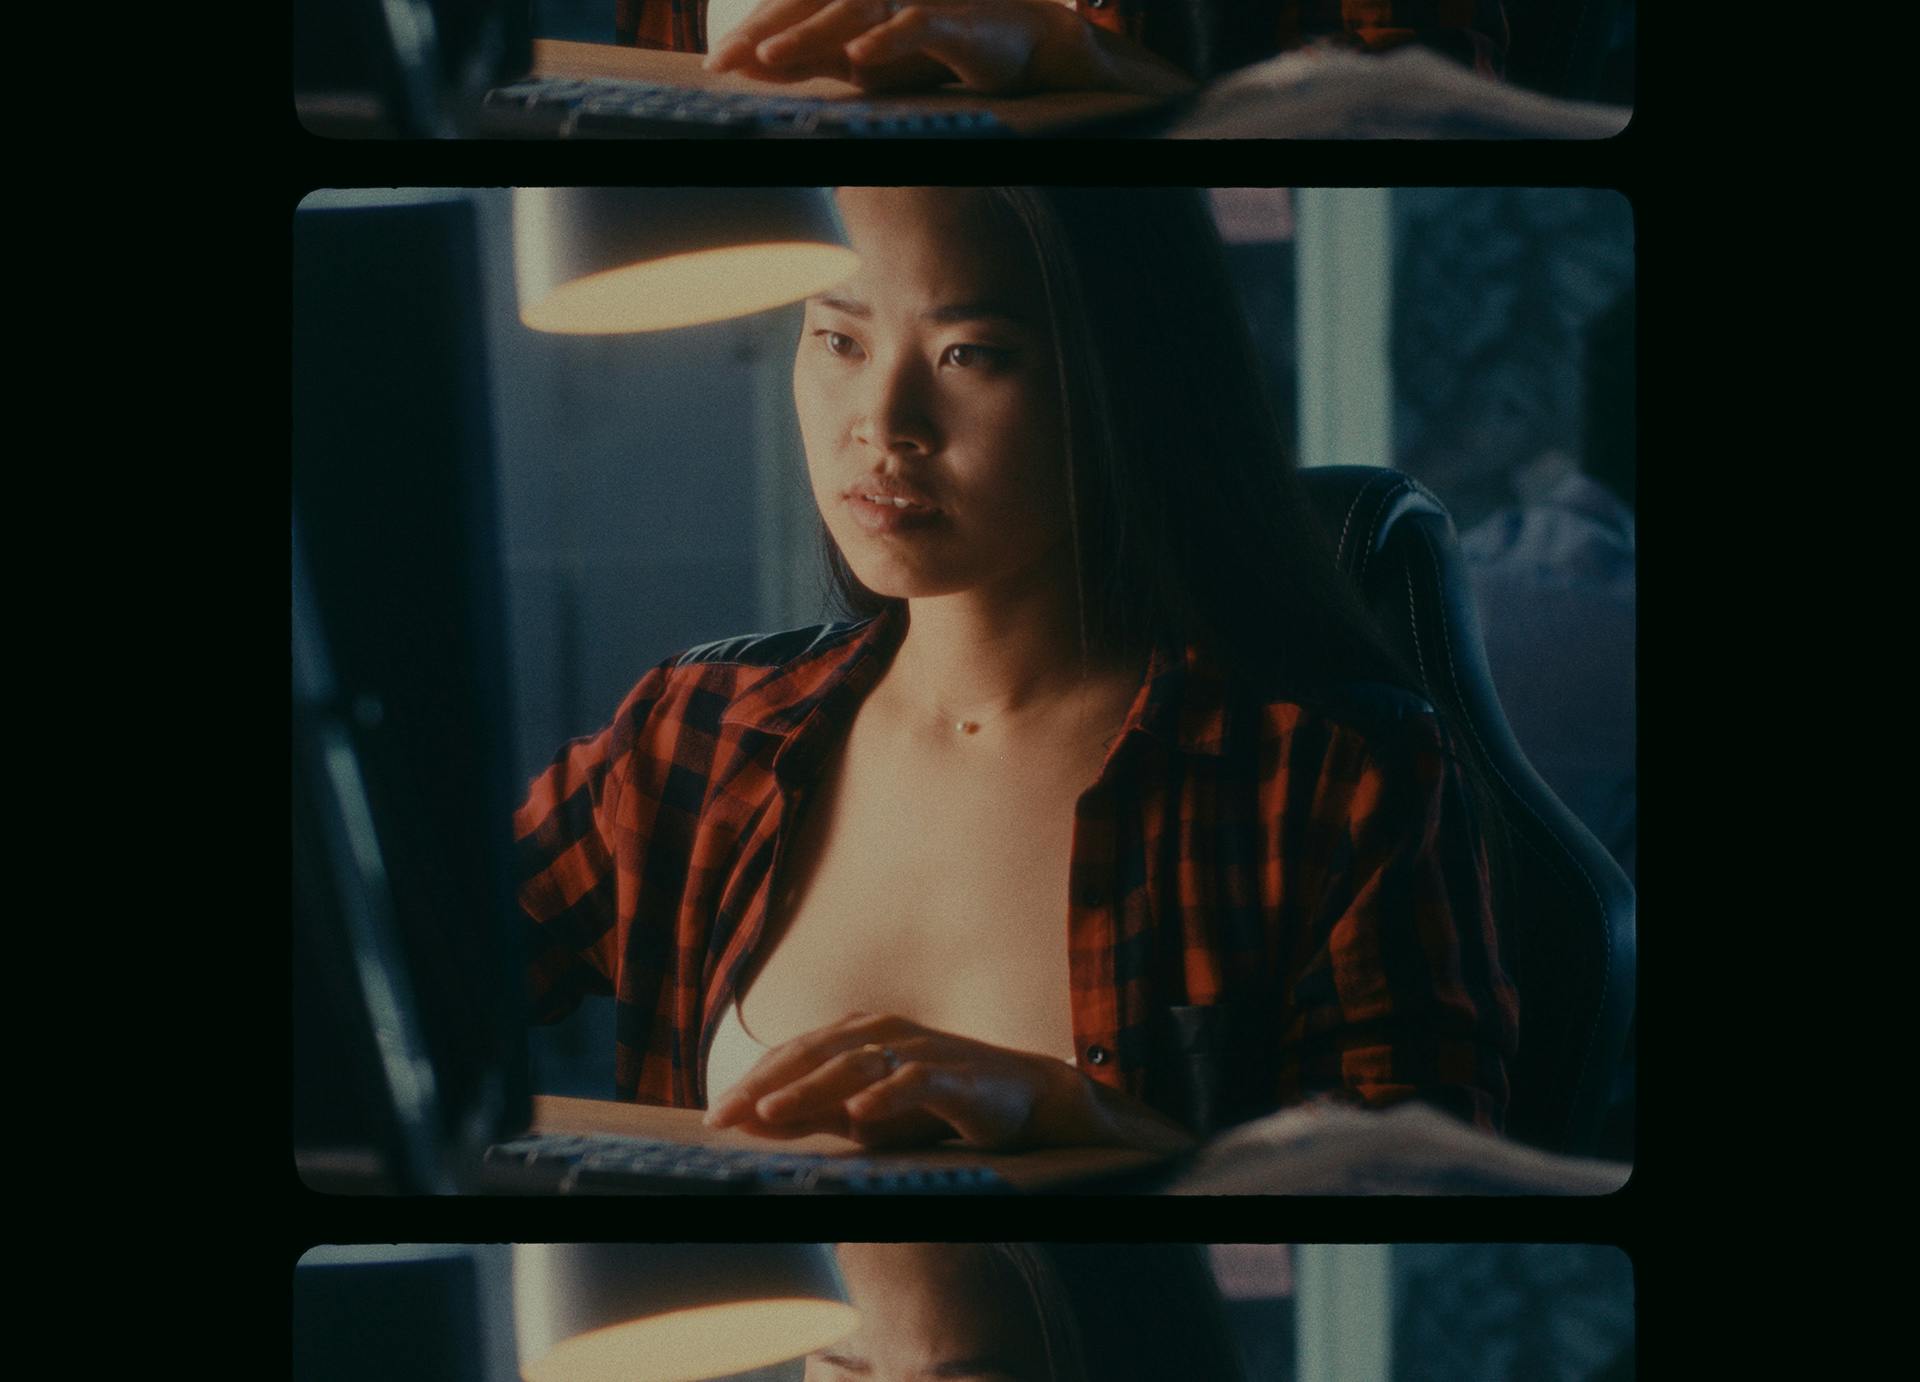
Film Gate OFF
The last option, Gate Shape OFF, allows you to simulate shooting with a camera that has a film gate larger than the film width, so that the frame boundaries are outside the scanning area. In practice, such shooting is possible and quite popular, by loading 35mm film into a specially equipped medium format camera.
Perforation Mode
The perforation type of the scanned film is represented by 3 options: negative, positive, or off.
During scanning, the backlight passes through the perforation holes freely, so they are always white on the unprocessed scan. The negative scan is then inverted so that the perforations become black. Positive films, on the other hand, do not need to be inverted and retain their original white perforations.
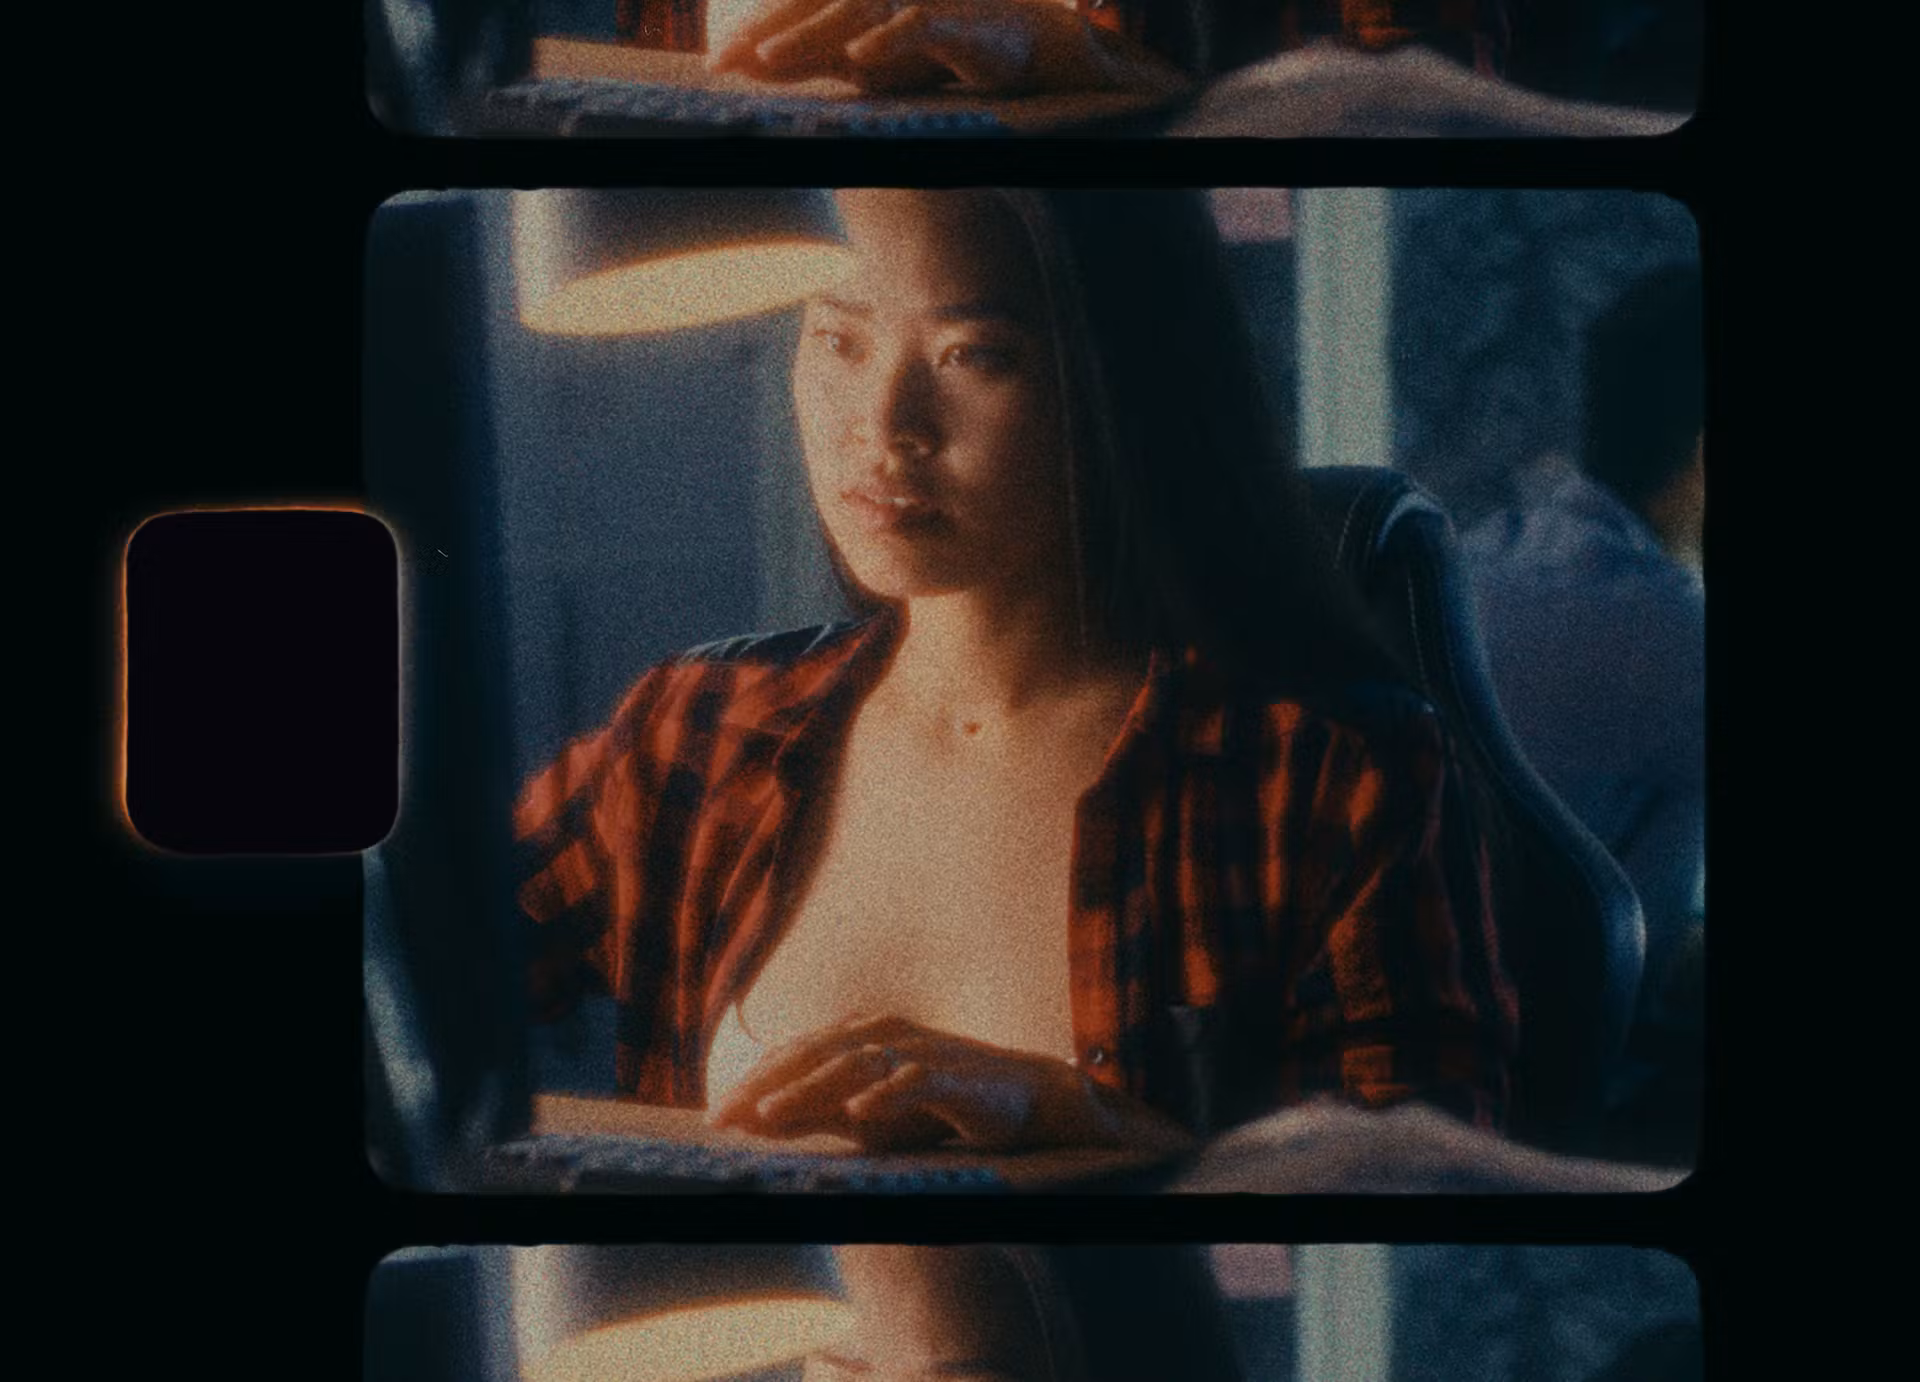
Negative Perforation
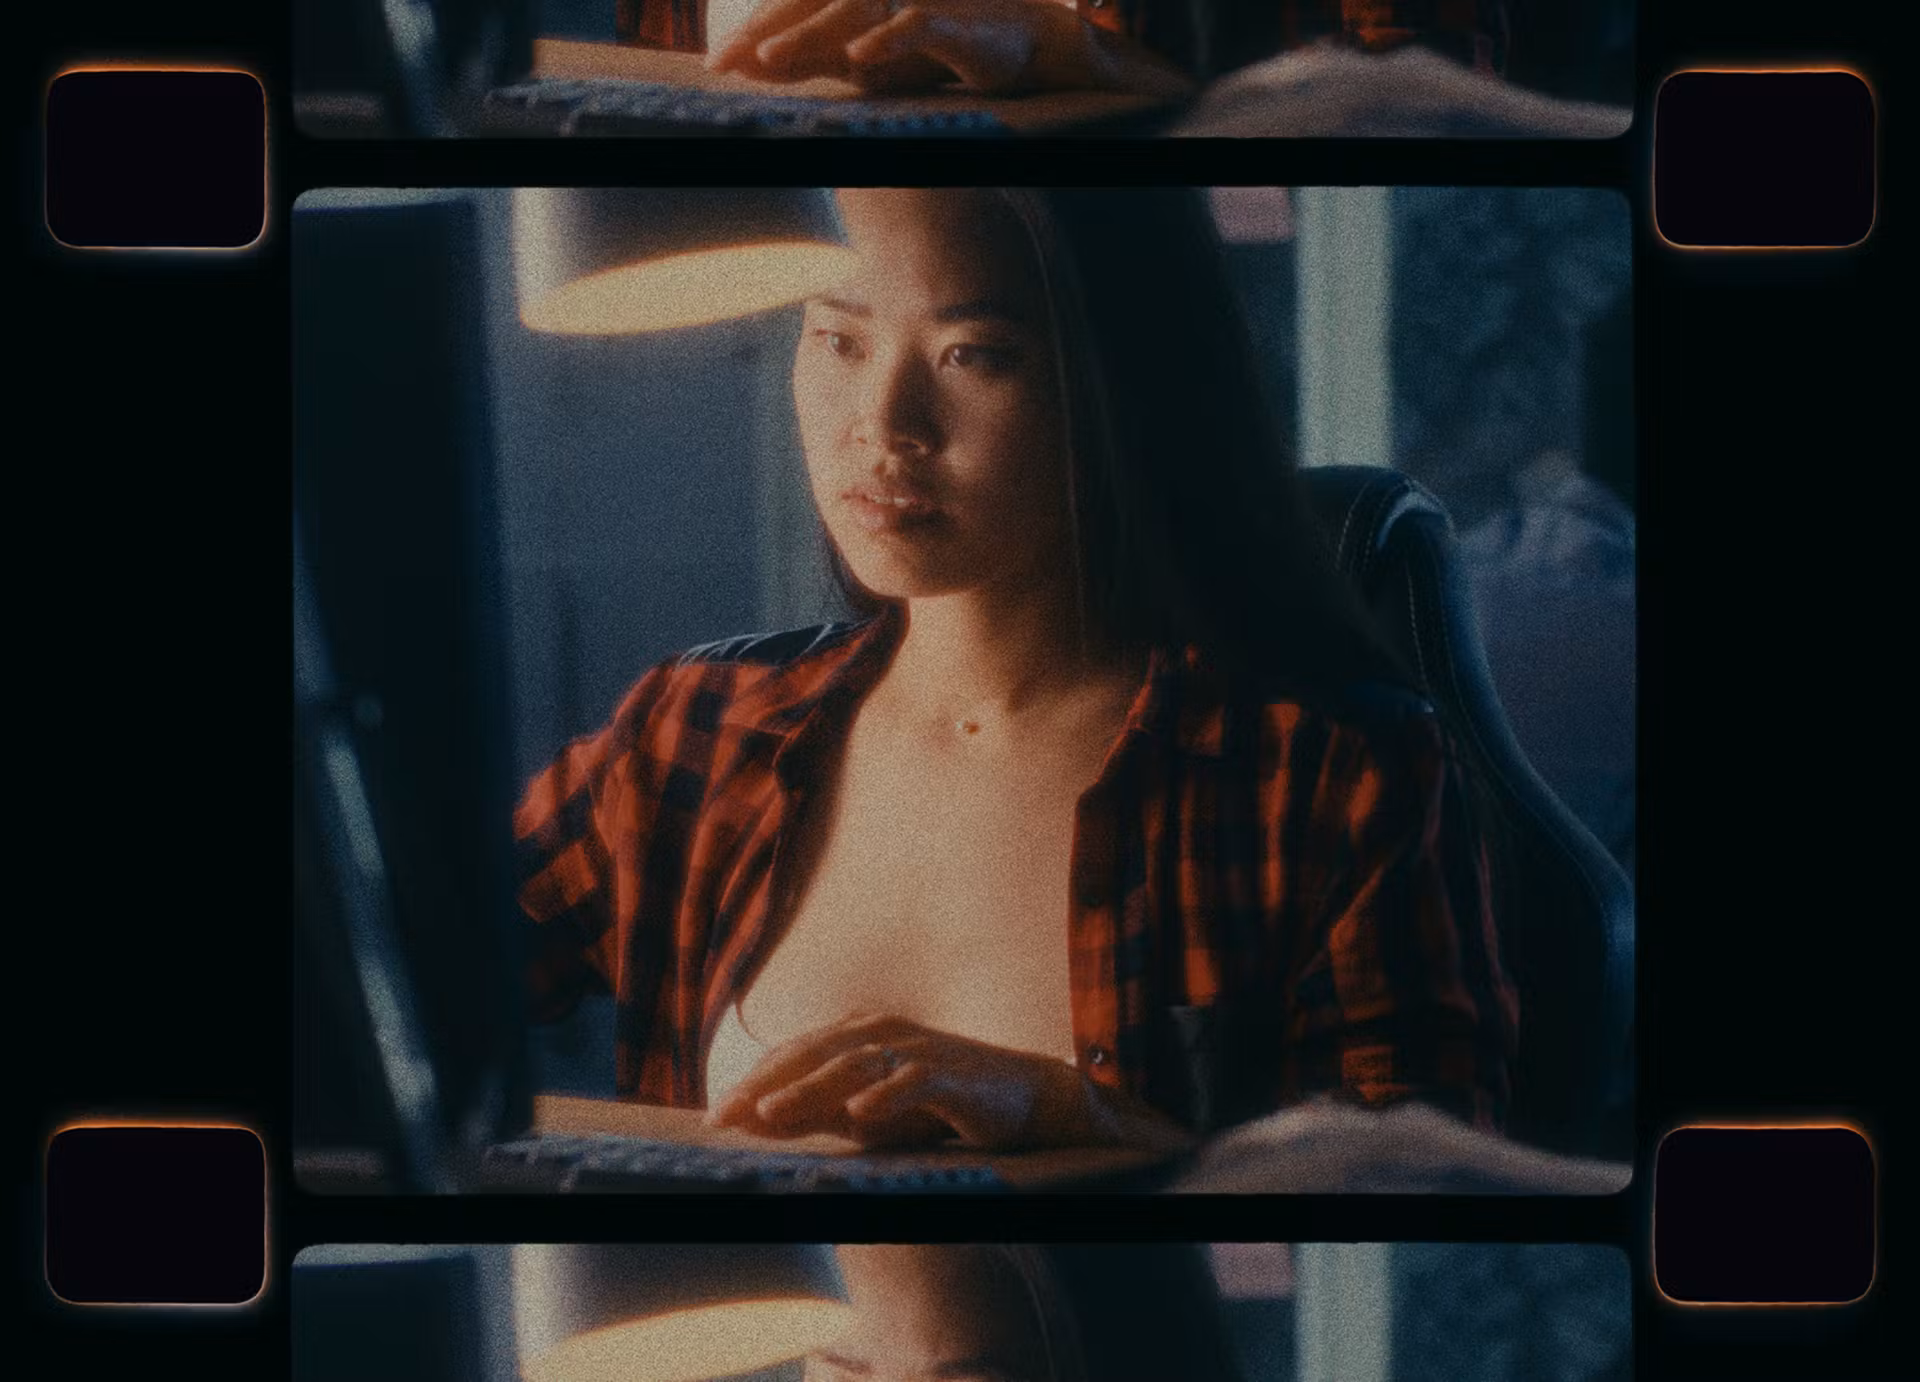
Positive Perforation
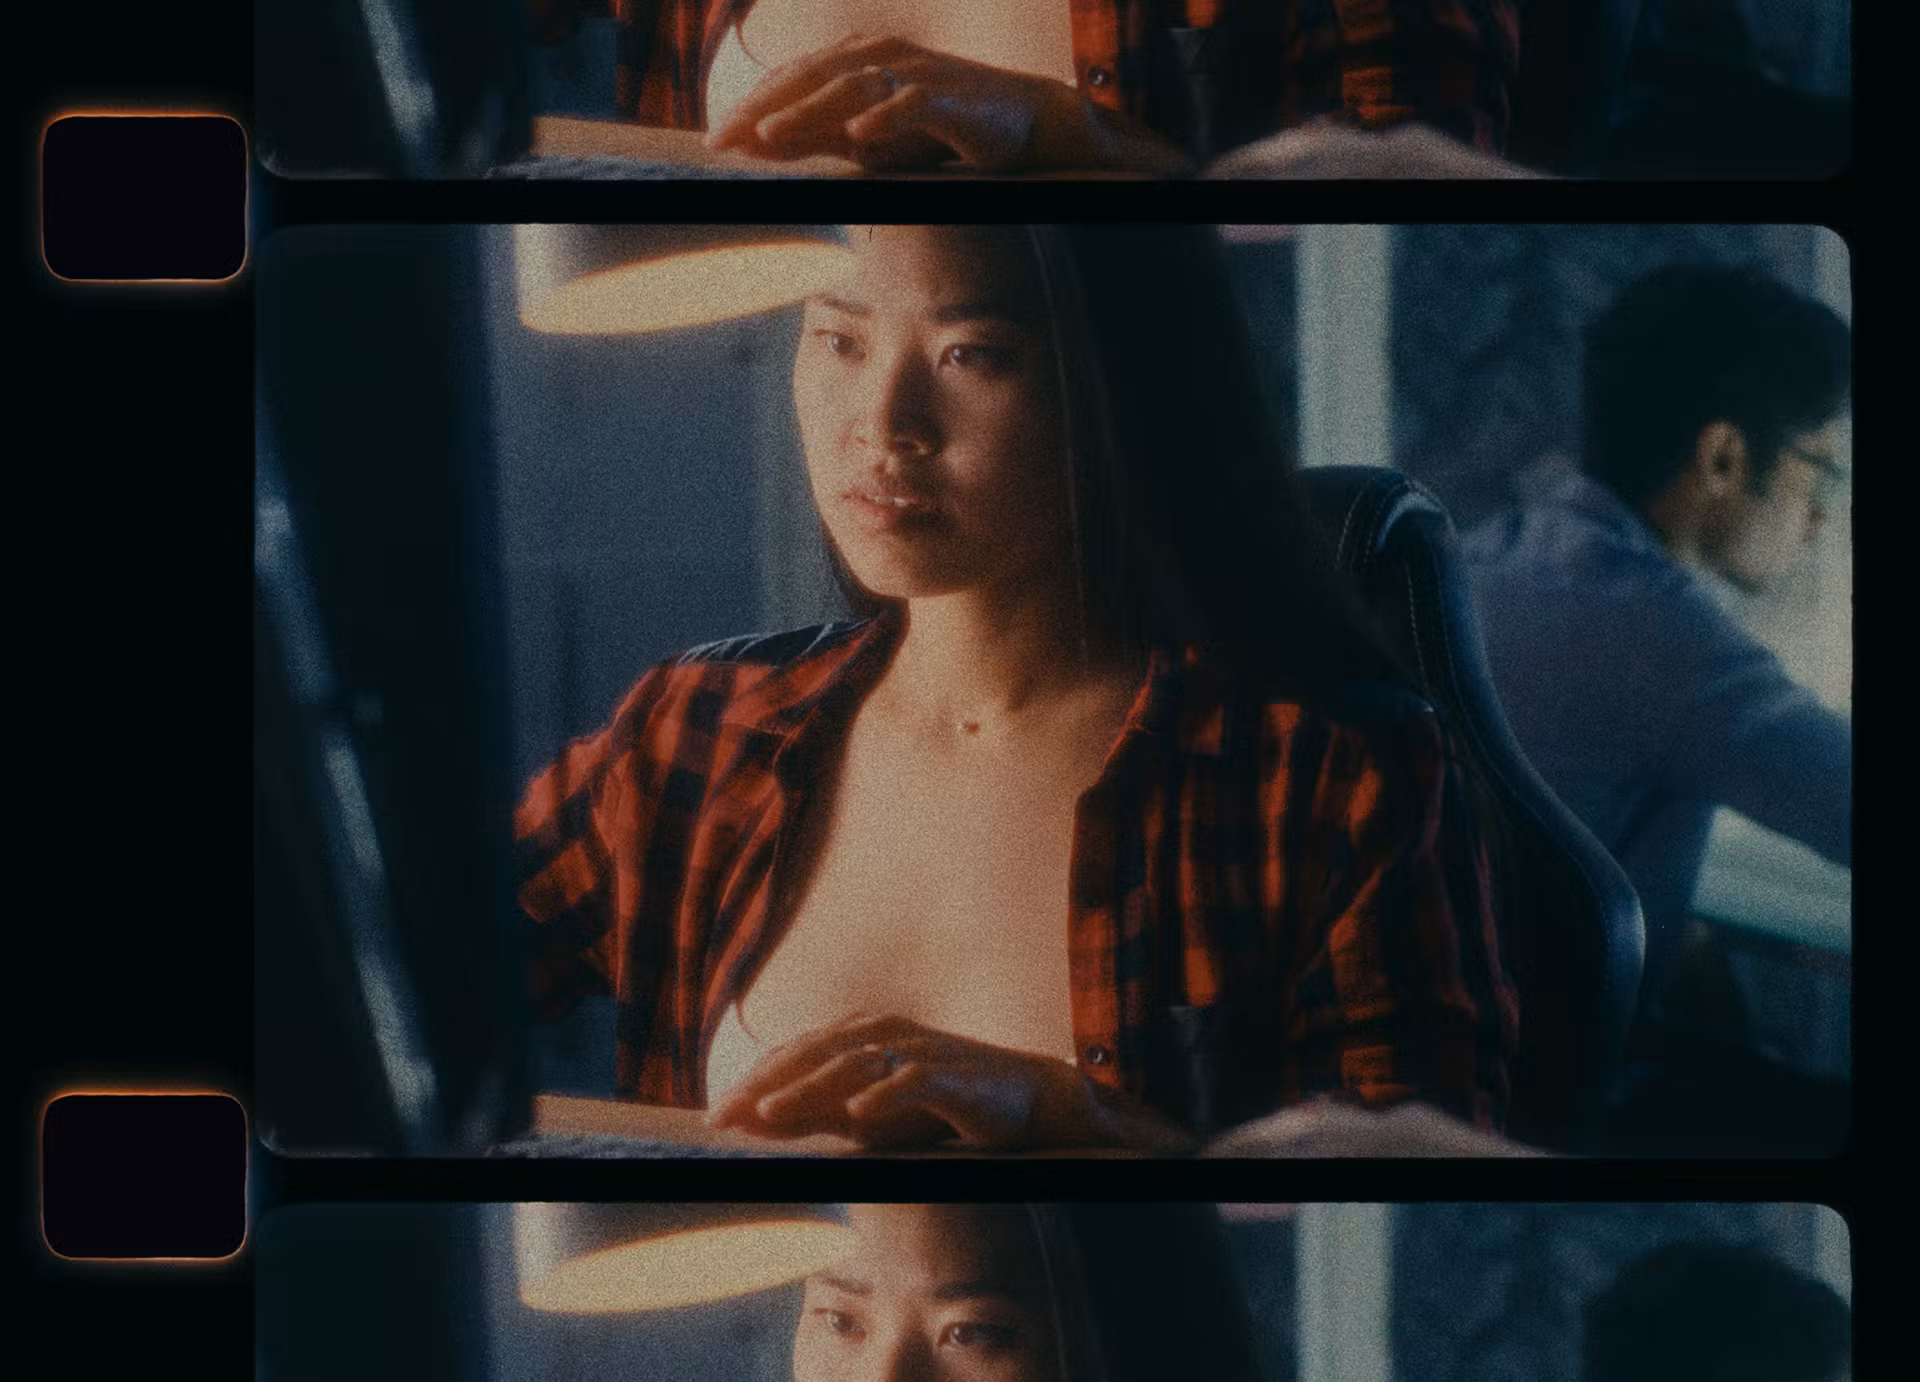
Perforation OFF
In real life, perforations are always present on film, but at the postproduction stage, they can be filled with the film base color, i.e. made invisible. This action is simulated by the OFF mode.
Film Orientation [NEW]
In cinema cameras film is pulled down through the film gate vertically, while in most 35 mm photo cameras film travels horizontally. However, in both cases, you can rotate the camera 90 degrees while shooting. The film scan can also be rotated on postproduction so that the scene will have the correct orientation when viewed.
The Landscape/Portrait option allows you to simulate both horizontal and vertical film movement retaining the normal orientation of the subject.
Scale
Image scaling (crop) after scanning. Varies from 0 to 100.
Scale = 0
Scale = 30
When Scale = 100, the film gate is completely outside the frame, which corresponds to the Overscan tool turned off.
Lens Zoom [NEW]
Compared to the Scale parameter, Lens Zoom allows to zoom the scene within the film gate, as if you were zooming the lens in/out at the shooting stage.
When Lens Zoom = 100 (default), the image is zoomed in to cover the entire film width, including the overscan area.
With Lens Zoom set to 0, the image fits the Film Gate area.
Offset X, Offset Y [NEW]
Sometimes after applying Overscan effects, you may want to move the image to better fit the gate. Values of +100 and -100 correspond to shifting the image by half of its width or height in the forward or opposite direction, respectively.
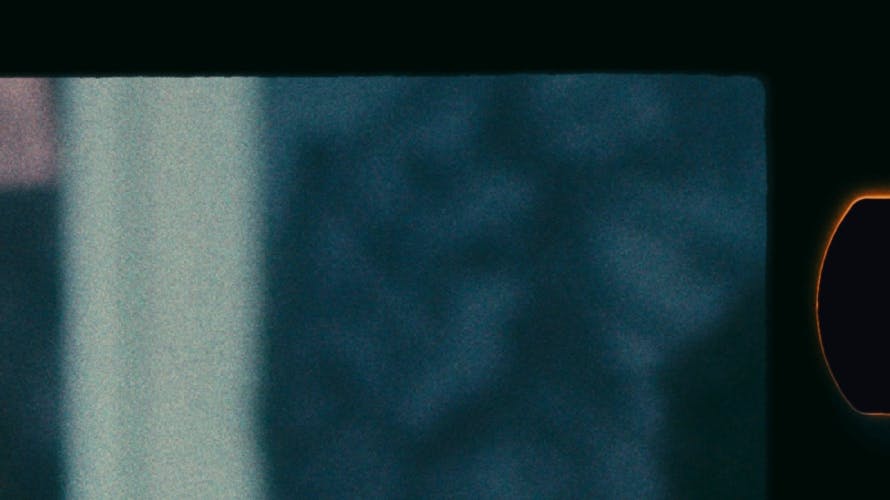
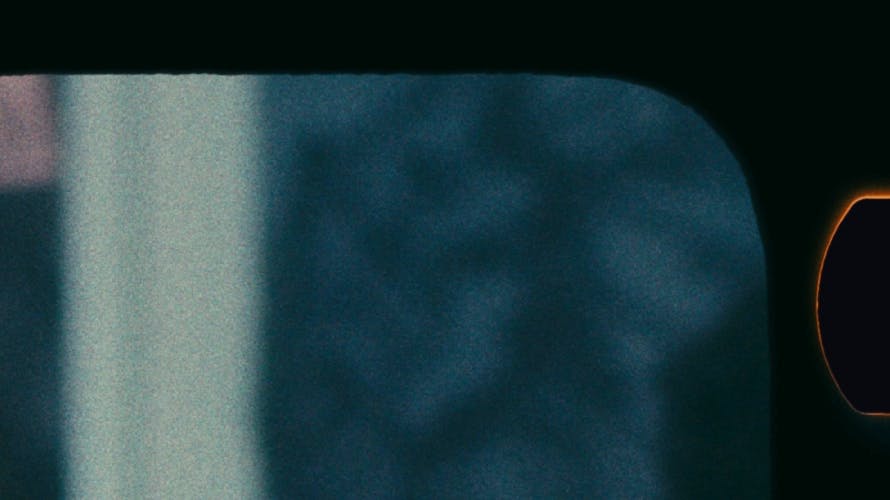
Gate Defocus
The frame focus depends on the tightness of the film against the film gate and may depend on the type of camera and its technical condition. In Dehancer you can control the degree of defocusing in the range from 0 to 100 conventional units.
From left to right: Gate = 0, Gate Defocus = 50, Gate Defocus = 100
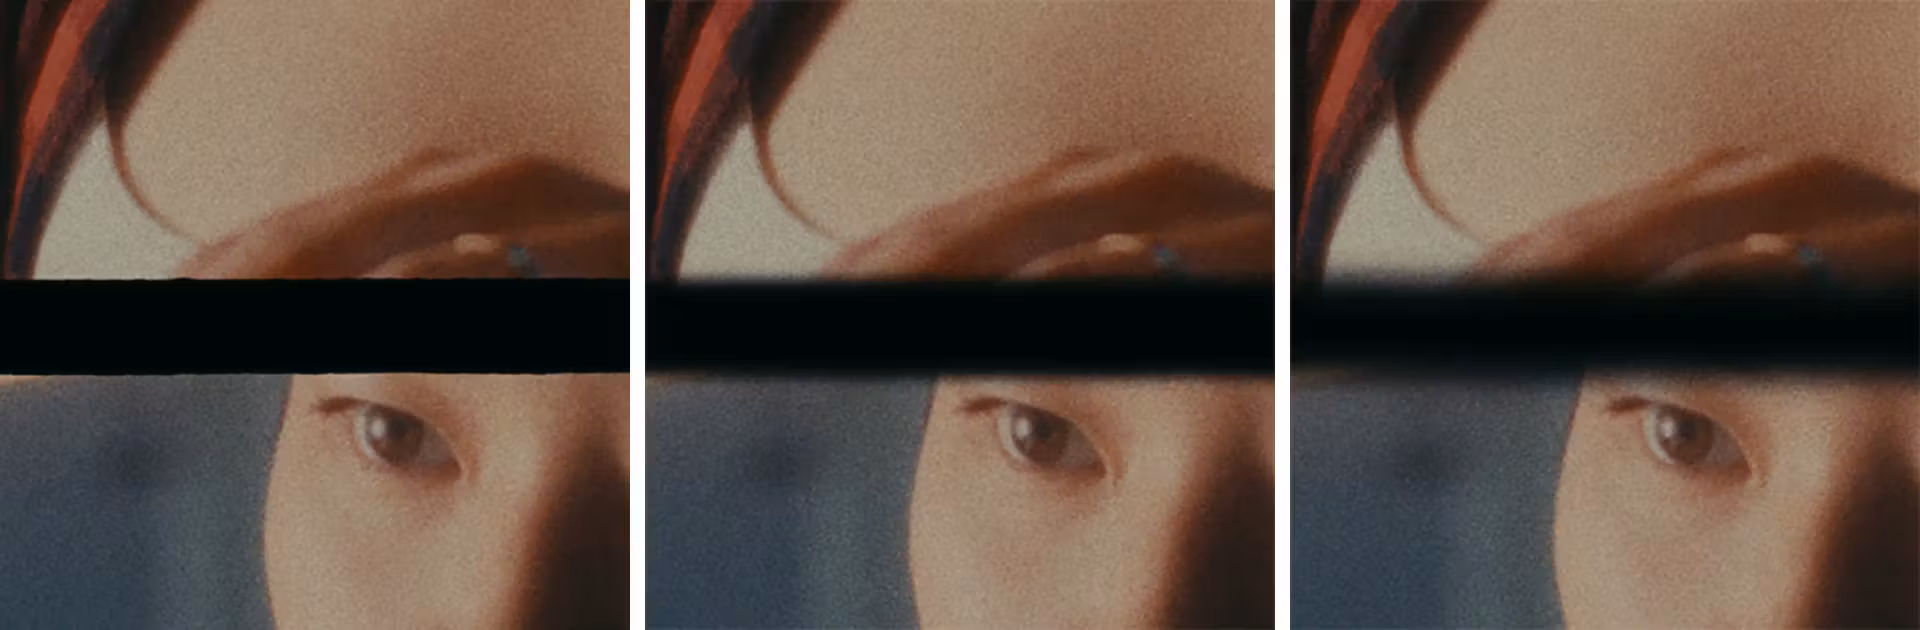
Exposure
Depending on the backlight intensity and exposure during scanning, the Halation effect on the edges of the perforation may be visible to a greater or lesser extent. The Exposure parameter sets the exposure of the “scan” in the range from -2 Ev to +2 Ev, which allows you to make the perforation more or less pronounced.
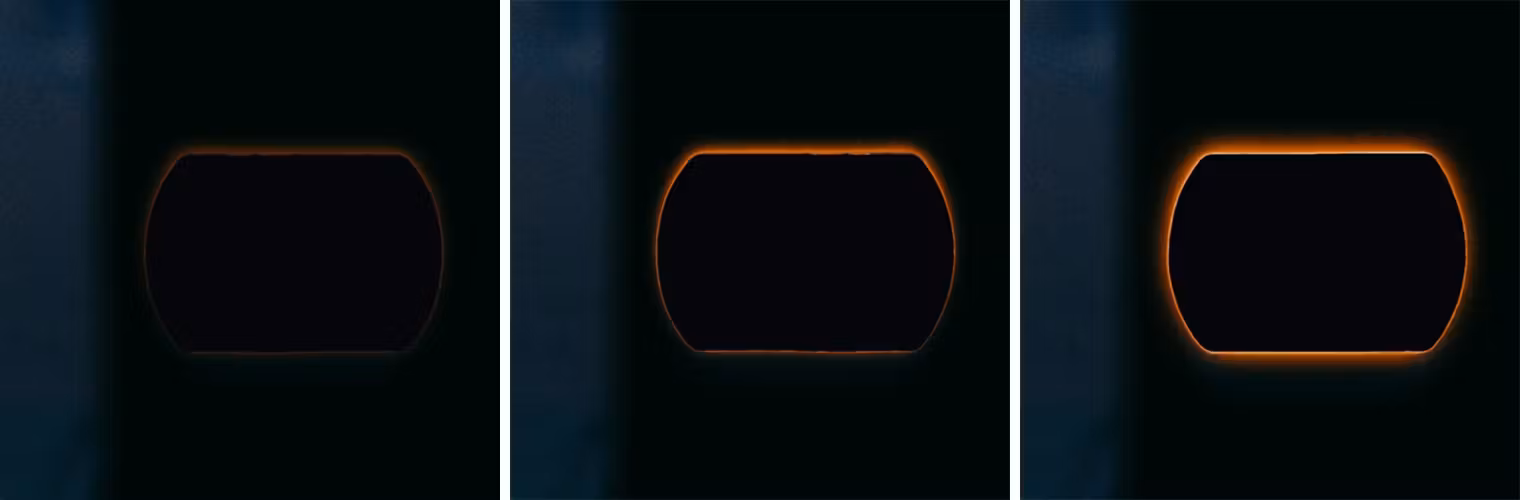
Negative film. From left to right: Exposure = 0, Exposure = 1, Exposure = 2
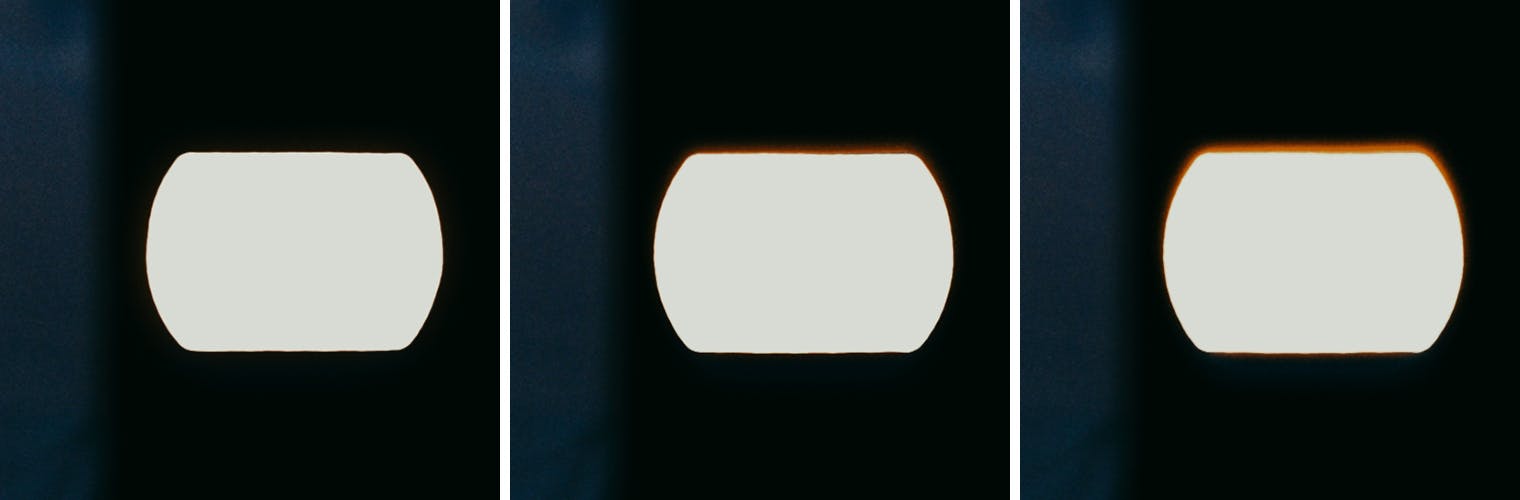
Positive film. From left to right: Exposure = 0, Exposure = 1, Exposure = 2
Static Gate
This option allows you to enable or disable dynamic variation of the film gate from frame to frame. Normally, the gate shape is always the same when shooting with the same camera. However, the film gate may vary in some cases:
- There are clips shot on different cameras in the movie.
- Contact printing with the use of cachet – in this case the gate for each frame is individual.
By default, the film gate is static and does not change throughout the clip, which corresponds to Static Gate = ON. If Static Gate is disabled, film gates with slight variations in shape will be used for each frame.
Flip
Normally, the layout of the perforations and the gate is determined by the film format and the technical standard of the camera and scanner. However, for creative tasks, we have added a Flip option that mirrors the perforations and frame horizontally while keeping the image unchanged.

From left to right: Flip = OFF, Flip = ON
Enabled
This option allows you to completely enable or disable the Overscan tool.
In this video, you can see the Overscan tool in action:

Authors: © Denis Svinarchuk, © Pavel Kosenko, © Dmitry Novak